Excel is a versatile software from Microsoft. Excel is a part of the Office suite of software from Microsoft. Excel can be used across a wide range of professions because of its flexible nature Excel can be used by professionals for business or other day-to-day tasks. Excel uses rows and columns that are made up of cells to store data. If you decide to use Excel for your tasks, learning how to make Excel cells fit text is very important. Your tasks will become much easier and your Excel document will be much neater and look more presentable.
Excel cells will hold your text as you enter them, however, if the text is long, it can run into other cells. You will need to make the Excel cells fit the text. Cells in Excel are like boundaries, if text spill over beyond its boundary, it will affect the information in the other cells, and the Excel document will look untidy.

How to make Excel cells expand to fit Text
There are a few ways that you `can make your Excel cells fit text. You will most likely use a mixture of these methods depending on your project. Keep reading this article to know the methods to make Excel cells fit text.
- Wrap text
- Shrink to fit
- Merge cells
- Resize cells manually
- Enter column width
- Enter row height
- Autofit column width or height
1] Wrap text
You may want to enter long lines of text into Excel but you do not want to use up multiple cells. You can achieve this by using the Wrap text feature in Excel to achieve this. By default, when you enter text into Excel, it will stretch horizontally and go into the other adjacent cells. You can add the Wrap text feature before or after entering the text in the cell.

To use the Wrap text feature you can go to the top toolbar and click on the Wrap text button. Just ensure that the Home tab is the active one.
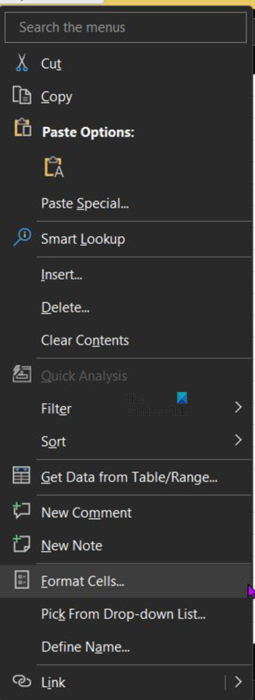
You can also access the Wrap text feature by right-clicking on the cell or group of cells. When the menu appears, click Format cell.
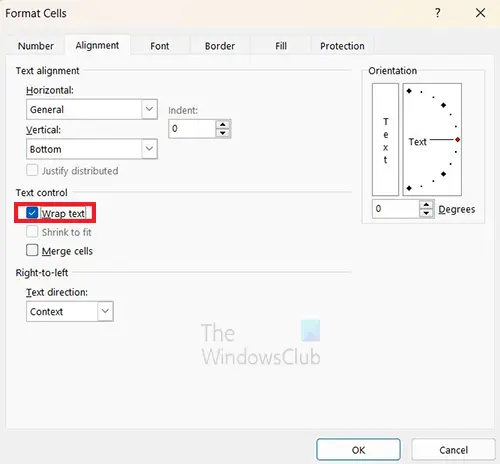
When you click Format cells the Format cells options window will appear. Look for the Wrap text option and make sure to select it. When it is selected a checkmark will appear in the check box on the left. When this is done press Ok to confirm and keep the change. If you want to disable the Wrap text feature, follow the steps then in the Format cells window, uncheck Wrap text.

This is what the text looks like in Excel before Wrap text is used. You will notice that the text spills over into the space where the cells are.

This is what the text looks like in Excel after Wrap text is used. You will notice that the text is placed neatly into one cell and it fits the width of the cell. If you make the cell’s width smaller the text will form more lines.
2] Shrink to fit
The Shrink to fit feature in Excel will shrink text to fit the width of the cell. When this feature is used, the text will shrink when the width of the cell is decreased. You will notice that the font size of the text will remain the same on the menu bar. This means that the text will grow visually to its original font size if the cell’s width is increased.

To use the Shrink to fit feature right click on the cell or cells that you want to apply the feature to. When the menu appears click Format cells.
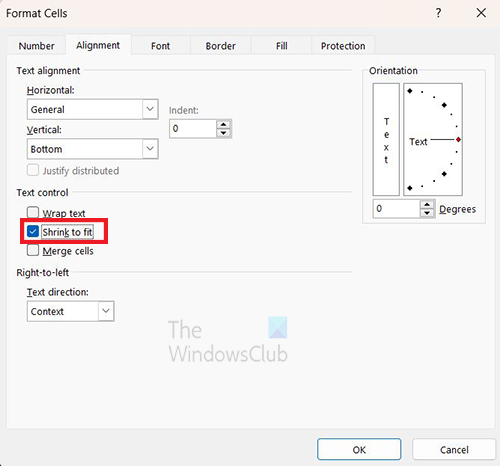
The Format cells window will appear, here you will select Shrink to fit. When you have selected this option click Ok to close the window.
The Shrink to fit feature can make the text unreadable if the cell is too small. One great advantage of the Shrink to fit feature is that the text will grow visually as the size of the cell is increased. If the cell is increased to a larger size than what the text can fill, the font will remain true to size, it will not grow beyond the designated font size.
3] Merge cells
Using the merge cells feature to make Excel cells fit text, allows you to merge two or more cells so that your text can fit text across the cells like a single cell. This allows you to make headings for your Excel document that fits across multiple cells.

This is what your text will look like before you merge the cells. You can see that the text spills over into the space of multiple cells. While the cells may look merged, if you click, you will see where the other cells are.
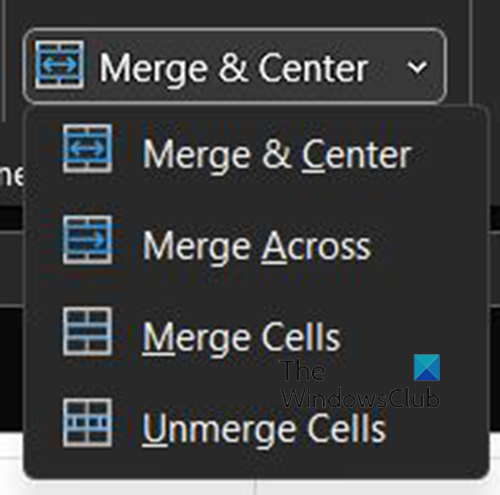
To merge the cells so that the large cell operates like one cell, you can choose three options. to get the options select the cells you want to merge then go to the top and click the drop-down arrow beside Merge and center. You will see a list of the different merge options. You can merge cells horizontally, vertically, or a mix of both.
Merge and center
Merge and center merges the selected cells into one cell and centers the content of the new cell. This is good for making a heading that fits across multiple cells horizontally or vertically.

In this example of the Merge and center method, Excel merges and centers the content horizontally and vertically.
Merge across
When you choose to merge across, this only merges cells that are in the same row. This means that even if you select a combination of rows and columns, it will only merge the cells in the same row. It will merge the rows by making the cells go across into one big cell, however, the two rows will still be divided, and they will not merge into each other.
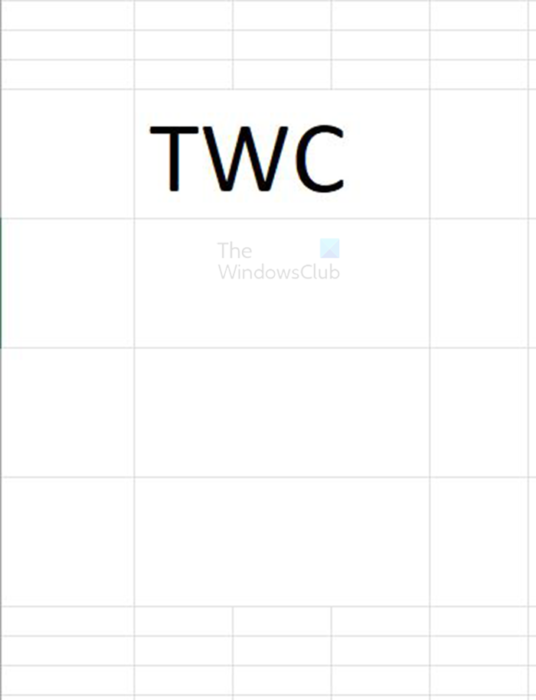
In this example of Merge across, Excel merges the cells that are in the same row but does not merge the columns.
Merge cells
When you choose merge cells, Excel will just merge the selected cells regardless of if they are in the same row or column. As long as they are adjoining and they are selected they will merge.
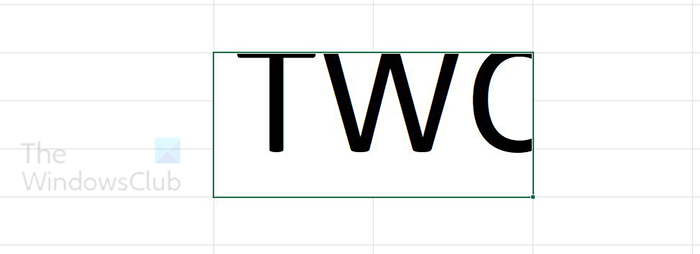
In this example of the Merge cell method, Excel just merges the cells but the content is not formatted.
4] Resize cells manually
If you just want to fit a few texts into cells in Excel, you can choose to resize the cell or cells manually. To do this, enter the text into the cell or cells. You can then click the edge of the cell and drag it to fit the text.
To do this, hover at the top of the cell where it joins another cell, click, and drag. You can do this to make the cell have a larger width or height.
You can also follow the above method but instead of dragging to resize, you would double click, and the cell will automatically resize to fit the content.
5] Enter column width
You can make Excel for text by entering the column width that you want.
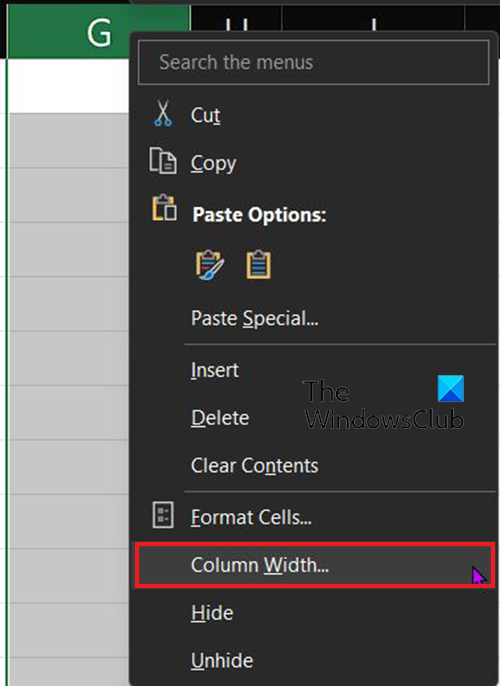
To do this, go to the top of the Excel sheet where the letters are and right-click on the letter that corresponds with the column that you want to widen. From the menu that appears choose Column width.
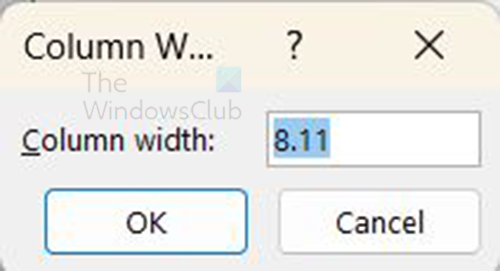
The Column width window will appear so that you can enter the width that you want. You would enter the size that you want then press Ok to confirm and close the window. the default size is 8.11 and the maximum size that you can use is 255.
6] Enter row height
You can make Excel for text by entering the row height that you want.
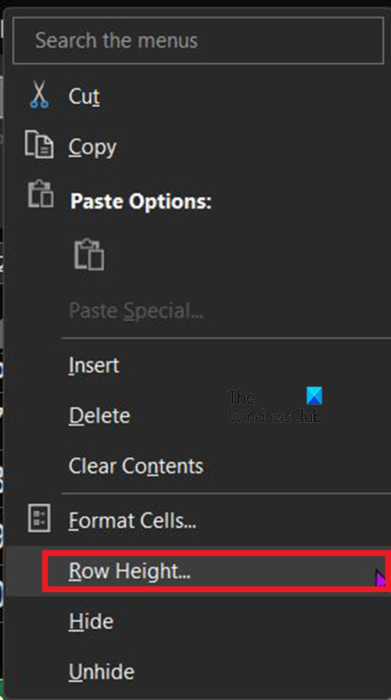
To do this, go to the left of the Excel sheet where the numbers are and right-click on the number that corresponds with the row that you want to widen. From the menu that appears choose row height.
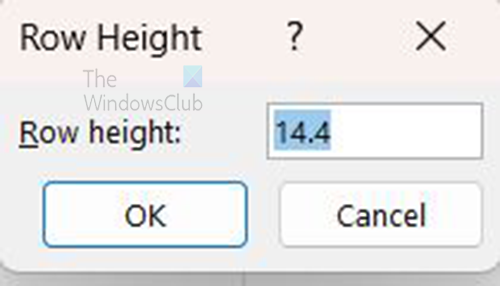
The Row height window will appear so that you can enter the height that you want. You would enter the height that you want then press Ok to confirm and close the window. the default size is 14.44 and the maximum size that you can use is 409.
TIP: If you have a cell that has the exact size that you want for other cells you can choose to view the cells row or column height then use the enter row height or enter column width option to resize that cell. However, an easier way to resize a specific cell would be to right-click the source sell and select Copy, you would then right-click the destination cell to bring up the menu, from the menu hover over Paste special and choose, Keep Source Columns Widths.
7] Autofit column width and height
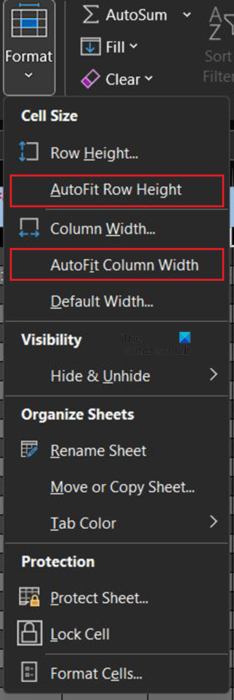
You can tell Excel to automatically fit the text in a cell to the width or height of the text, go to the top of the window, and click Format. When the Format menu appears you can click Autofit row height or autofit column width.
Read: How to remove Watermark in Excel sheet
Why does Excel cell reuse to expand to fit text automatically?
The cells in Excel will not expand to fit the text that you enter, it will just go over into the space for another cell. You will need to resize the cells to fit the text by manually resizing the cells or using the methods above to resize the cells so they can hold the text.
How do I stop text from spilling over into other cells?
Text will automatically spill into another cell if the text is too much for the cell you are typing in. If you want the text to keep from spilling into another cell even though it is too much for the cell, you can change that in the Format cell. Select the cell or cells that you want to apply this format to then right-click. When the menu appears select Format cell. The Format cells options window will appear. Under the Alignment tab look for Text alignment. Under Text alignment, click the word General and a drop-down list will appear. from the drop-down list click Fill then click Ok. If you had text overflowing in the cell or cells, the overflow will automatically be hidden.
Leave a Reply