The ability to make custom patterns is quite helpful but learning how to make patterns that repeat seamlessly in Illustrator makes it even better. Patterns that will show where the edges repeat may not look as neat as ones that repeat seamlessly. The steps discussed in this article will work for single-image patterns as well as patterns that use multiple images.
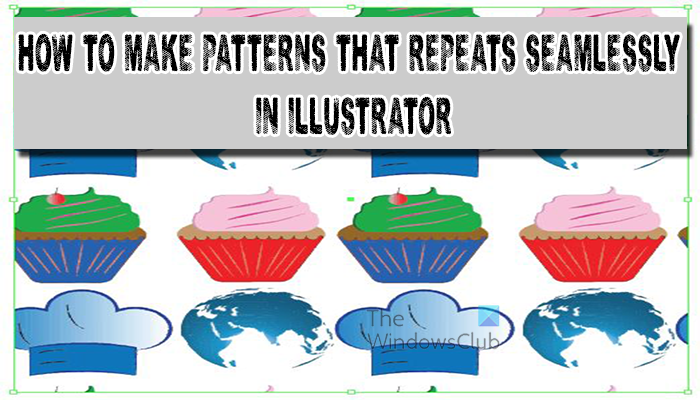
Adobe Illustrator has a lot of tools and features to make any project look attractive. The pattern in Illustrator is just one of the many ways that artwork can be made attractive. Illustrator had built-in patterns that can be used; however, Illustrator offers the option for anyone to make their own patterns. This makes it even easier to have patterns that will match the project as intended.
What is seamless repeat?
This is a pattern that is repeated without any visible boundaries between the images. In Illustrator you can use repeated decorative design on objects to take the place of color or gradient. Patterns are also important because they can be used to give a natural look to the artwork.
A pattern in illustrator is a repeated decorative design. In Illustrator you can use repeated decorative design on objects to take the place of color or gradient. Patterns are also important because they can be used to give a natural look to the artwork. For example, you can create a pattern for fish scales. This also allows you to save the pattern for future use. So, patterns also allow you to save the patterns for future use. This way you do not have to keep uploading each time. This works just like symbols, color swatches, and gradients that are saved and used across multiple documents.
How to make seamless repeating Patterns in Illustrator
A pattern can be created from a single image that may be made up of different colors or patterns. a Pattern can also be made using multiple images that are arranged and then saved as a pattern. The steps involved are:
- Choose images for the pattern
- Organize images
- Save as a pattern
- Test pattern
1] Choose images for the pattern
A pattern can be made from a single image, you can either find an image that you created and make it into a pattern, or you can download an image from a trusted source and use it as a pattern. You can also create patterns using shapes in Illustrator and then blend them with the Shape builder tool. You can also combine images and make them into one pattern. You can create the images or you can find free images from a trusted source and download them then combine them to make a pattern. Ensure that the image license supports the use that you will have for the pattern. Note that in making the pattern the images are grouped so multiple image patterns will seem like one image when it is used. When you have located the images, plan the arrangement for the images so that the pattern looks attractive.
2] Organize images
Now that the images have been found and created and the style of the pattern has been planned, it is time to create the pattern. This article will show how to use multiple images to make one pattern. The pattern will then be added to the Swatches pallet. Patterns do not have their own pallet but share the Color Swatches panel. You can drag the images into the swatches panel if you want to use them as patterns. The image for the pattern can be added as a pattern by selecting the images then going to Object then Pattern then Make. The images you want to use may have backgrounds, the backgrounds can be easily removed using the Image trace option in Illustrator, located on the top menu bar.

These are the images that will be used for the multi-image pattern.

This is the image that will be used for the single image pattern.
3] Save as a pattern
It is now time to save the pictures as a pattern. To save as a pattern, select all the images and group them or just drag them to the Swatches panel.
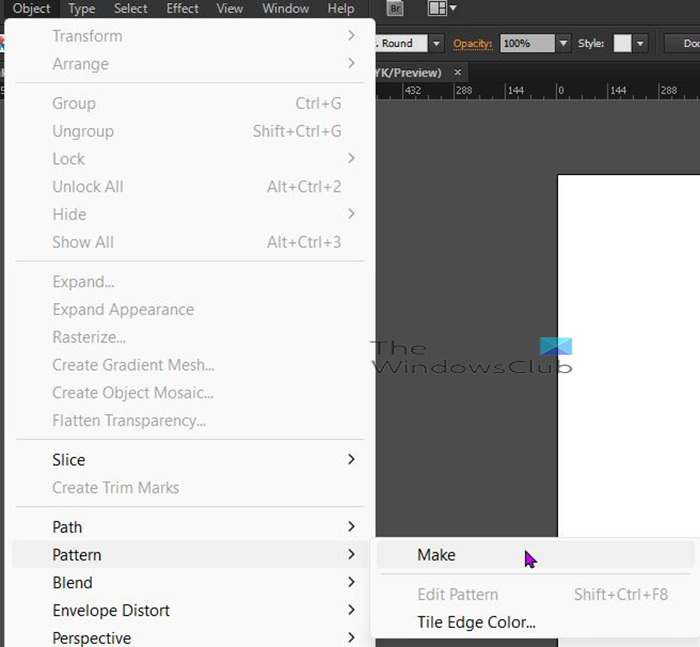
To save as a pattern, select the objects or part of the design that you want to use as a pattern, go to the top menu and select Object then Pattern then Make.
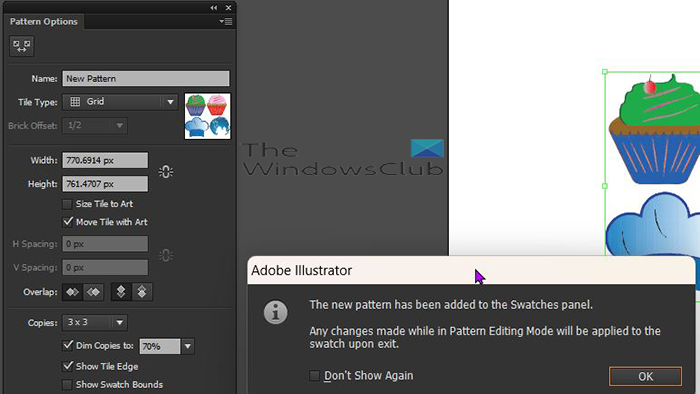
The Pattern options window will appear along with a warning stating that any changes made whole in Pattern editing mode will be applied to the swatch upon exit. Click Ok to close the warning.
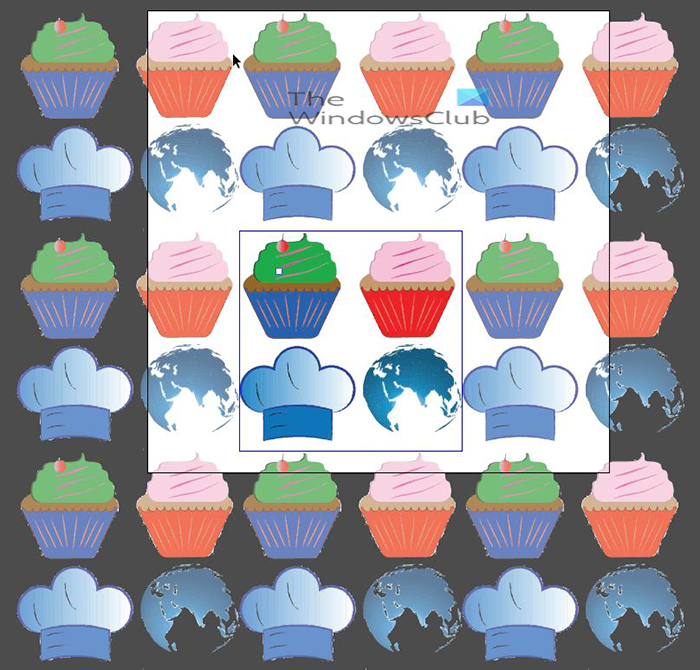
When you click Ok to close the warning, you will see the Pattern that you added to the Swatch repeat on the screen. They will look mostly faded with one set inside the tile being the right color, those are the original. This screen is allowing you to make any edits you need to make to the pattern. You can click any of the images in the box and adjust as you see fit. When you move any of them you will see all the corresponding pieces move. You can also click on any of the images and use the direction keys on the keyboard to make much smaller moves.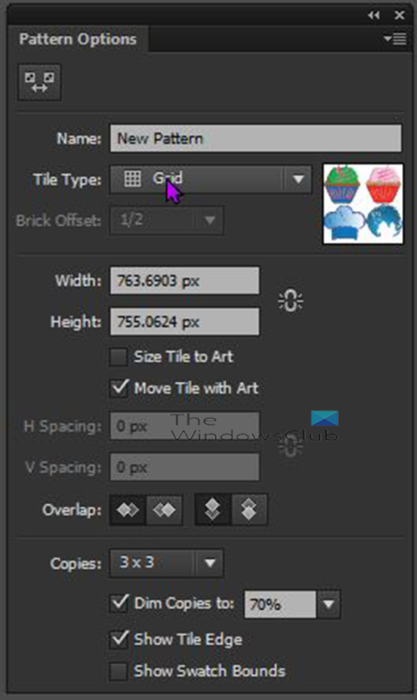
In the Pattern options window, you can make changes such as giving the pattern a name and much more.
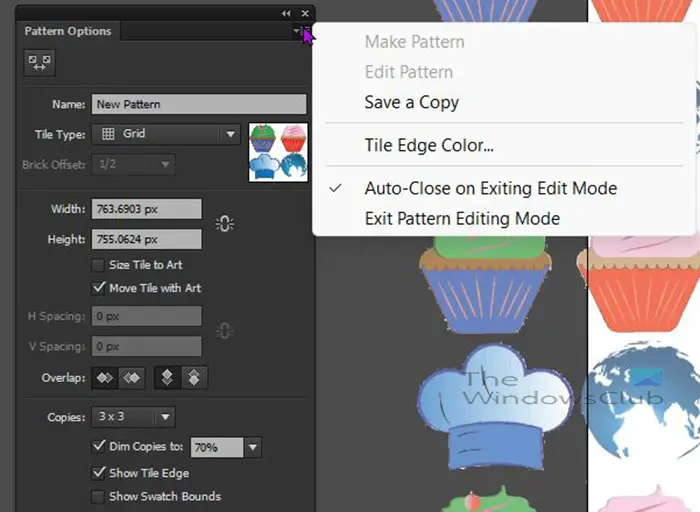
When you are finished editing, look at the top right corner of the Pattern options window and click the menu button and choose Exit pattern editing mode.
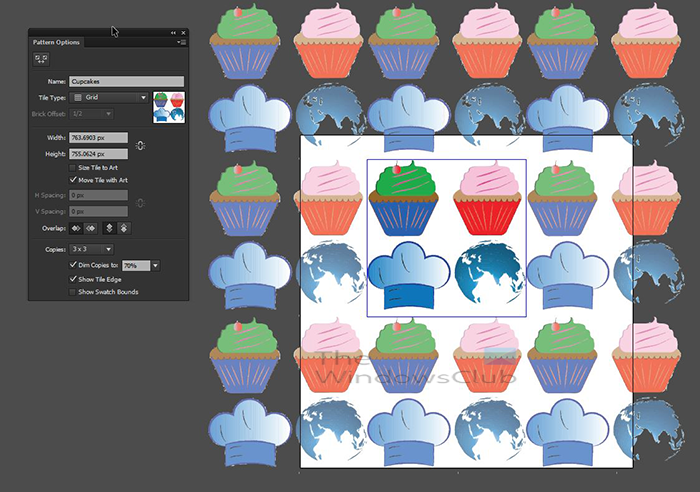
If you want to make edits to the Patterns you made, double-click on any of them, and the Patterns options window will appear with the multiple versions of the pattern showing. When you have finished editing, go to the Pattern options window, click the menu button then choose Exit pattern editing mode.
The new patterns will be available only for the document in which they were created. You will need to save the patterns so that you can access them in another document.
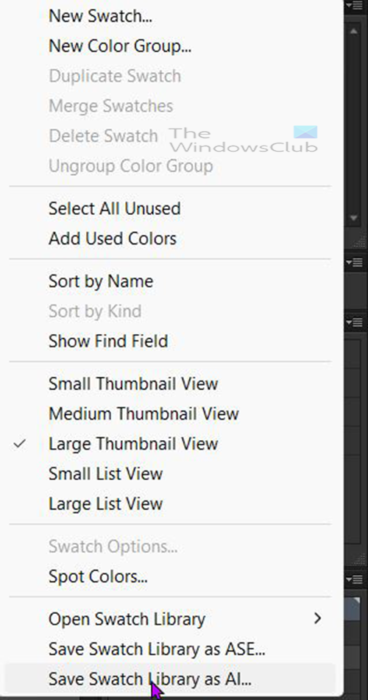
To save so that it can be loaded into other documents go to the Swatches panel and go to the menu button on the right then choose Save Swatch Library as AI. You will see the Save as dialogue box come up, choose the name for the Swatch then press OK to confirm.
To open the patterns in another document, go to the Swatches panel and click on the menu button at the top right then go to Open swatch library then User-defined and then choose the one with the name you saved.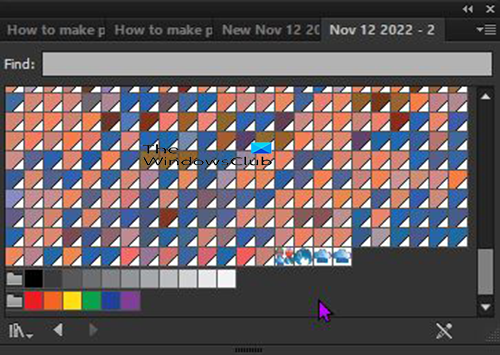
You will see the window with the swatches, click on the pattern you want, and it will be added Swatches panel. You can also search for the name of the pattern you want by typing in the search field. When you have found it you can click it to add it to the Swatches panel. You can then click the X Icon at the top to close the window.
4] Test pattern
Now that the pattern has been created and added to the Swatches panel, it is time to see what it looks like when it is used. Go to the left tools panel and select the rectangle or any shape and draw it on the canvas. You then add the pattern that you created to the shape.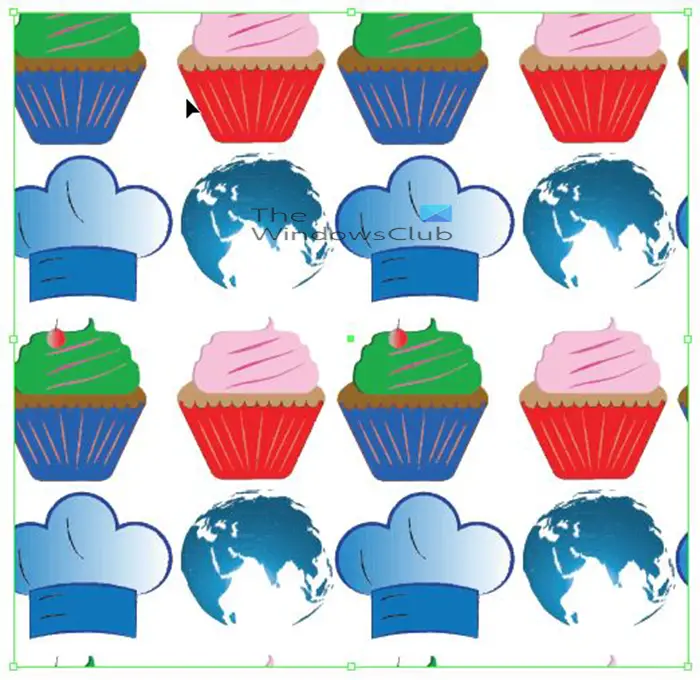 This is the shape with the multi-image pattern applied to it.
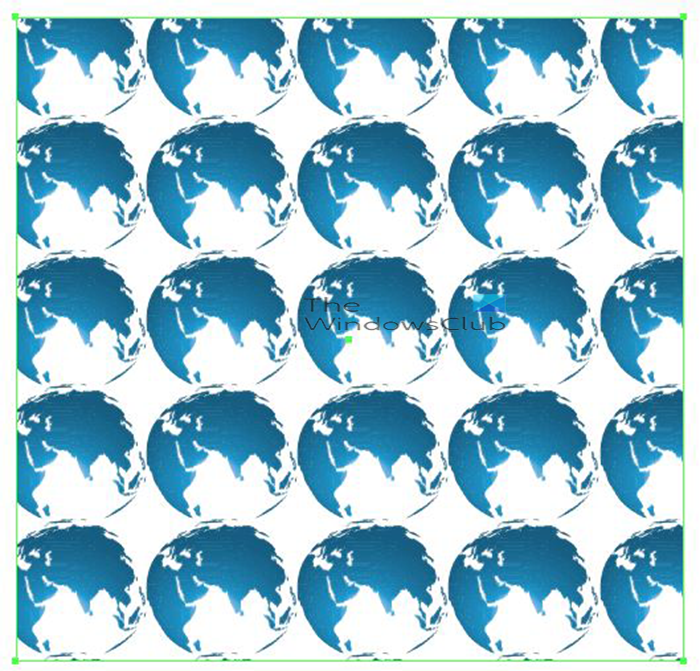 This is the shape with the single image pattern applied to it.
Read: How to create 3D Globe with the World Map in Illustrator
How do you make an infinite pattern in Illustrator?
Patterns can be made from a single image, multiple images, or shapes. When the design has been created, you can select and go to Object then Pattern then Make. You will see the Pattern options window where you can make edits. There will also be a grid of patterns. you can make adjustments and then exit to save the pattern. You can also select the images that you want to use as a pattern and drag it into the Swatches panel. This method will not give the Pattern edit options.
Leave a Reply