GNU Image Manipulating Program (GIMP) is a free open-source image editing software. GIMP is a viable alternative to the paid image manipulation programs available. A very cool feature in GIMP is the Stencil effect. The Stencil effect can be used to create great artwork for packages and anything else if used right. Let us see how to make Stencil in GIMP.

A stencil is a piece of material with holes cut in shapes such as letters, animals, or any shape. A stencil is for reproducing designs by passing ink or paints over the holes cut in the material onto the surface to be decorated.
The Stencil effect in GIMP is simple and can be done with two images. However, if you use one image, GIMP will duplicate the image for the stencil effect. Using the stencil effect in GIMP is very easy. With the click of the Carve white areas option, you can also have the same stencil look different.
How to make Stencil in GIMP
To make a stencil in GIMP place one or two pictures in GIMP. Turn one of the pictures to grayscale. Select the grayscale picture and go to Filter then Artistic and then Stencil carve. When the options window appears, choose the image that you want to be carved then press OK. The stencil will be created when the process is completed. Let us see the steps involved.
- Open and setup GIMP
- Place images in GIMP
- Change one image to grayscale
- Do the stencil effect
- Save
1] Open and setup GIMP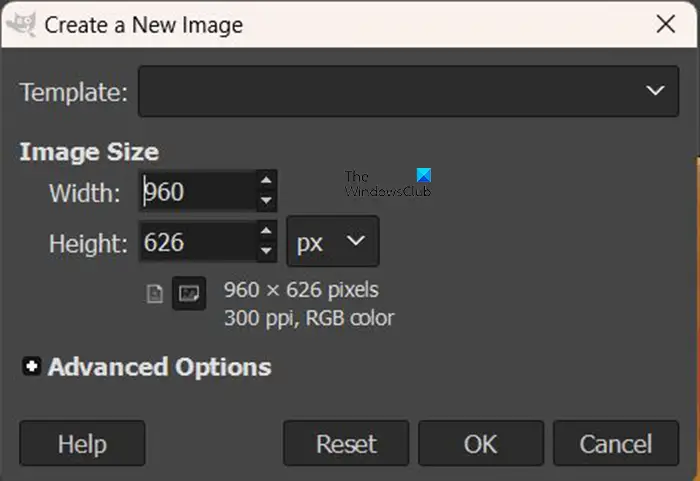
The first step is to open GIMP. You then go to File then New or press Ctrl + N. this will bring up the Create a new image dialogue box. Choose your settings then press OK to confirm the options and open the new image canvas.
2] Place the images in GIMP
The next step is to place the images in GIMP. Remember that the stencil effect requires two images. You can place one image in GIMP but it will automatically duplicate it for the stencil effect.
To place the images in GIMP you can find the image and drag and drop it into GIMP.
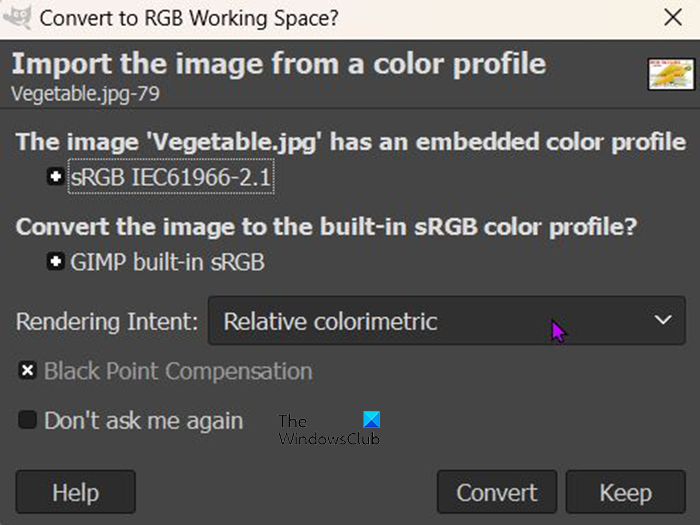
When you drag and drop it into GIMP you may get a message asking you if you want to convert the image to RGB working space. You will not get this message with all images that you place in GIMP.
Another way to place the image in GIMP is to go to File and then Open. When the Open file dialogue box comes up, search for the image, select it and click Open. The file will open in GIMP so that you can continue with the stencil effect.
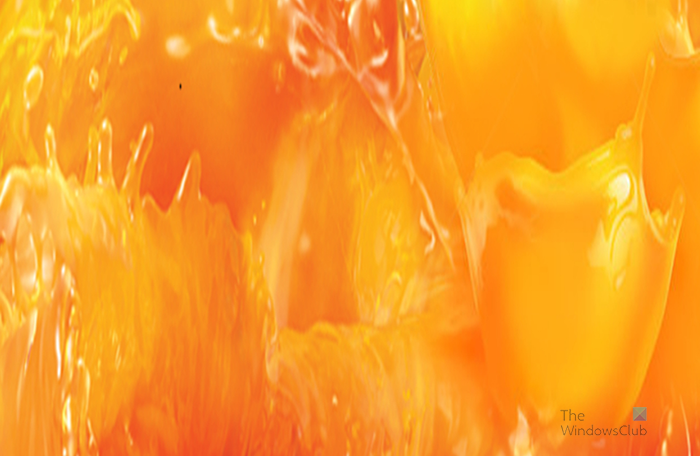
This is one of the images that will be used to create the stencil effect.
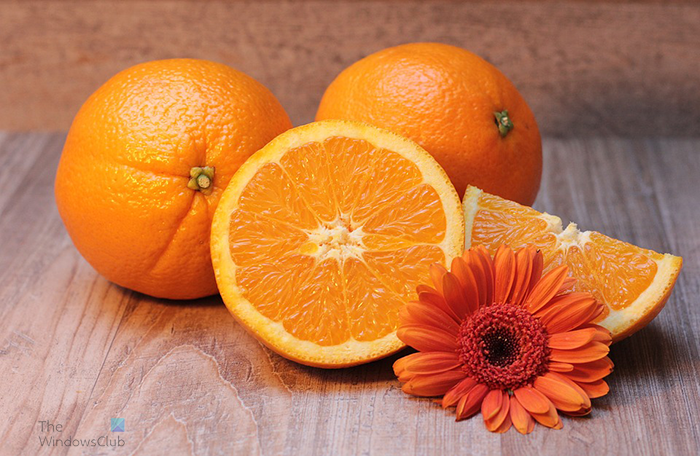
This is the other image that will be used in GIMP to create the stencil effect.
3] Change one image to grayscale
This step requires that one of the images be made grayscale, when you go to make the images into a stencil, only a grayscale image will work. If the image is not grayscale, the stencil option will be deactivated.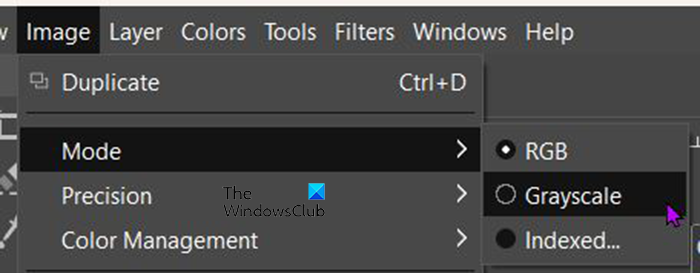
To turn the image grayscale go to the top menu bar and press Image then Mode then Grayscale. You will see the image immediately turn grayscale.
4] Do the stencil effect
It is now time to make the stencil effect. You will see the image or images at the top of the GIMP window.
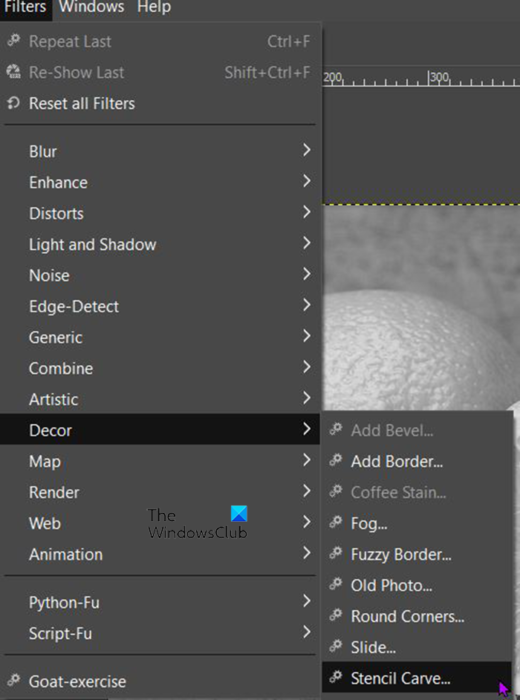
Click on the image that was turned grayscale. When the image is selected go to the top menu bar and click Filters then Décor then Stencil carve.
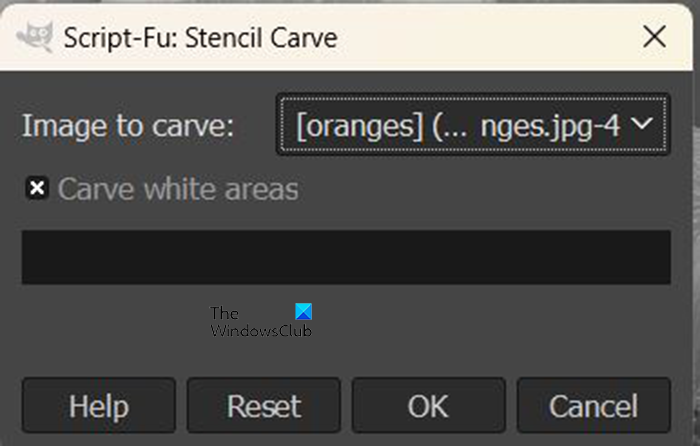
The Stencil carve options window will open up.
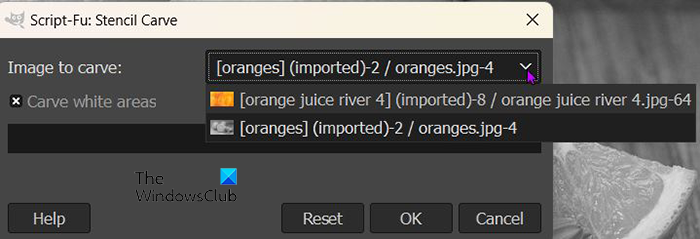
You will see Image to carve, there you will see the images that are open in GIMP. Click the drop-down arrow to see the images. The image that you choose as Image to carve will be at the top and that is the image that will be carved into the stencil. When you are finished press Ok to carry out the process. You can press Cancel to keep the process from happening. The Reset button will return all the settings to default.
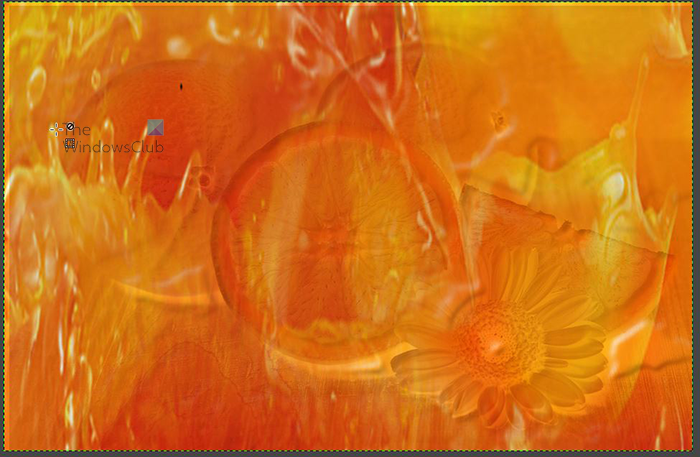
This is the stencil when the process is finished. In this stencil carve, the Carve white areas option was checked.
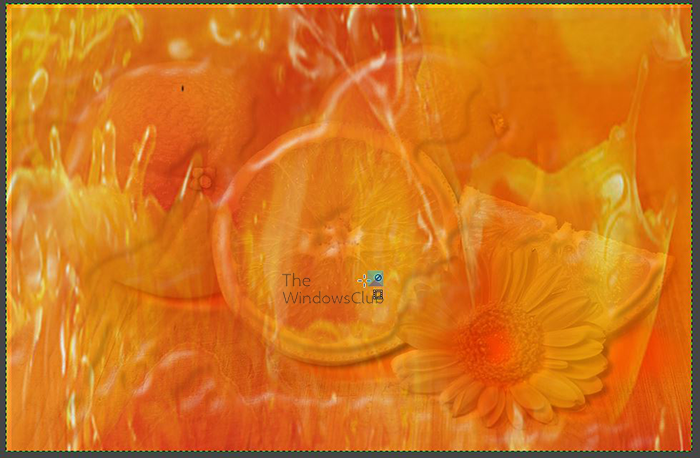
You can also uncheck the Carve white areas option and the results will look different.
In both options, the image that was carved was the color image. The color image that was used was the orange juice. The oranges were the color image that was made in grayscale.
Read next: How to scan an Image with GIMP.