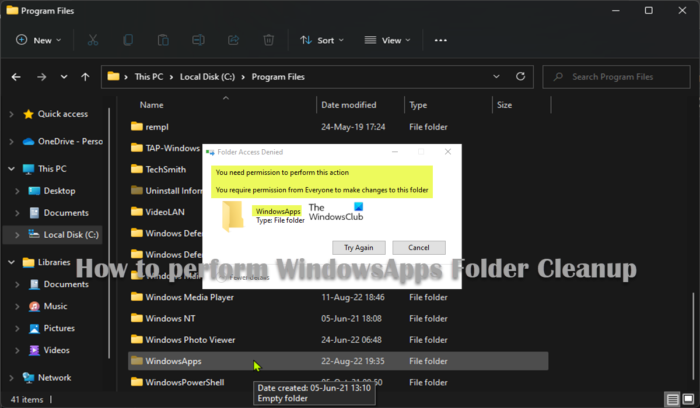
The WindowsApps folder is a protected and hidden folder to save installed Windows Store apps. In this post, we will show you how to perform WindowsApps Folder Cleanup in Windows 11/10.

How to perform WindowsApps Folder Cleanup in Windows 11/10
The WindowsApps folder by default is located in the Program Files folder on the system drive. To access this folder, you’ll need to show hidden files/folders. This folder contains the files that makeup all the default applications, and it stores every app downloaded from the Microsoft Store and installed on your device.
For one reason or the other, PC users may choose to save apps on an external hard drive; in which case Windows will also create another WindowsApps folder to store the files along with the WpSystem, WUDownloadCache, Program Files folder as well as another folder with the user account name. This allows the user to be able to run apps from the external storage.
Read: What is the WpSystem folder? Is it safe to delete it?
With time the WindowsApps folder grows considerably in size, whether on internal or external storage. For this reason, you may want to clean up this folder to reclaim storage space on your drive. Keep in mind that it’s not recommended to delete the WindowsApps folder on the system drive unless you do not use the apps stored in that folder. Otherwise, problems may arise after the removal is complete. If the WindowsApps folder is contained on a drive other than the system drive, you can delete the folder at any time.
Read: Where are Windows Store Apps installed & how to access the folder
To delete or perform WindowsApps Folder Cleanup on a non-system drive in Windows 11/10, you can use any of the methods below:
- Use third-party File/Folder Deleter Software
- Assign Full Control permissions to the folder
- Take Ownership of the folder
- Format drive
Let’s see a brief description of these methods above. Before you proceed, you first need to uninstall the apps on the external drive — in the Settings app, under the Apps & features section, use the Filter by drop-down, and select the external drive containing the WindowsApps folder. Once you’re done uninstalling all the apps on the drive, you need to restore the default settings to store new apps on the local or internal, or system drive — System > Storage > Advanced storage settings > Where new content is saved > New apps will save to drop-down.
Read: How to change Windows Updates download folder location
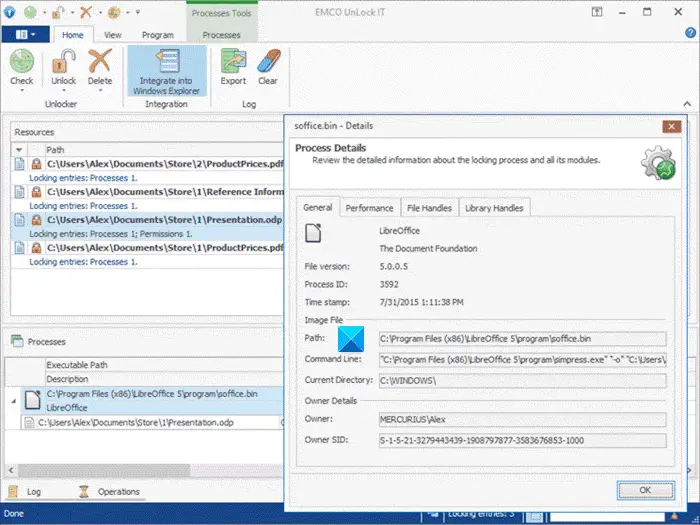
1] Use third-party File/Folder Deleter Software

As the WindowsApps folder is protected, you will not be able to delete the folder the conventional way. For files or folders that are ‘locked’ and therefore ‘undeletable’, in Windows 11/10, PC users can use any of the free third-party File/Folder Deleter software to delete undeletable locked files & folders.
Read: Free software to delete Empty folders in Windows
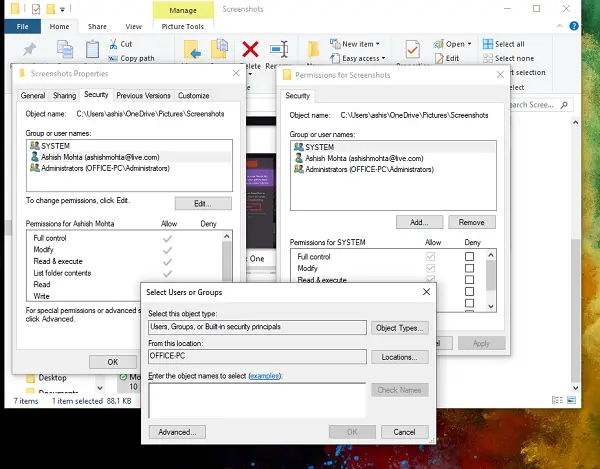
2] Assign Full Control permissions to the folder

To assign Full Control permissions to the WindowsApps folder and then delete it, do the following:
- Press Windows key + E to open File Explorer.
- Navigate to the drive containing the folder.
- Right-click the WindowsApps folder and select the Properties from the context menu.
- Click the Security tab.
- Click the Advanced button.
- Click the Change option.
- Specify your account name (or the full email address associated with the account).
- Click the Check Names button.
- Click the OK button.
- Check the Replace owner on subcontainers and objects option.
- Click the Apply button.
- Click the OK button.
- Click the OK button again.
- In the Security tab, click the Advanced button.
- Click the Change permissions button.
- Click the Add button.
- Click the Select a principal option.
- Specify your account name (or the full email address associated with the account).
- Click the OK button.
- Now, check the Full control option under the Basic permissions section.
- Click the OK button.
- Click the Apply button.
- Click the OK button.
- Click the OK button one more time to exit.
Once you complete the steps above, you can now right-click the WindowsApps folder and select Delete from the context menu. If you get a message trying to delete the folder, try the delete operation one or two times again until the folder is deleted.
Read: How to reset File and Folder permissions to default in Windows
3] Take Ownership of the folder
When you attempt to delete the WindowsApps folder the normal way, you will be unable to delete the folder because it’s a protected folder and locked down with TrustedInstaller permission restrictions. In this case, you can take ownership of the folder and then proceed to delete the folder as you normally would. One of the methods to take ownership of files or folders in Windows 11/10 requires you to add code to the Windows Registry which will add the Take Ownership option in the right-click context menu of a file or folder.
Read: RegOwnit: Take full control & ownership of Windows registry keys
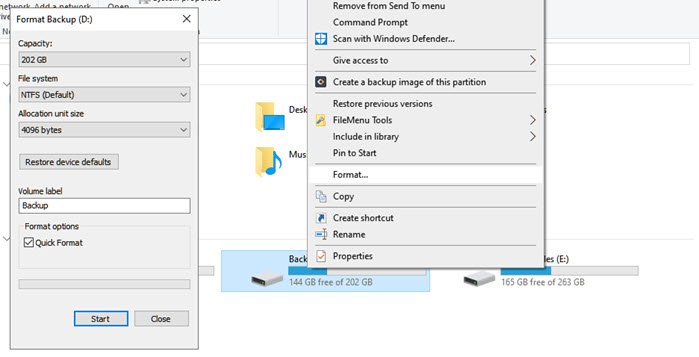
4] Format drive

This method assumes you don’t have any important files stored in the external drive. This is one of the fastest ways to delete or clean up the WindowsApps folder. To format the drive, you can follow the instructions provided in this guide or this guide.
That’s it!
These posts might interest you:
- What is and How to delete the MountUUP folder
- What are tw tmp folders in the System32 folder and Can I delete them?
- What is the AppData folder in Windows?
- What can I delete from the Windows folder?
- Remove unwanted Windows programs, apps, folders, features
- How to delete files and folders that won’t delete?
Can I safely delete the WindowsApps folder?
It is completely safe to delete the WindowsApps folder from any drive on your PC except the system drive. However, if you need to delete the WindowsApps folder included in your C drive, you must make sure the apps contained in it are no longer useful.
How do I remove Appxpackage from Windows 10?
To remove Appxpackage from Windows 11/10, open the Settings app, and in the list of apps, select the app to be uninstalled. Click the Uninstall button. This will only uninstall the UWP app in the current user’s profile. When any other new user logs in, the appx package will be automatically installed from the system store.
Read: How to install Appx app package using PowerShell
Where is the WindowsApps folder in Windows 11?
To make the WindowsApps folder visible, you have to show hidden files in Windows 11. Open File Explorer, cl on the View drop-down menu on the ribbon, and select Show > Hidden items. After you have selected the Show hidden items option, go to C:\Program Files\ and you will be able to see the WindowsApps folder.
How do I edit the WindowsApps folder?
To edit the WindowsApps folder on your Windows 11/10 PC, follow these steps:
- Right-click on the WindowsApps folder then click on Properties from the context menu.
- Click on the Security tab then click on Advanced.
- Click to change the owner and select Everyone.
- Check the option Replace owner on subcontainers and objects.
- Click on OK.
How do I allow Windows to run unverified apps?
In Windows 11/10, you can allow or prevent unverified apps. Go to Settings > Apps > Apps & features. In the right pane of Apps & features, under Choose where to get apps, select the Anywhere option. This will then allow you to install non-Microsoft Store apps on your device.
Leave a Reply