InDesign is a desktop and digital publishing software that can be used to lay out digital and printed books and other items. One great feature of InDesign is the ability to add images to shapes. Shapes are multi-purpose in InDesign, they can be used as placeholders for images and texts. Shapes can also be used as frames for images – you just need to know how to place Images in Frame in InDesign.
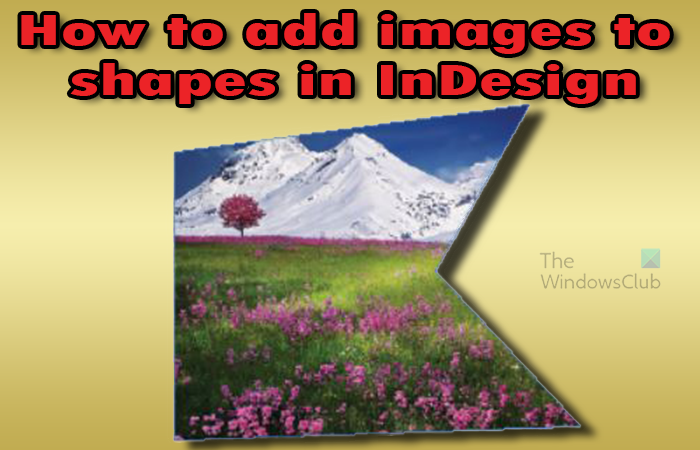
How to place Image in Frame in InDesign
Adding images to shapes in InDesign allows you to add some interest and style to images that would be otherwise dull. With the ability to create custom shapes in InDesign, you can create unique shapes to add images to. These unique shapes can serve as frames or placeholders for your images.
- Open and prepare InDesign
- Add image to InDesign
- Create the Shape In InDesign
- Add Image to shape in InDesign
- Replace the shape with the image
1] Open and prepare InDesign
Find the InDesign software and open it. When you click InDesign you will see the screen for you t choose what you want to do, you can click a recent file or open a new document.
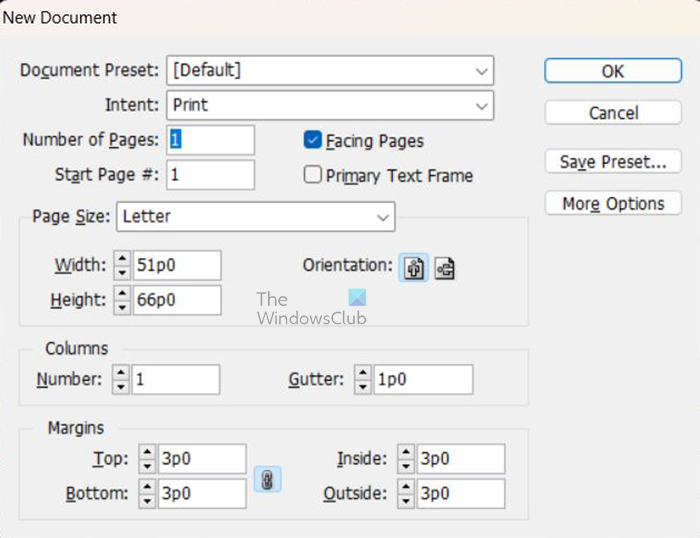
The New document options window will then open for you to choose the options that you want your document to have. When you have chosen the options that you want click Ok to create a new document with your options.
2] Add image to InDesign
With the document now open it is time to add the image to InDesign. Find the image on your computer then click it and drag it into InDesign. When the image is in InDesign resize it if it needs to be resized. You can also add an image to InDesign by going to File then Place. The Place file window will open and you can search for the image that you want. When you find the image, click on it and it will go to the preview window, press the Open button. You will see the image that you chose, take the place of your cursor, you can click anywhere on the page and the image will fit there. You can also click and drag to a desired size and the image will take that size that you dragged to define.
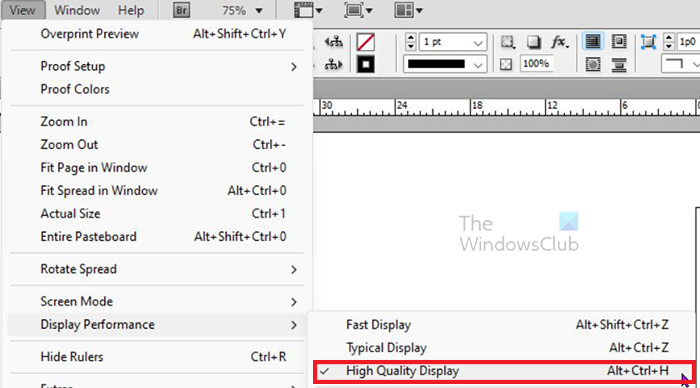
If the image looks a bit pixelated, you can improve how it looks by changing the Display performance. You can change the Display performance by going to the top menu and clicking View then Display performance The default Display performance is Typical display, choose High quality display. You can also get choose High quality display by pressing Alt + Ctrl + H. You will see an improvement in the quality of the image. Note that the High Quality display option will use more memory so if you do not have enough memory in your computer, it will slow down.
3] Create the shape in InDesign
This step is where you will create the shape in InDesign.
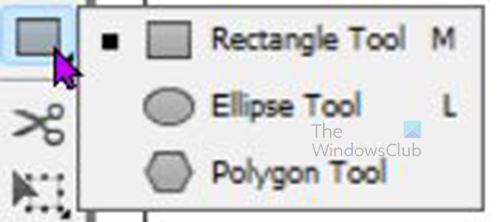
There are three default shapes in InDesign they are the Rectangle, the Polygon, and the Ellipse. These shapes can be made by using the tools found on the left tools panel. These shapes can be used to create custom shapes so that some that are universal and some are unique to a user. You can also create unique shapes using the Pen tool.

A regular shape could be made using the Ellipse tool to create a circle.
A regular shape could be made using the Rectangle tool to create a square.
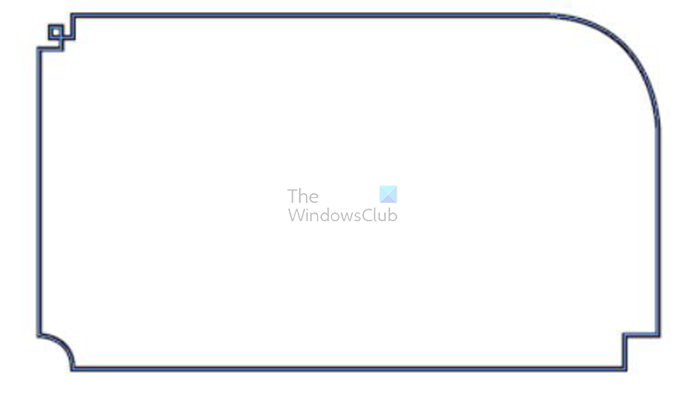
The unique shapes would be using any of the tools or a combination of tools to create a unique shape.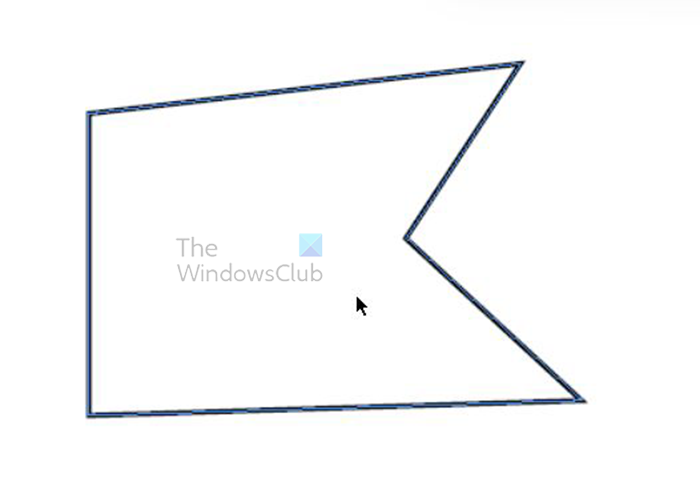
Unique shape made with the pen tool.
4] Add Image to shape in InDesign
This is the step where you add the image to the shape. You can choose to add the images directly to the shapes that you create. To do that you can create one shape or multiple shapes. You then go to the top menu bar and click File then Place. The Place dialogue window will open where you will search for the image or images that you want to place in the shape or shapes. Select one or multiple images from the folder. To select multiple images click one and hold Ctrl and click the others, or if they are in line click the first one then hold Shift and click the last one. When the images are selected click Open. You will see the image take the place of your cursor and you will see a number representing the number of images that are there. You can use the left and right arrow keys to cycle through the images. If you want a specific image for a specific shape you can just use the left and right keys to cycle to that image and then click on the specific shape. If you want to delete one of the images from the cursor, press escape. You can press escape until all the images are deleted.
You then click on each of the shapes you have created and one image will be placed on each of the shapes that you click. When you click and place the images in the shape, you may just see a part of the image in the shape. This will happen because the image is too big for the shape. The opposite may also happen where the image will leave a space in the shape because it is too small for the shape. You can fix the image to the shape in two ways either manually or automatically.

Image 1

Image 2

Image 3
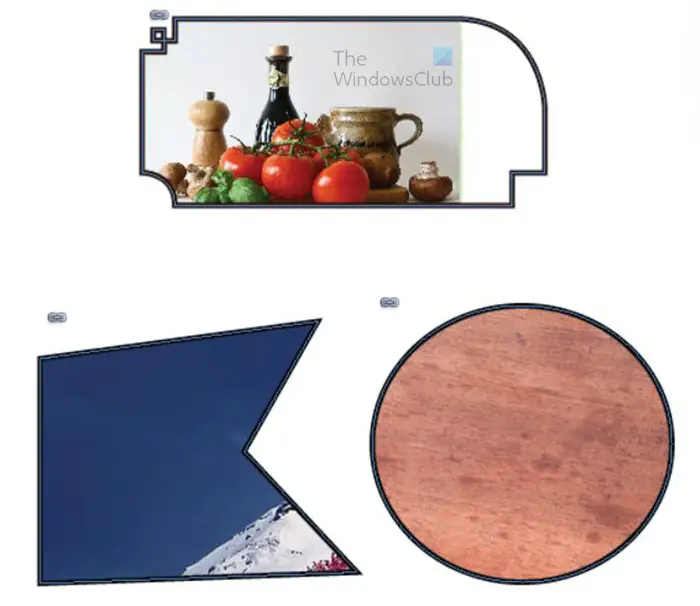 These are the images when they are placed in the shapes. You will notice that the images do not fit perfectly in the shapes. You will have to resize them to fit the shapes. Different images will give different outcomes.
Manually resizing
Click on the image in the shape and you will see two circles in the center. Click on the dark circle and you will see the bound of the image. You can then click the handles and drag the image to fit into the shape. To make the image resize proportionately, hold the Shift key as you drag and the image will resize from all sides.
If you want to move the image in the shape click any of the sides of the image itself. If you want to move both the image and the frame, click the edge of the shape.
Automatically resizing the image
You can use two methods to fit the image into the frame automatically they are, Fill frame Proportionally and Fit content proportionally.
Fill frame proportionally
This option fits as much of the content of the image into the shape so that all the space in the shape is filled up. Depending on the image’s size it may look different.
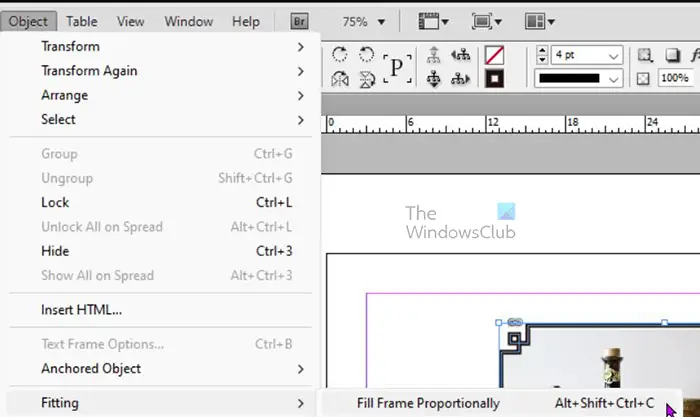
Go to the top menu bar and click object then click Fitting then Fill frame proportionally or click Alt + Shift + Ctrl + C.
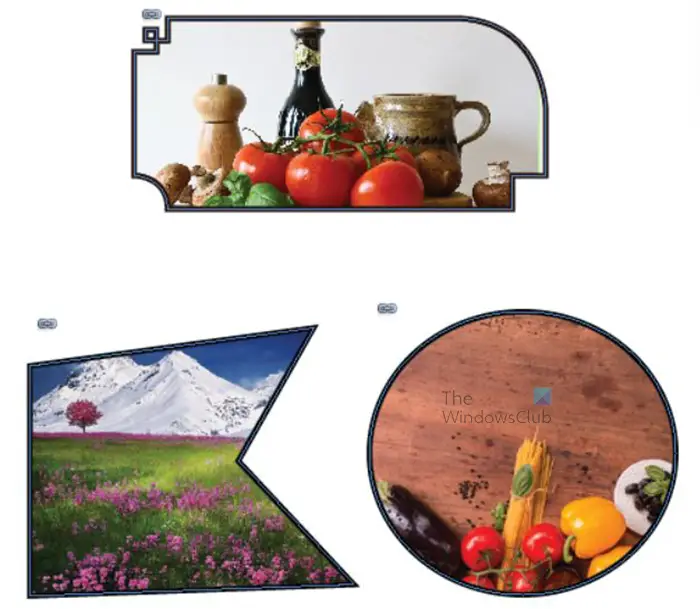
Images changed to Fill frame proportionally.
Fit content Proportionally
This option will fit all of the content into the shape regardless of how it will look. Depending on the size of the image, it may have a different outcome.
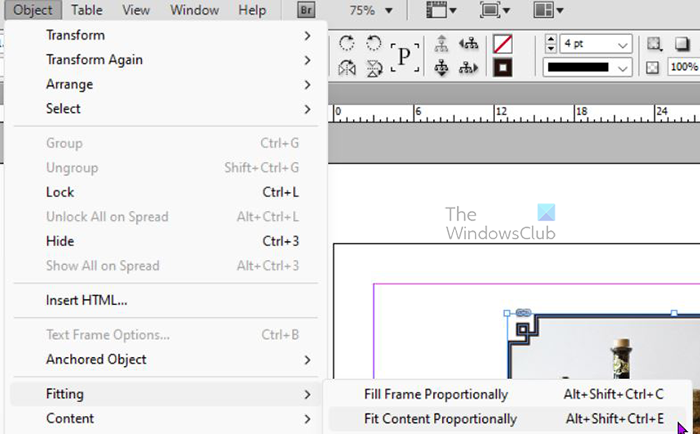
Go to the top menu bar and click object then click Fitting then Fit content Proportionally or click Alt + Shift + Ctrl + E.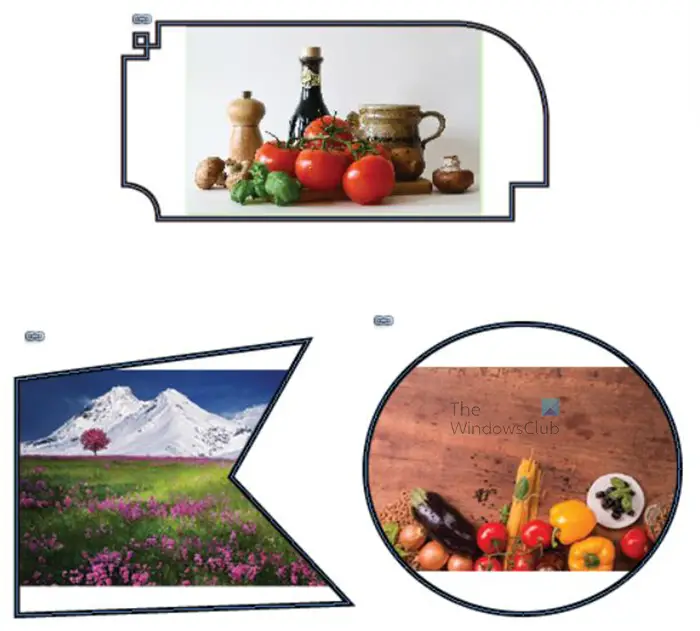
Images changed to Fit content Proportionally.
Try both of these options and see which works best for your image and the look that you want.
5] Replacing
Another great way to use the shape in InDesign is to use the image to replace the shape while still keeping the outline of the shape. The image would take on the outline of the shape but the actual shape would be gone.
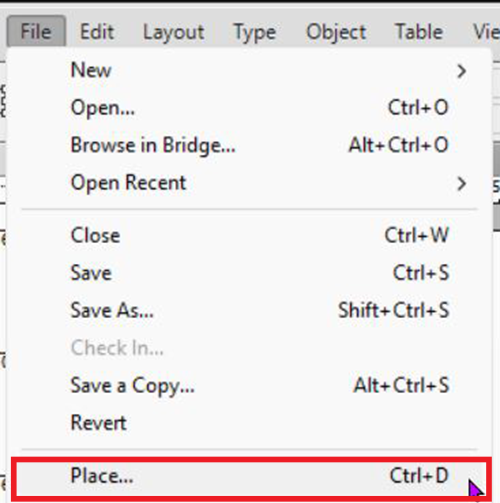
To replace the shape with the image that will take on the properties of the shape, click on the shape and set the stroke to 0 then go to the top menu bar and press File then Place or press Ctrl + D.
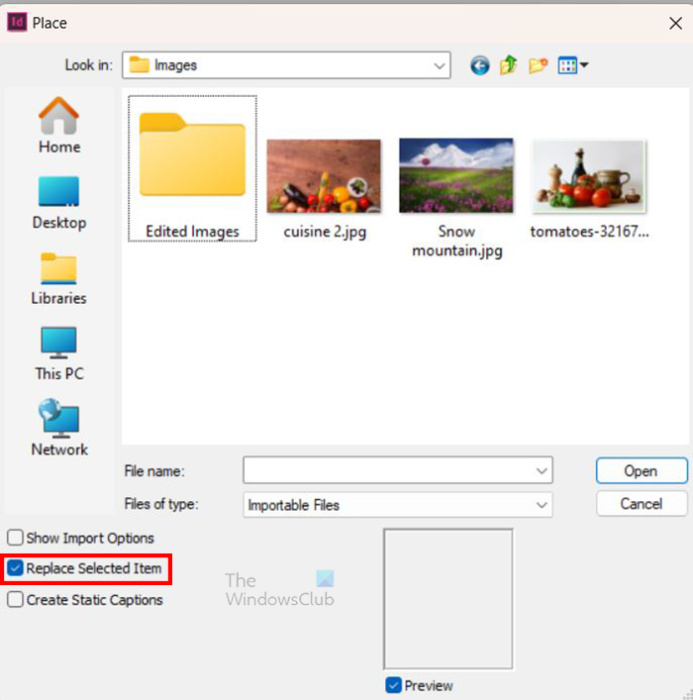
The Place window will open for you to choose the image. Look at the window and you will see three options that you can check. The options are Show import options, Replace selected items and Create static captions. Make sure that select the Replace selected items is the selected option.
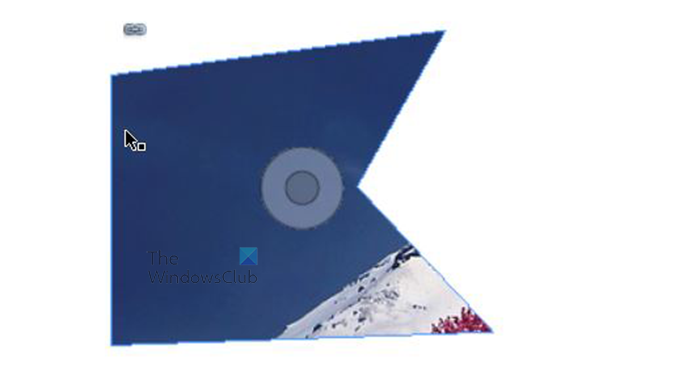
This is the image replacing the shape, you may have a case where the image is not showing how you want it as important parts are missing.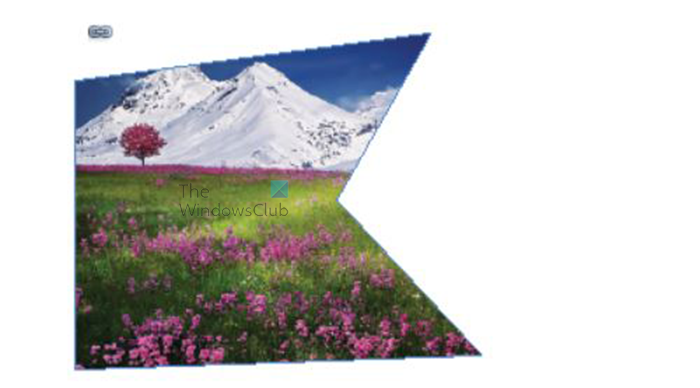
Adjust the image by clicking the circles in the center and moving it until you get it how you want it. you can also use the Fill frame Proportionally or the Fit content proportionally. The above image was adjusted using the Fill frame proportionally. You can see the image much better.
The replace option can also be used to replace other images that are inside shapes. You may want to replace an image that is already inside of a shape.

You do not want to delete the shape. You can do this by clicking on the image that you want to replace inside the shape. You then go to the top menu bar and click File then Place or press Ctrl + D.

The Place window will open for you to choose the image. Look at the window and you will see three options that you can check. The options are Show import options, Replace selected items and Create static captions. In this case, you would select the Replace selected items. when you select the image and click place, it would replace the image inside the shape but leave the shape in place.
Read: How to create custom shapes in InDesign
How to adjust an image that is inside of a shape?
When you want to adjust an image that is inside of a shape, hover over the image and you will see a circle within a circle and the cursor will turn into a hand. Click the circle and you will see the outline of the image. you can resize the image using the handles. You can also change the position of the image within the shape by holding the circle and moving the image.
How do I place an image into text?
To place an image into a text you will have to convert the text to an image. First, create the text with all the options that you want. You will then select the text and go to the top menu bar and press Type then Create outlines or press Shift + Ctrl + O. to place the image inside the text, select the text then go to the top menu bar and press File then Place, when the Place window appears, select the image that you want and press Open.
Leave a Reply