InDesign can also be used to create posters and other materials; however, it is best for printed or digital publishing. A great feature that you can use when you design your books or posters is placing one image into multiple frames or shapes in InDesign. This allows you to create stylish covers or images for your posters.
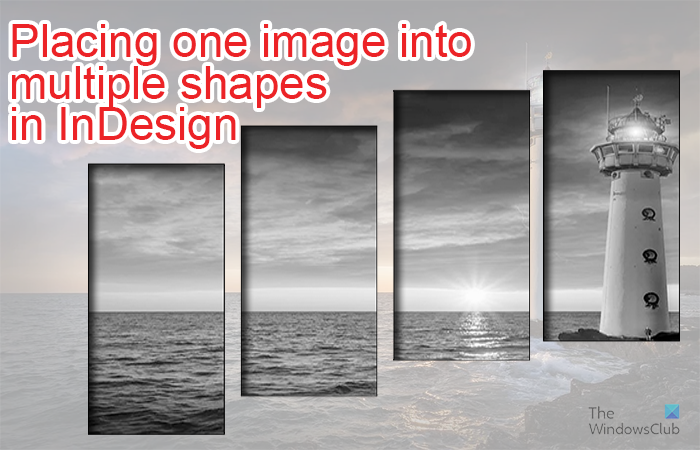
Placing one image into multiple shapes in InDesign is quite easy to learn and reproduce. Placing one image into multiple shapes allows you to create unique designs using any shape or a combination of shapes. You can use the default shapes or create your own unique shape.
How to place One Image into Multiple Frames in InDesign
Let’s explore the steps that you will need to follow to place one image into multiple shapes in InDesign.
- Create a new document
- Create the shapes
- Convert shapes to a compound path
- Place the image into the shapes
- Adjust the image inside shapes
- Adding a drop shadow
- Save
1] Create a new document
This step requires that you create a new document in InDesign for the shapes. Open InDesign by clicking its icon.
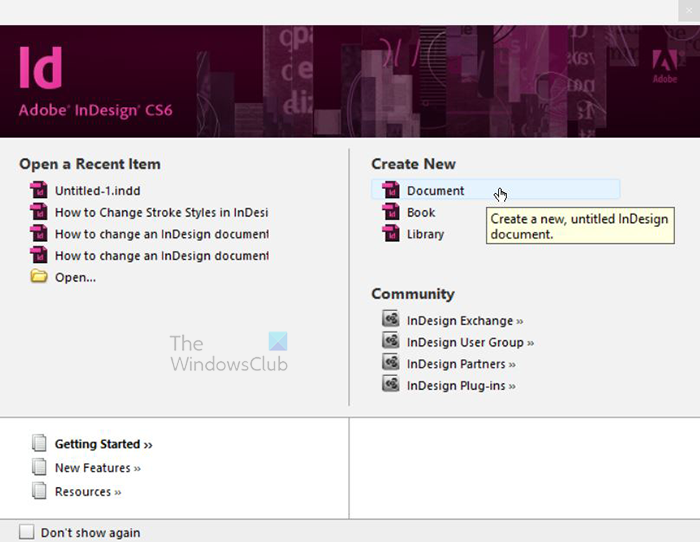
The window will open for you to choose to create a new document or to open a new document. In this case, you will create a new document so click Document.
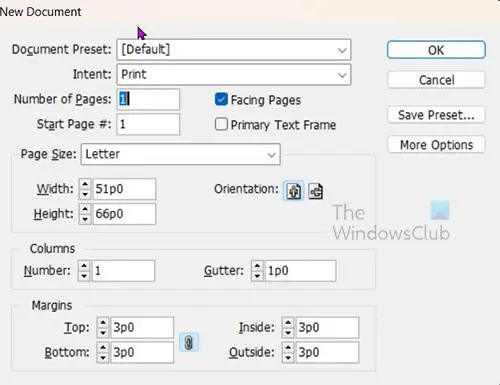
Another options window will open for you to choose the properties you want for the new document. When you have chosen the options that you want, click Ok to create the document.
2] Create the shapes
The next step is to create the shapes that you want to use for the image. You can use any shape that you want for the images. In this article, the Rectangle will be used.
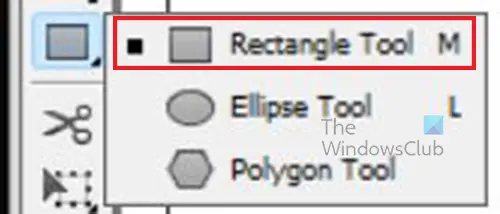
Go to the left tools panel and choose the Rectangle tool or press M.
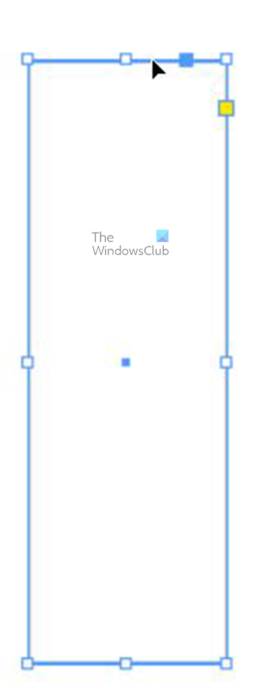
With the Rectangle tool selected go to the document, click, and drag to create the rectangle.
This article will use long narrow rectangles as the shapes, but you can use any shape that you want. You can use different shapes, or you can use similar shapes. You do not have to add any fill color for the shape as the image will take the place of the fill color.
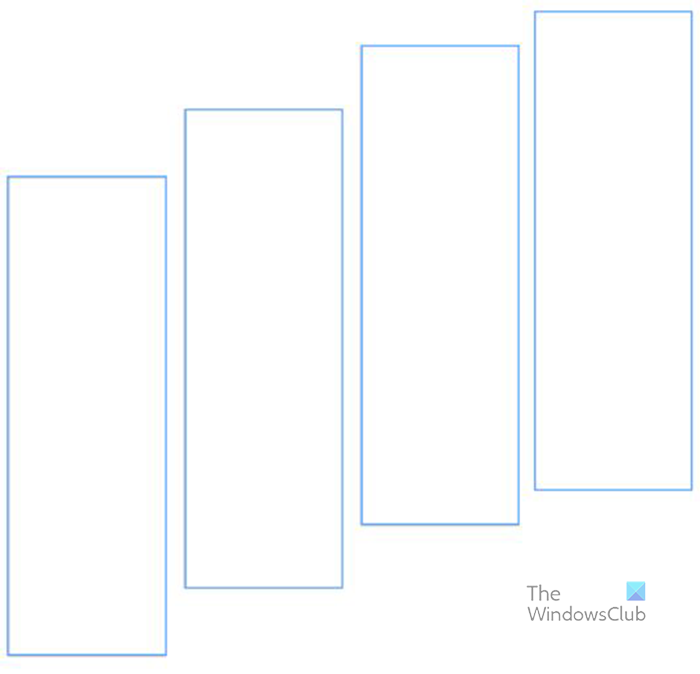
If you decide to use similar shapes you can duplicate the first shape by holding Alt and then clicking and dragging it, this will duplicate the shape. Do this as many times as you need to create the number of shapes that you will need. This article will use four rectangles for the demonstration.
3] Convert the shapes to a compound path
This step requires that you change the shapes to a compound path.
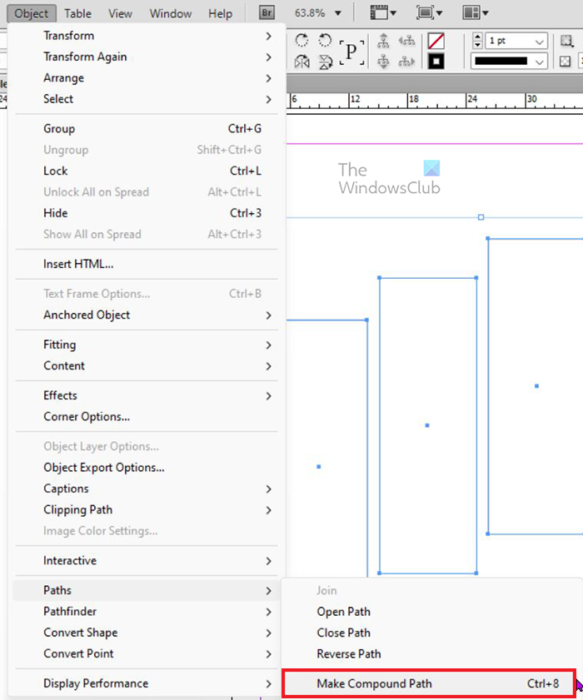
To convert the shapes to a compound path, select all four shapes then go to the top menu bar press Object then Path then Make compound path, or press Ctrl + 8. You will see that the shapes now act like one shape.
4] Place the image into the shapes
This step is where the image will be placed inside the shapes. With the images being one compound path, you just need to click on any one of them to select them all.

This is the image that will be added to the shapes.
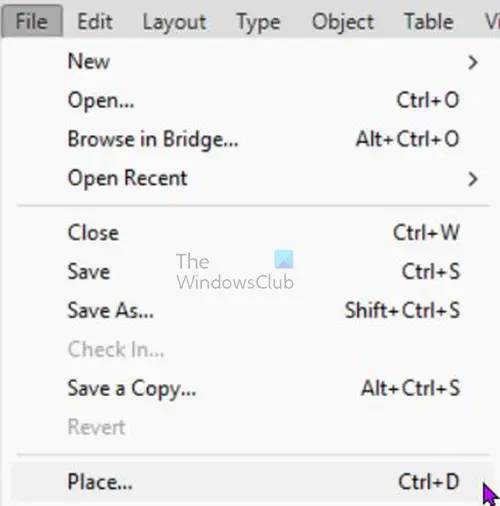
With the shapes selected go to the top menu bar and press File then Place or press Ctrl + D.
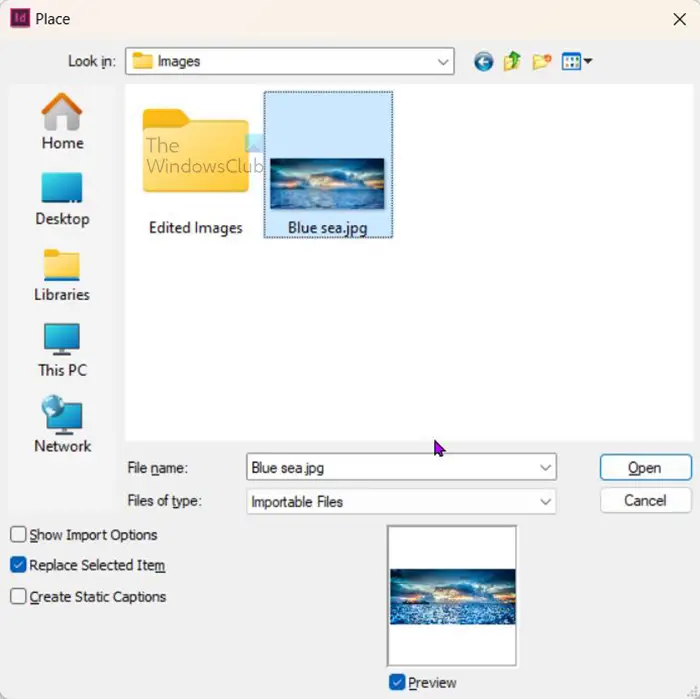
The place window will appear for you to choose the image that you want to place inside the shape. Select the image that you want and click Open.
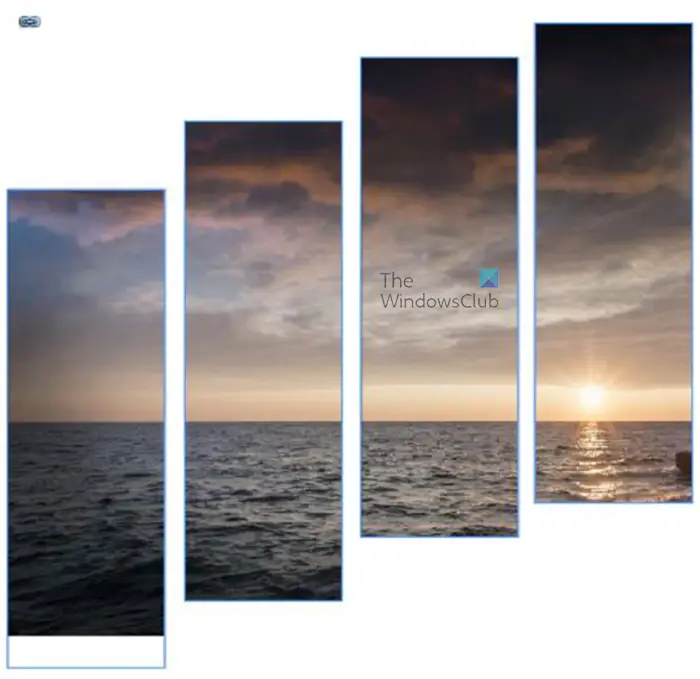
The images will be placed inside the shapes just like it is one shape. You will see the image shared across the shapes like it is one big shape. You may however notice that the image is smaller or bigger than the shapes so you will not be seeing the image like you want to. The images will show differently depending on the size of the image and also where the subjects are in the image. this means that you may need to adjust the image or the shapes to fit in with the image. The next step will help you to adjust the image inside the shape.
5] Adjust the image inside the shapes
The image may not fit the way you want it to inside the shapes, you will then need to adjust the image inside the shapes to fit how you want. To adjust the image hover over the image until you see a circle appear on the image. The circle will allow you to move the image without moving the shapes. Hold and move the image around inside the shapes. When you click on the circle you will also notice that the transform boxes will appear around the image, you can use these to resize the image.
This is the artwork with the image fitted manually to show all the aspects of the image.
You can also use some pre-set fitting options that are in InDesign and see how they work with your image and your shapes. Experiment with each option and see if any of them works out the way that you want. If they do not work, you can always use the option to manually fit the image the way that you want.
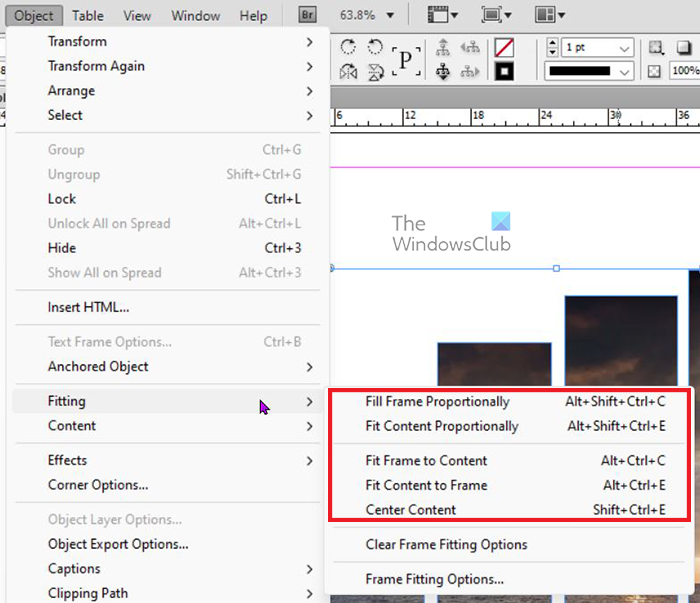
To try the Fitting options, select the image then go to the top menu bar and press Object then Fitting. You will see the available options and you can try each of them to see if they work. You can always use Undo Ctrl + Z after each to get the image back to how it was if you are not satisfied with the results.
6] Adding a drop Shadow
Now that the image is inside the shapes, you can add other effects. Here you will be shown how to add a drop shadow to the overall artwork.
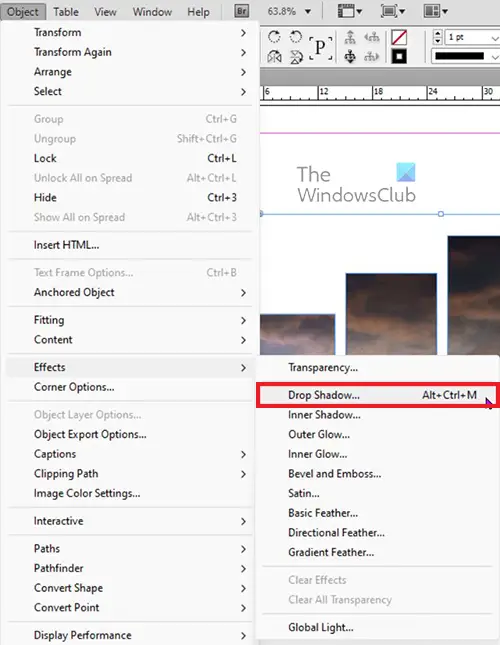
To add the drop shadow, select the artwork then go to the top menu bar and select Object then Effects then Drop shadow. You can use this same method to add other effects to the artwork.
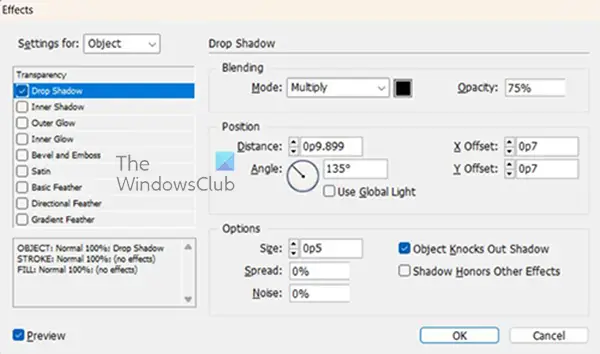
You will see the Effects window open with Drop shadow selected. You can then choose other options for the drop shadow such as the color, angle and anything that you want to add to the drop shadow. For the article, the drop shadow’s color will be changed to yellow, however, everything else will be left at default. You can make whatever other changes you want.
Here is the artwork with the yellow drop shadow added.
7] Save
After all that hard work you want to now save the artwork. The first save you should do is while you are working. Save the document as an InDesign editable file. To save as an InDesign editable file go to File then Save as. Give the file a name and choose the location then click Save.
You now want to save or Export a copy that you can easily share and post online on w website or social media. To export the file go to File then Export. The Export window will open for you to give the file a name and choose the file format. Choose the file format, name the file, choose the location to save then press Save.
Now that you know how to add one image into multiple shapes, you can now experiment with different shape combinations and add other effects.
How do I release the compound path, so each shape becomes independent again?
If you want to release the compound path so that each image acts independently, just click on any of the shapes. You would then go to the top menu bar and press Object then Paths Release compound path. You will see each shape get its own transform box around it. if you have an image in the shapes you will see the image just move to one of the shapes.
How do I remove the effect from my artwork in InDesign?
If you added an effect to your artwork in InDesign and you want to remove the effect, select the artwork. With the artwork selected to go to the top menu bar and select Object then Effect then select the effect that you want to remove, when the Effects window opens uncheck the effect then press Ok to accept the changes. The effect will be removed from the artwork.
Note that the file has to be an editable InDesign file for you to be able to remove the effect from the file using that method. If the file is JPEG or PNG, you may have to recreate a new artwork because the JPEG or PNG would have been flattened so the effect is permanent.