In this post, we will discuss how to play and edit MIDI files in Windows 11/10. A MIDI aka Musical Instrument Digital Interface file basically stores music sequences and instructions on what and when notes are to be played. Also, it saves instructions on how the music will be produced when it is opened in dedicated software or when a playback device is attached. Here, I will discuss how you can play and edit MIDI files on your Windows PC.
How to play MIDI files in Windows 11/10
If you want to just play MIDI files on your PC, you can use media player software like VLC. Thankfully, Windows Media Player also supports MIDI as input format. So, you don’t need third-party software to play MIDI files. Just import a MIDI file into it and play it.
Read: How to install MIDI Drivers in Windows.
How to edit MIDI files in Windows 11/10
To edit a MIDI file in Windows, we will be using a free audio editor called Aria Maestosa that allows you to edit MIDI files. It is a free and open-source software for creating music and editing MIDI files. Here are the basic steps to edit MIDI files in Aria Maestosa:
- Download and install Aria Maestosa.
- Launch Aria Maestosa.
- Import your MIDI file.
- Use the Timeline and various editing tools to modify the MIDI file.
- Save the edited MIDI file.
Let’s have a look at the steps in detail!
Firstly, you need to download and install Aria Maestosa on your Windows PC. After that, launch it to open up its main interface.
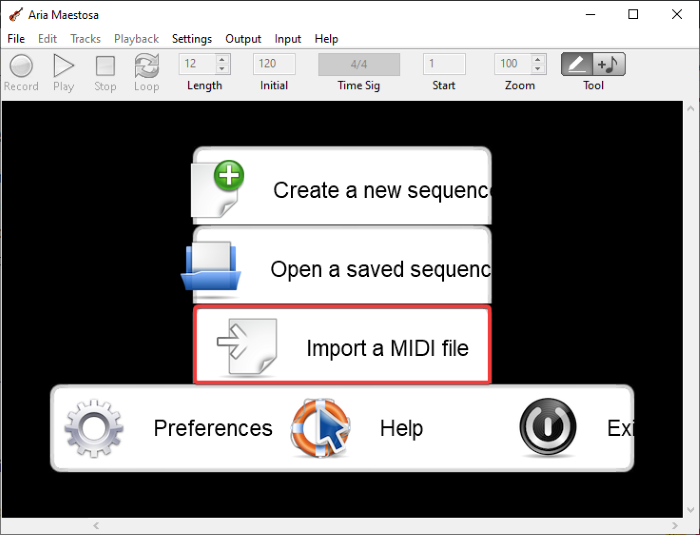
As you launch the software, you will see multiple options on its interface. Just tap on the Import a MIDI file option and then browse and open a MIDI file.
The main interface shows multiple MIDI tracks on the timeline, from which you can directly edit the music. This software has various handy features for editing MIDI files. You can add new tracks, delete an existing track, duplicate track settings, etc.
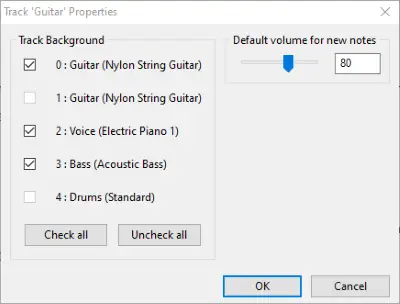
It lets you configure track properties, including track background and default volume for new notes.
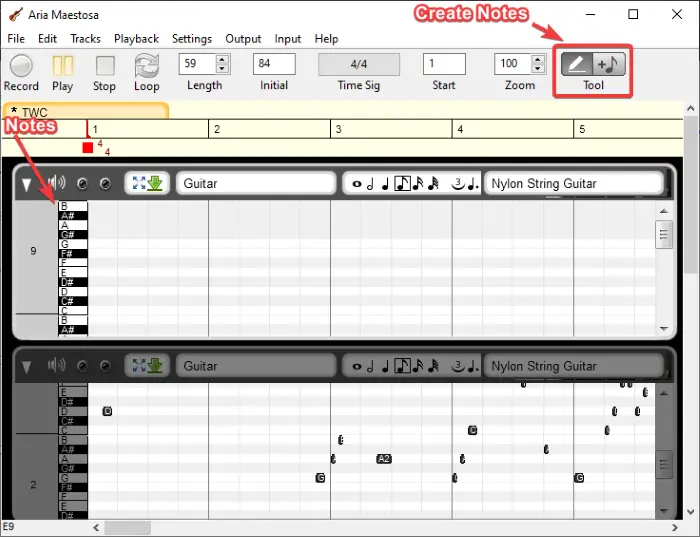
There is a Tool button present on its main toolbar. You can draw notes or click to add notes. Each MIDI track contains different rows for all notes. You can click on the respective row to add a particular note.
Read: How to create MIDI tunes with PianoRollComposer
If there are MIDI devices plugged into your PC, you select the MIDI input to record and create music. Also, you can toggle between MIDI output devices. It also lets you modify the time signature, key signature, tempo, etc. Furthermore, you can set the scale, remove overlapping notes, etc.
Read: The Mystery of the 3 Music Files in Windows.
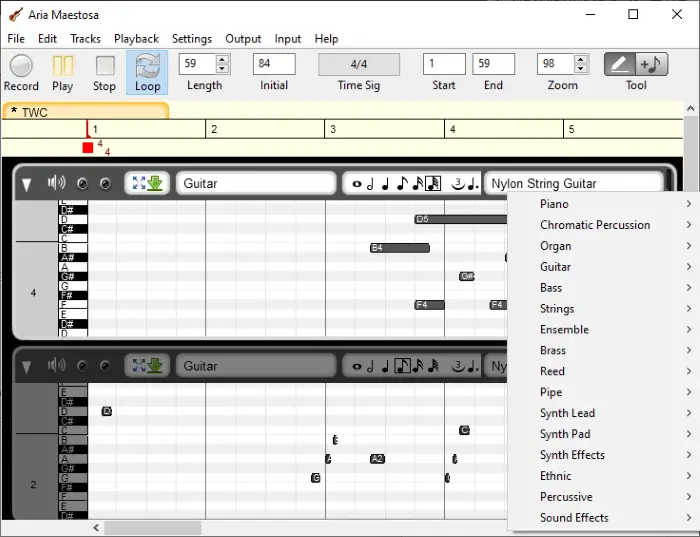
It also lets you change the musical instrument from the timeline. It contains a library of musical instruments to choose from, such as Piano, Guitar, Violin, Trumpet, Flute, Alto Sax, etc.
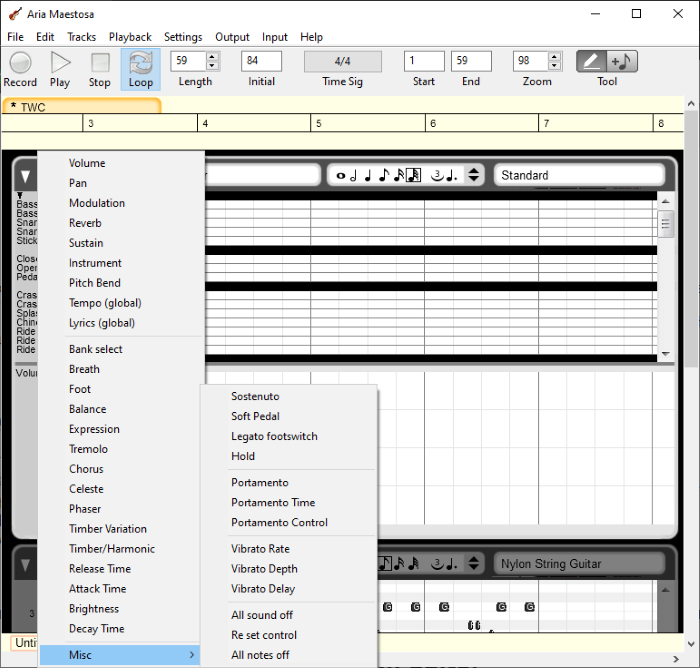
It comes with Guitar Editor, Piano Editor, Score Editor, Drum Editor, and Controller Editor to edit corresponding music. You can find some handy options in these editors to edit or add lyrics, add reverb, adjust tempo, edit attack and release time, adjust pitch bend, and do more. You can learn more about these tools on its main website.
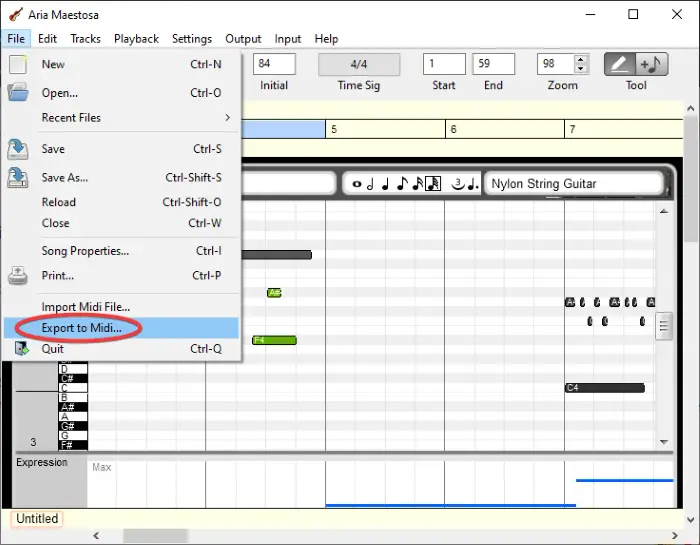
You can play the MIDI sound in its inbuilt player to listen to the edited music. When you’re done editing and previewing the MIDI file, you can save changes in the existing file or export a new MIDI file. Simply go to the File menu and use the Export to Midi option.
The advantage of this software is that you can import multiple MIDI files in different tabs and edit them simultaneously.
Like Aria Maestosa? You can get this software from ariamaestosa.github.io.