Artists used the posterization method to use less ink when they printed. They reduced the number of color variations in concentrated areas. This would make the print use less ink so they could print more. Using less ink gave the images a unique look that is still popular. Today we will show you how to Posterize a Picture in Photoshop.
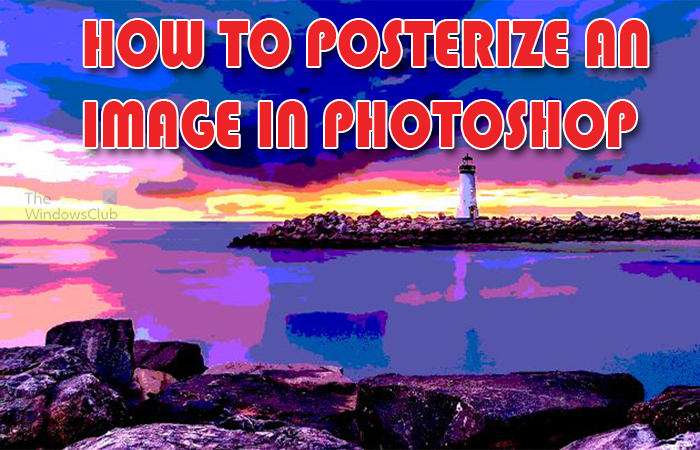
How to Posterize a Photo in Photoshop
Posterizing an image will add a unique look to each image. No two image will look alike after it is posterized. You can posterize any image in Photoshop
- Place the image in Photoshop
- Covert image to Smart object
- Add Smart filter
- Posterize image
- Choose the level of posterization
1] Place the image in Photoshop
The first step to posterizing the image is to place it in Photoshop. There are a few ways to get the image into Photoshop. You can click the Photoshop icon to open the software. You can then add the image by going to File and then Open. The Open dialogue box will appear, search for the image file then click it and click Open. The image will be added into Photoshop as a background.
The next way that you can add the image into Photoshop is to open Photoshop then find the image on your device, click, and drag it into photoshop. You can also get the image into Photoshop by finding the image on your device, right-clicking on the image then clicking Open with then Adobe Photoshop (version).

This is the image that will be used in the article.
2] Convert the Image to a Smart object
The next step is to convert the image to a Smart object. This will allow you to make changes without directly editing the image. The Smart object will not be directly edited, and the image can be easily changed, and the other image will take on the properties of the smart object.
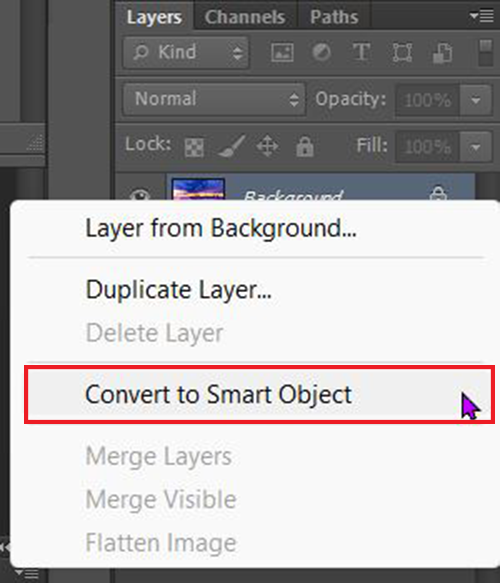
To convert the image to a smart object you can right-click on the image layer and choose Convert to smart object. You will see an icon appear on the lower right of the image showing that it is a Smart object.
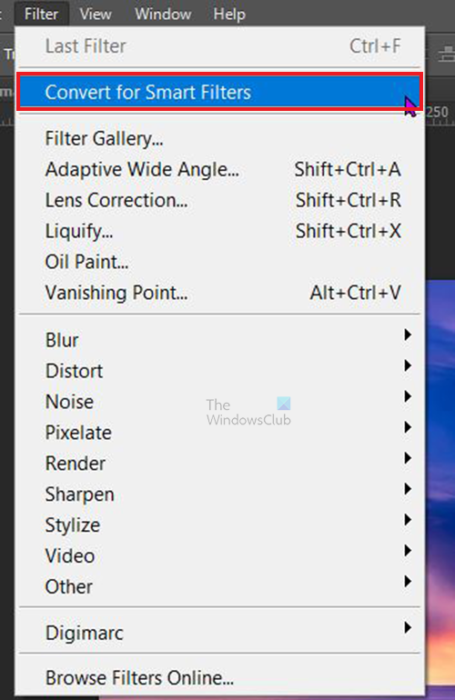
Another way to convert the image to a Smart object is to go to the top menu bar and then, click Filter then Convert to smart filters.
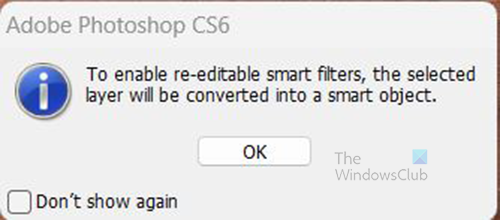
A smart filter information box will open stating that To enable re-editable smart filters, the selected layer will be converted into a smart object. Click Ok to confirm that you want to convert the image to a Smart object. You will see an icon appear on the lower right of the image showing that it is a Smart object.
3] Add Fill or adjustment layer
This next step is where you will add the Posterize effect to the image. This method of adding the Fill or adjustment layer will allow you to edit the Fill or adjustment layer later if you want to make more changes. The Fill or adjustment layer will be a separate layer placed above the image layer.
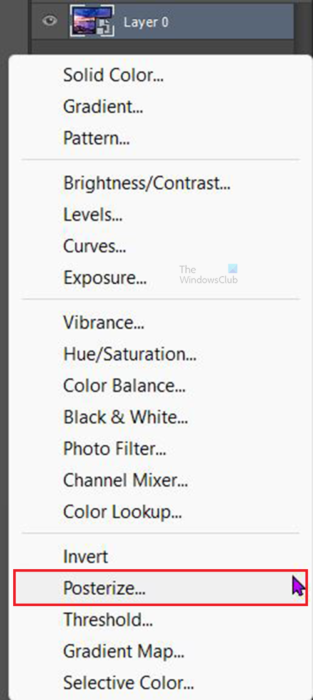
To create the Fill adjustment layer go to the layers panel and look for the Create new fill adjustment layer at the bottom of the layers panel. When the menu appears, click Posterize.
You will see Posterize layer appear above the image layer. The colors in the image will change and the image will have fewer colors showing by default. The default value is 4, which means that only 4 colors will be showing.
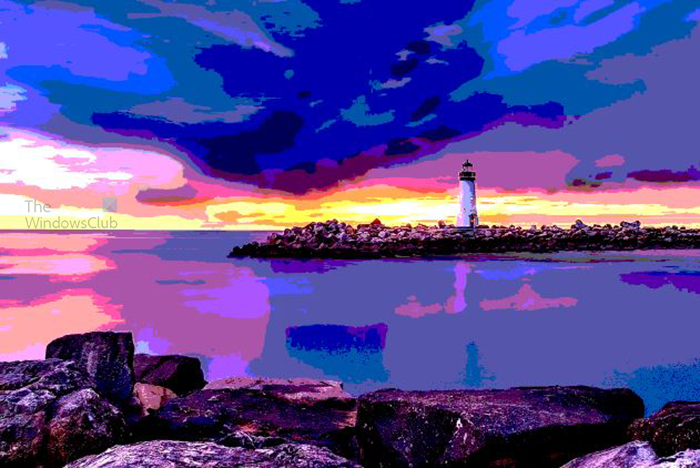
The image will change to appear posterized. This is the image posterized with the default value of 4.
4] Choose the level of posterization
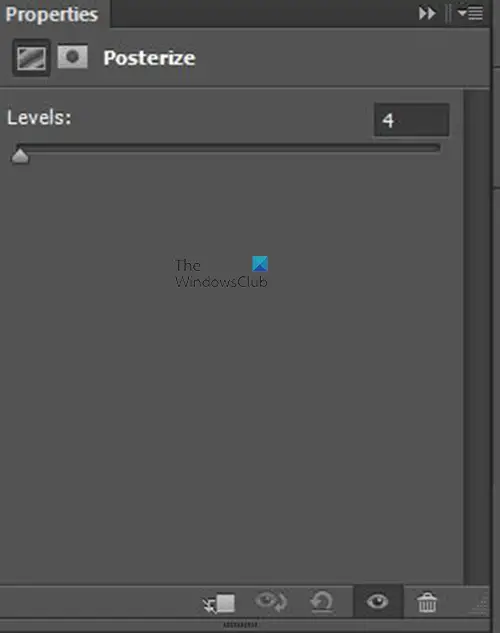
You will see a slider appear in the Properties panel, this is the slider for you to adjust the Posterize option. You can slide to the left to add less color to the image or slide to the right to add more colors. If you slide too far to the right the image will become like the original image.
Posterize value for the image can be between 2 and 255. The default Posterize value is 4. You can adjust the slider and experiment with different values and choose one that is to your satisfaction.
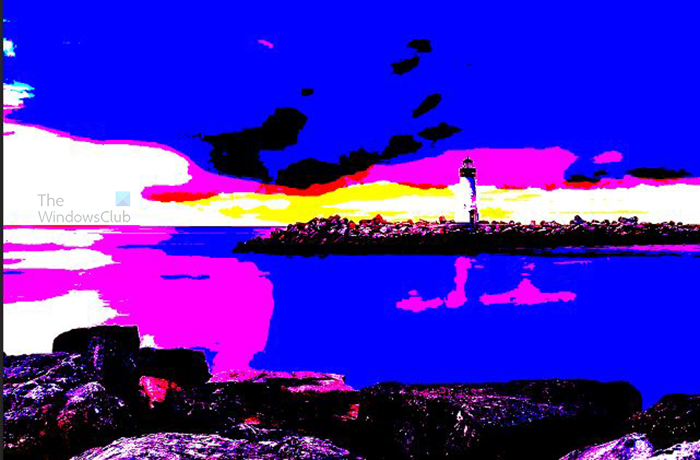
This is the image if it is posterized with a value of 2.

This is the image with a posterization level of 7.
Read: How to use the Equalize effect in Photoshop
Can I posterize parts of an image?
You can choose to posterize parts of an image by selecting it with any of the selection tools. For example, you may want to posterize the subject of the image but not the background. To do this, you can use the Quick selection tool to select the subject then go to the top menu bar and press Image, then Adjustment then Posterize. You will see the posterize adjustment slider appear and you can adjust the amount of posterize that you want to be done to the subject.
You may also want to posterize the background but not the subject. You can do this by following the steps to select the subject. When the subject is selected, right-click it, and when the menu appears, click Select Inverse. This will cause the selection to go on the background. You can then go to the top menu bar and click Image then Adjystment then Posterize.
Can I undo the posterize effect on the image?
The posterize effect can be quickly undone if you use the smart filter option. The smart filter option is where you created a separate filter layer above the image layer. This layer would be created by clicking the Create new fill adjustment layer icon at the bottom of the layers panel. This would keep the image from being directly edited when you posterize. If you want to see what the original image looks like you can turn off the visibility of the adjustment layer (named posterize 1), or you can delete it.
How can I easily swap the posterized image?
You can easily sway the posterized image if you have made the image a Smart object. You create the smart object by right-clicking the image in the layers panel and choosing Convert to smart object. The image will become a smart object and will keep its original quality. To swap the image that was posterized for another image so that it becomes posterized, right-click on the smart object and choose Edit content. You will get an information window telling you to Save when finished. Click on this window to be taken to a new canvas where you can add the new image. when you have added the new image, save it and go back to the original document. You will see the first image exchanged for the new image and the effects will be added to the new image.
Another easy method to easily swap the image would be to add the other image under the adjustment layer (posterize 1). This will give the new image the posterized properties and any other properties that were added to the adjustment layer. You can add as many images as you want under the posterize adjustment layer. They will all inherit the properties of the posterize adjustment layer. You can turn off the visibility of any layer that is above and may be blocking the images that are below.
Leave a Reply