Windows 11/10 is fine the way it is but you may want to customize it a bit by installing new themes to add a personal flair to the UI. However, many themes come with their own pointer. But you may not want that. Therefore, in this article, we are going to see how to prevent themes from changing a pointer in Windows 11/10.
Prevent Themes from changing the Mouse Pointer
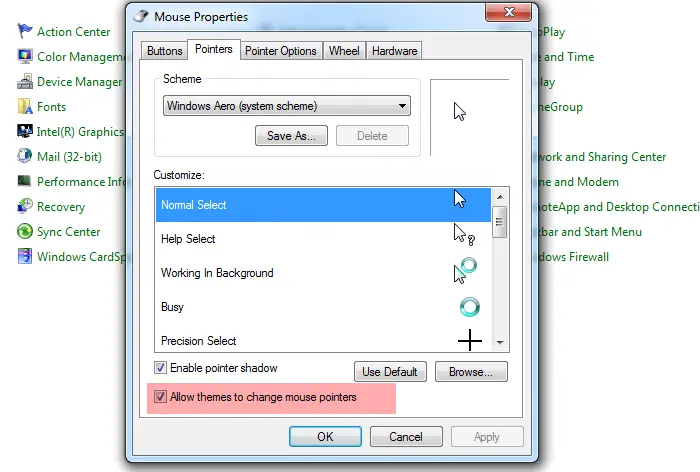
Microsoft has removed a few features from Windows 11/10 that were present in Windows 7. In Windows 7, you could just launch Control Panel, click Mouse > Pointer, and untick “Allow themes to change mouse pointer” to stop Pointer from changing.

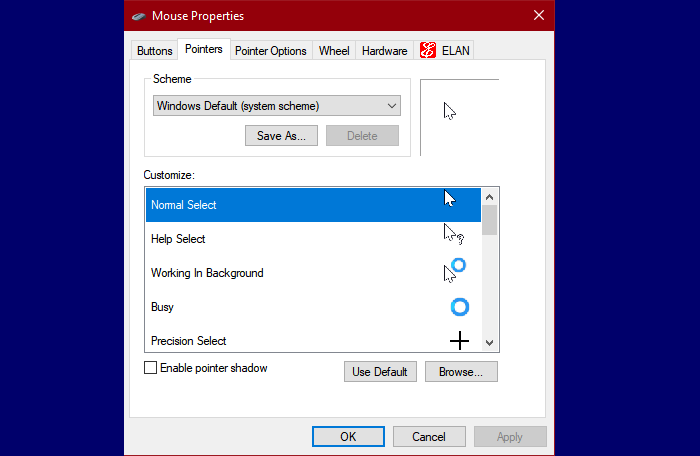
If you try to do the same in Windows 11/10, you will see that the “Allow themes to change mouse pointer” is absent.

However, this setting is not absent from Windows 11/10, you just need to dig in a little deeper, alter a registry key and you will be good to go.
You need to use the Registry Editor and we are going to use that to make sure that your pointer doesn’t end up changing every time you install a new theme.

Let us see how to prevent themes from changing Pointer in Windows 11/10. To do that, follow these steps.
- Launch Registry Editor by searching it out of the Start Menu.
- Click Yes when UAC wizard appears
- Now, copy and paste the following location in Registry Editor’s search bar.
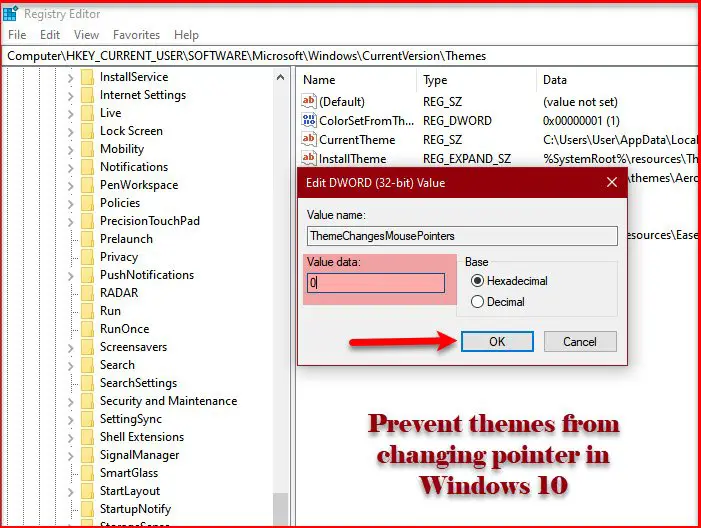
HKEY_CURRENT_USER\Software\Microsoft\Windows\CurrentVersion\Themes
- Now, look for ThemeChangesMousePointers value, if it’s unavailable, right-click on Themes and select New > DWORD (32-bit) Value.
- Once created, double-click on ThemeChangesMousePointers, set the Value data to 0, and click Ok.
Now, close the Registry Editor and refresh your PC, your pointer will revert back to default. If it doesn’t, you need to restart your computer to see the desired effect.
Now you can add new themes without worrying about changing Pointers.
Read Next: Prevent users from changing Mouse Pointers using Group Policy Editor.
Leave a Reply