Adobe Photoshop never ceases to amaze you with all the features that can help you to accomplish any task. The easy ways to recolor objects in Photoshop can be a time saver. Imagine having artwork that needs to change color in a short time. You cannot even think about making it over, so you need another easy way to do it. Learning these ways to change the color of an object in Photoshop can help with that.
How to recolor objects in Photoshop

Recoloring objects in Photoshop is like repainting items but Photoshop makes it easier and there is no mess to clean up. Recoloring is an easy way to use on any project, it is especially great for projects where you may need to show the same item but in different colors. For example product catalogs where one product may have lots of color variations. You would have to take photos of all the colors if you need to show them all. With these easy ways to recolor objects in Photoshop, you just need one photo and you can recolor and save precious time. Here are five ways to recolor objects in Photoshop. Note that one way may not work well with all colors, so the outcome may be different for some colors. Experiment with each method and find the one that works best for the colors you want to change.
- Prepare image
- Hue and saturation
- Fill layer
- Selective color with Hue/Saturation
- Using the brush tool & Hue blending mode
- Curves adjustment layer
- Copy or cut layer
How to change color of an object in Photoshop
1] Prepare image
The first thing to do is to duplicate the layer. If you had added the image to photoshop by right-clicking on it and then choose Open with Photoshop, the image will be added as a background. This background layer will be locked and will not allow certain editing. Duplicate the layer by pressing Ctrl + J. This will duplicate the layer and automatically name it layer 1. You can also duplicate the layer by clicking it and dragging it down to the New layers icon at the bottom of the Layers panel. This will duplicate the layer, however, the duplicated layer will be named Background copy.
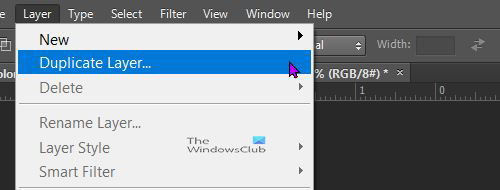
You can also duplicate the layer by clicking on the image then go to the top menu bar and choose Layer then Duplicate layer.
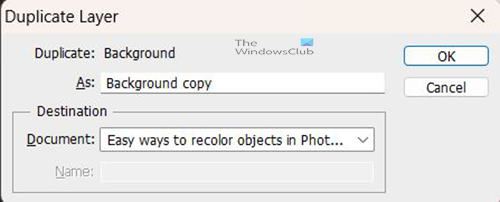
A Duplicate layer window will appear, here you get to name the layer. If you choose to change the layer’s name from background 1, you can do so then press Ok to confirm the changes and the duplication. The duplicated image will appear above the other image in the layers panel.
2] Hue and saturation
The first method that will be tried is using a hue/saturation layer. This method can be done by just adding the hue/saturation to the image layer. However, using the hue/saturation layer is will keep the original image unedited.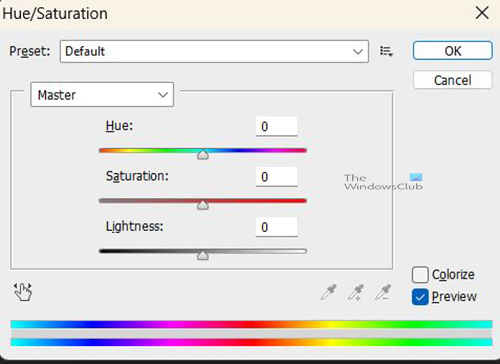
To begin the Hue/saturation without using it as a different layer, press Ctrl + U and the Hue/Saturation window will appear.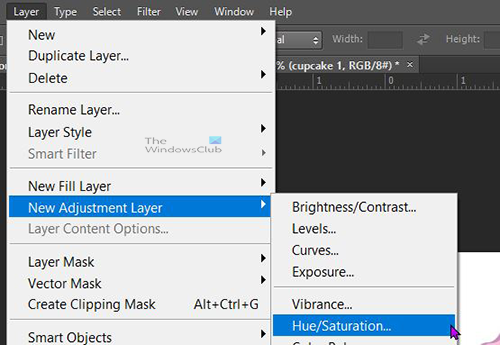
To begin the Hue/saturation with it being on a separate new layer, go to the top menu bar and press Layer then New adjustment layer then choose Hue/saturation.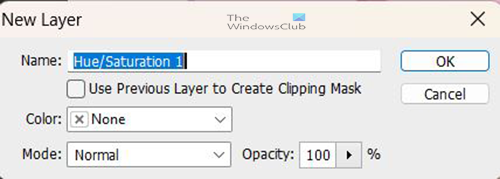
The Hue/saturation window will show up where you can give the hue/saturation layer a name or keep the default name. You can also choose the layer’s color mode and the opacity percent. You can choose to leave everything as they are and press Ok to create the layer. When you press ok the Hue/saturation layer will be created and placed at the top of the layers panel.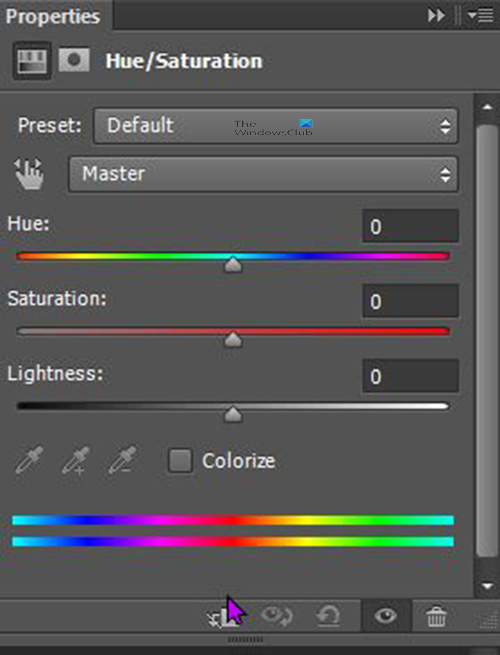
The Hue/saturation properties panel will show up on the right. You will see the different sliders for you to adjust to change the color on the image. Turn on the Colorize option and watch the image color change. You will notice that the Saturation slider changes to a value of 25. Move the sliders and experiment with different values until you get what you are looking for. This is the image with Colorize on, a Hue value of 39, a Saturation value of 65, and a Lightness value of 36. Remember that your image will look different based on what the colors were original.
The advantage of using the Hue/saturation layer is that the image will remain untouched. If you want the original image to show you can make the Hue/saturation layer invisible.
3] Fill layer
The other method that can change the color is using a Fill layer. To do this go to Layer then New fill layer then Solid color.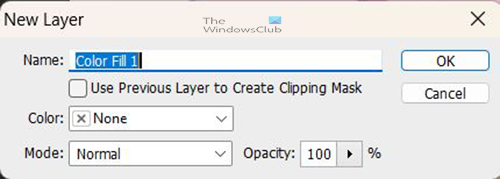
The New layer options window will appear, and you can change the Name, Color mode, and Opacity. You can also choose to keep everything as they are and press Ok to create the New fill layer.
The Color picker will appear and you can choose the color you want. The Fill layer option automatically creates a Layer mask. You will notice that the fill layer covers the whole image with whatever color you choose.
Click on the Layer mask and change the Color mode. Experiment with different color modes and see what you get. Choose the one that fits the color you want. You will see the image show through when the color has changed. Different Color modes will give different colors to the image.

Image with the Fill color mode changed to Difference. Your image will look different depending on the original colors it had.
You can choose to use the Brush tool to brush over the image and reveal parts of the image. This will show up differently from the rest that is covered. It will also look different based on the Color mode that is chosen. All this will not affect the original image as you are working on the fill layer that is above it.
The disadvantage of this method is that if you have an image that has a background around it, but you want to color the image only, the fill layer will cover everything. You can however use the brush tool to remove the unwanted colors.
4] Selective color with Hue/Saturation
To begin the Hue/saturation with it being on a separate new layer, go to the top menu bar and press Layer, then New adjustment layer then choose Hue/saturation.

The Hue/saturation window will show up where you can give the hue/saturation layer a name or keep the default name. You can also choose the layer’s color mode and the opacity percent. You can choose to leave everything as they are and press Ok to create the layer. When you press ok the Hue/saturation layer will be created and placed at the top of the layers panel.
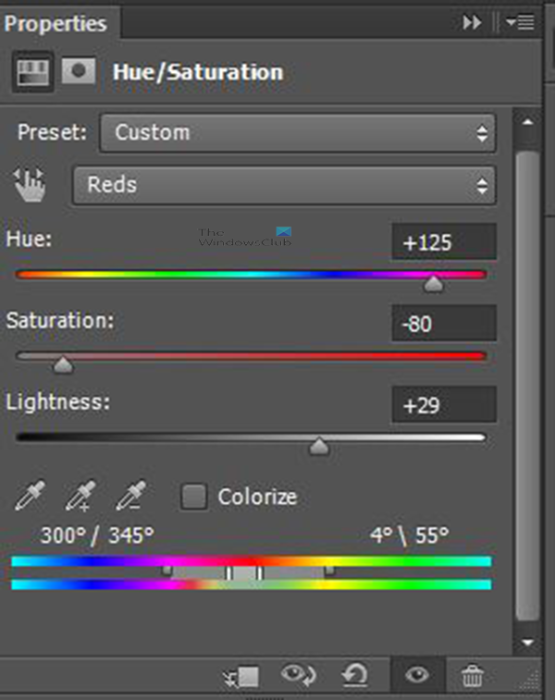
The Hue/saturation properties panel will show up on the right. You will see the different sliders for you to adjust to change the color of the image.
This method of selective color with hue/saturation is great if you want to change individual colors in your image. However, if you have a lot of the same colors in the image it may not come out very well.
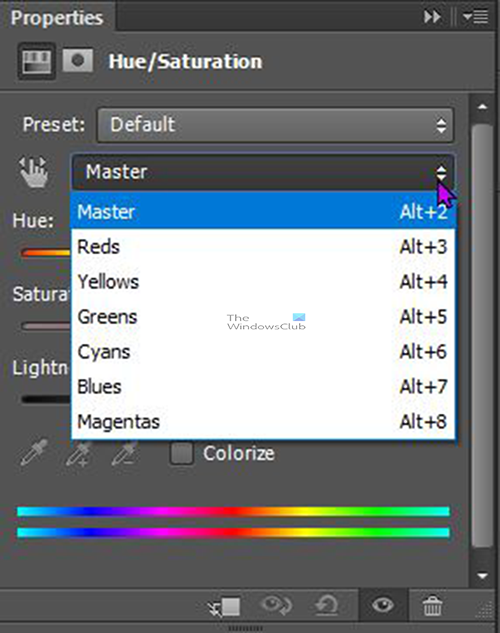
To work on individual colors, you can click where you see Master and a drop-down with color names will appear. You can select individual colors from the dropdown and change them by moving the sliders to change the color. When you are satisfied with the look, you can save your project and exit or continue working.
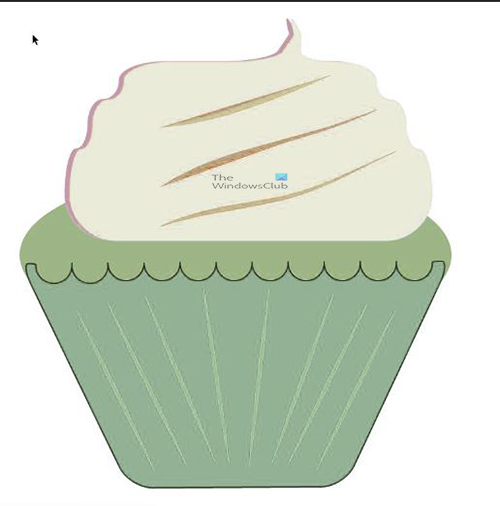
This is the image with the Red channel selected and changed.

The Hue is set to +125, the Saturation value is -80 and the Lightness value is +29. The double slider can also be adjusted
5] Using the brush tool
You can use the brush tool to recolor images. Go to the top menu bar, then choose Layer, then New layer or press Ctrl + Shift + N. This will create a new layer for you to work on. You then Click the brush tool then, go to the foreground color on the left Tools panel and change it to the color that you want. You can then paint on the new layer that was created. If you paint on any part that you did not want to paint, you can erase it. Painting the image with the brush is easy, and will fill be able to change color to paint different parts of the image. However, the painting will be more difficult if there are intricate details in the image to paint.
6] Curves adjustment layer
Using the curves adjustment layer to add color to your image is quick and easy.
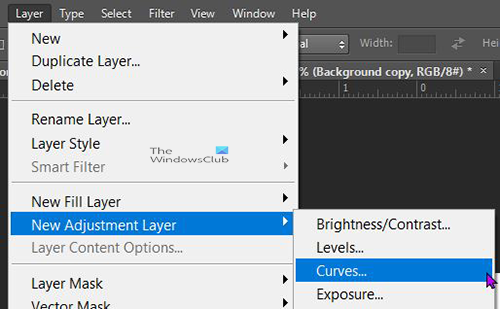
To use this method go to the top menu bar then go to Layer then New adjustment layer then Curves.
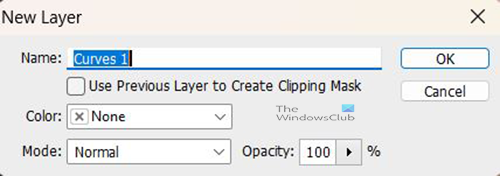
The new Curves adjustment layer options window will appear. You can add the name of the new layer or just leave t as it is and press ok. The New curves adjustment layer will appear in the layers panel above the image layer. Using the adjustment layer makes it easy to make changes in the future if you have to. You are also able to turn off the adjustment layer if you don’t want it to affect the other layer.
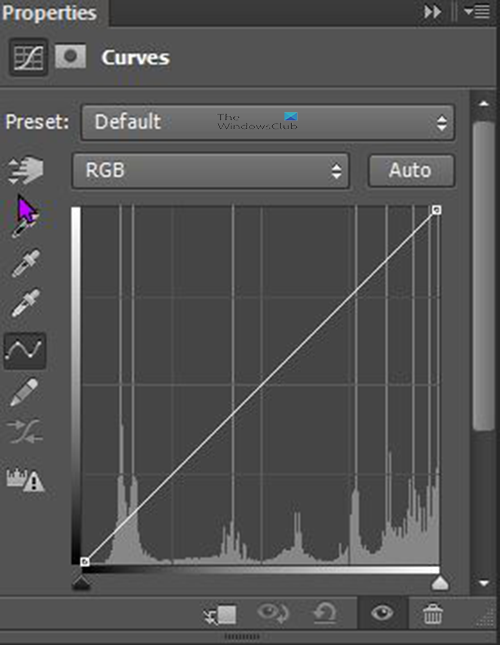
You will see the Curves adjustment layer properties window.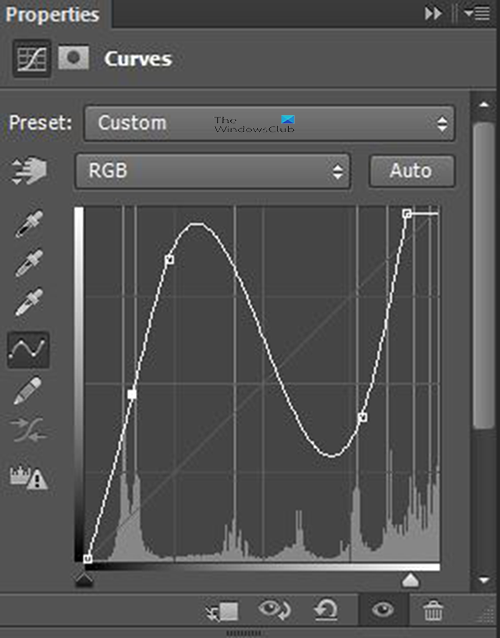
You can hover over the points on the curves adjustment graph and click and drag. Look at the image and watch the changes in the color.
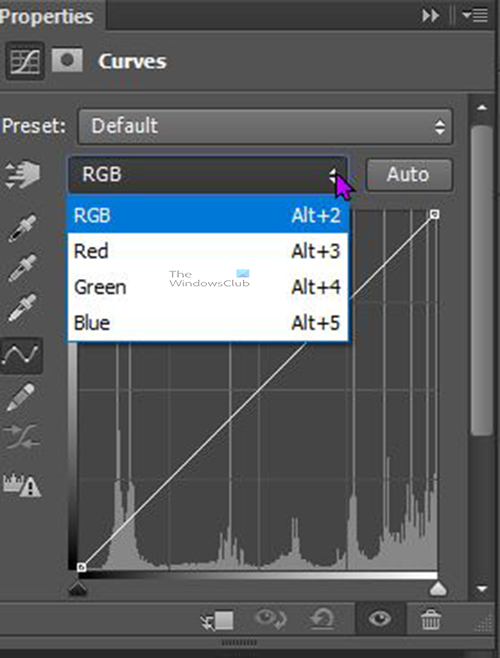
If you want to adjust specific color channels, click on the RGB color drop-down and you will see the colors Red, Green, and Blue. Select the one you want to adjust and then move graph points to adjust.
7] Copy or cut layer
This method is very easy and useful when changing colors on images where you want to select specific colors.
To use this method go to the left Tools panel and choose the Magic wand tool. Click on a color on the image to select it then right-click and choose Layer via copy or Layer via cut. This will use the selection and create a layer in the Layers panel. Layer via copy will just copy the selected part of the layer and copy it as a new layer in the layers panel. Layer via cut will cut the part of the layer that is selected and place it as a new layer in the layers panel. The layer will still be in place but if you delete or make it invisible. You will see the original layer with that part missing. You can then click on this layer and go to the bottom of the layers panel and choose the Fx icon and choose Blending option.
You can then choose to add a color or gradient to this layer. The layer will be unattached from the image, this will make it movable, and if the image is moved it will be out of alignment. You can stop this from happening by selecting the original image and the copied or cut layer then click the chain icon at the bottom of the Layers panel. This will link the layers and when one is moved they will both move.
This method of cutting or copying the layer can be used in multiple places on the same image to change the colors. This method may leave a few missed spots since colors may have slight differences and the magic wand will select only like colors.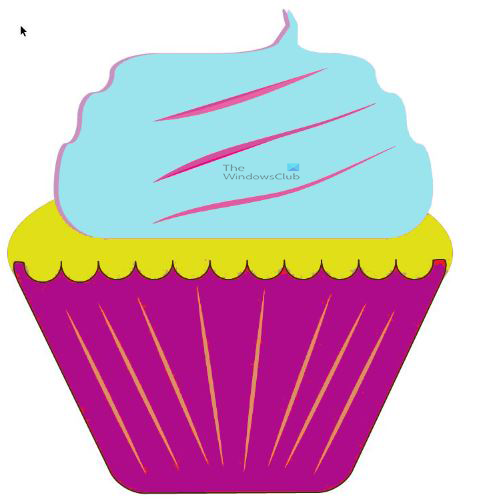
This is the image with multiple color changes.
Read: How to make a Color Photo look like a Sketch in Photoshop CS6
How do I recolor multiple objects in Photoshop?
Select all the layers, and press Ctrl + G to put them all in one group. Double-click on the Group folder or right-click on it and select Blending Options. Select Color Overlay in the list on the left, and click on the red box to select the color you want. No copy or pasting is required.
Can I change the color of an object in Photoshop?
Yes, you can certainly change color of an object in Photoshop within moments. If the object is perfectly shaped, you can simply select it and change the color accordingly. However, if it has blur effects, you need to click the Create New Fill or Adjustment Layer button in the Layers panel, and select Solid Color. This adds a Color fill layer inside the layer group. The mask on the layer group limits the solid color of the object. Select the new color that you want to apply to the object and click OK.
Leave a Reply