Photoshop is a well-known and well-used graphics software from Adobe. Photoshop is used for photo manipulation and photo correction along with other things. Now and then you may have to try to find ways to correct photos for different defects. Learning how to reduce or remove glare in Photoshop is worth learning. Glares may be caused by the subjects of the photo being too close to objects that reflect light. The light may hide details in the photo.
How to remove glare from glasses in Photoshop
Glares can hide details in photos and so they need to be reduced. If the photo cannot be retaken then using Photoshop to reduce the glare is the next best thing. Follow these steps to reduce or remove glare using Photoshop:
- Open the image in Photoshop
- Duplicate the image
- Adjust Shadows/highlights
- Duplicate the adjusted image
- Change the blending mode
- Flatten layers
- Adjust Shadow/highlights on flattened image
1] Open the image in Photoshop
The first step is to place the image in Photoshop. There are several ways to get the image in Photoshop. You can find the image on your device then right-click on it and go to Open with then Adobe Photoshop (version number). You can also open Photoshop then go to File then Open, or press Ctrl + O. The Open dialogue box will open up. Search for the image then select it and click Open. You can also find the image on your device and drag it into Photoshop.
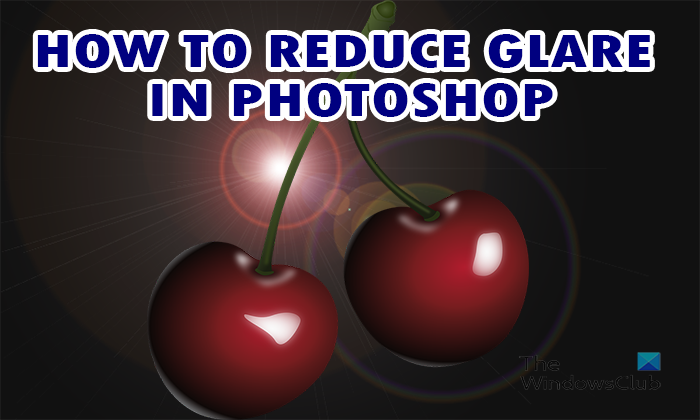
This is the image that will be used in the article for demonstration. The image has a glary shiny look, let’s see how it can be changed.
2] Duplicate the image
Here you will duplicate the image in Photoshop. This step will protect the original image from edits that may make it unusable if there is a mistake. To duplicate the image go to the layers panel and right-click on the image layer the choose Duplicate layer. The image will be duplicated then the duplicate will be placed above the original. You can also duplicate the image by clicking on it in the layers panel and then dragging it down to the Create new layer icon at the bottom of the layers panel. Release the image when you have dragged it on the icon. This will create a copy of the image and place it above the original in the layers panel. Another way to duplicate the image is by selecting it and going to the top menu bar and pressing Layers then Duplicate layer. The Duplicate later option box will appear, give the layer and name if you wish then press OK. You can also press Ctrl + J to duplicate the image.
3] Adjust Shadows/highlights
In this step, the shadows and highlights will be adjusted to reduce the glare in the image.
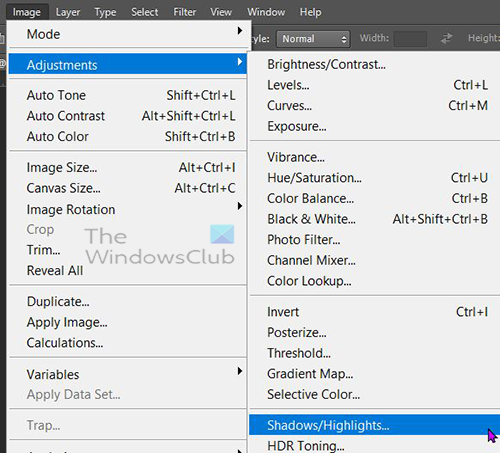
To adjust the Shadow/highlights select the duplicate then go to the top menu bar and click Image then Adjustments then Shadows/Highlights.
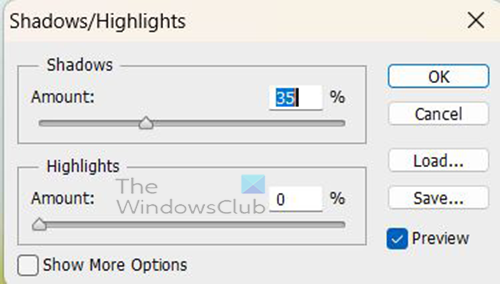
The Shadows/Highlights options window will open and you will notice that the image will adjust automatically. The category that is shown is Shadows and it has an Amount and Highlights slider as part of its group.
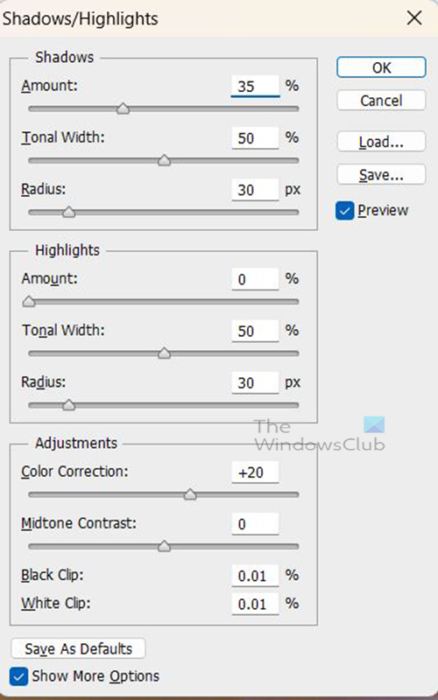
Click on the Show more options tick box to see more available options. The Shadows/Highlights options window will expand showing more categories. The three categories are Shadow, Highlights, and Adjustments. The Highlights category has Amount, Tonal width, and Radius sliders. The next category is Highlights with Amount, Tonal width, and Radius sliders. The last category is Adjustments and it has Color correction, Midtone contrast sliders Black clip, and White clip value boxes.
Make sure that the Preview option is ticked so that you can see live changes on the image as you make them in the options window.
The changes you make in the Shadow/highlights will affect different images differently. The level of glare is different and the colors will be different. This means you will have to watch the image as you make adjustments.
You can then stop at the values that make your image look satisfactory. Click Ok to accept the changes or Cancel to close without keeping the changes.

This is the image after the first Shadows/Highlights adjustment.
4] Duplicate the adjusted image
This step requires that you duplicate the image that had the Shadows/Highlights adjustment done to it. Click on the image and press Ctrl + J to duplicate the image. This means that in the layers panel, you will now have three images, the original image, the copy that had the adjustments done, and now the duplicate of the duplicate.
5] Change the blending mode
In this step, you will be changing the blending mode of the second duplicate (the duplicate of the image that had the adjustments done). To change the blending mode click on the image in the layers panel, then click the drop-down button at the top of the layers panel where you see Normal. When the drop-down menu appears click Overlay.

You will see the image change immediately. What overlay does is allow the image below to show through.
6] Flatten layers
This step is where the layers will be combined as one. To flatten the image select all the layers that you want to flatten, right-click, and choose Flatten image. The images will be combined into one image.
7] Adjust Shadow/highlights on flattened image
With the layers flattened into one image, it is time to run the Shadow/highlights on the combined image. select the image in the layers panel then go to Image then Adjustments then Shadow/highlights. You will then make the adjustments in the Shadow/highlights options window.
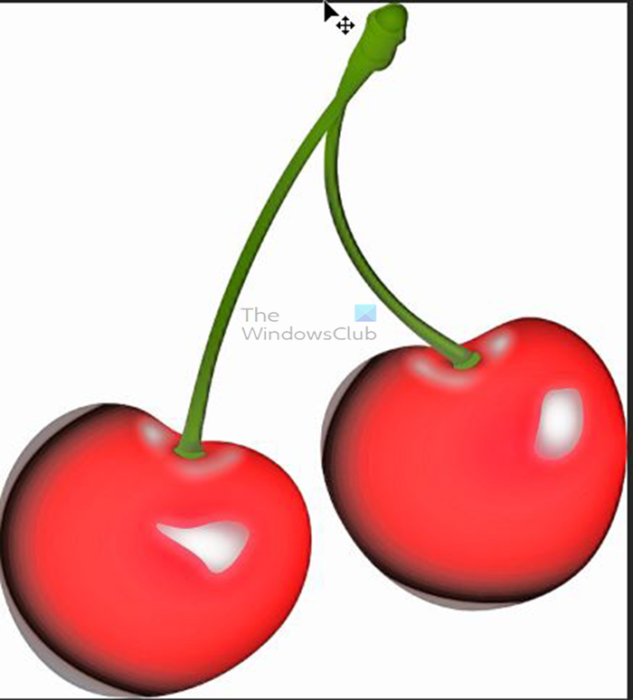
Watch the changes that are made to your image then press Ok when you are satisfied with the results.
Read: How to turn a Photo into a Collage in Photoshop
What does the Overlay color mode do in Photoshop?
The Overlay color mode makes the darker parts of the image darker and the bright parts of the image look brighter. You lace images above another image then change the color mode of the top image to Overlay. This then combines the attributes of both images. You can then flatten the layers to combine the effects into one image.
Why should the layers be flattened?
It is important to flatten the layers to combine them into one image. Layers are like transparent glass canvases that are layered one on top of another. As you work the images and effects over each other. When you flatten you combine the layers with their images and effects. They then become one image and they will also be combined into a smaller file. Note that when the layers are flattened, they are no longer editable individually. This means any changes that need to be made to any individual layer need to be made before they are flattened.
Leave a Reply