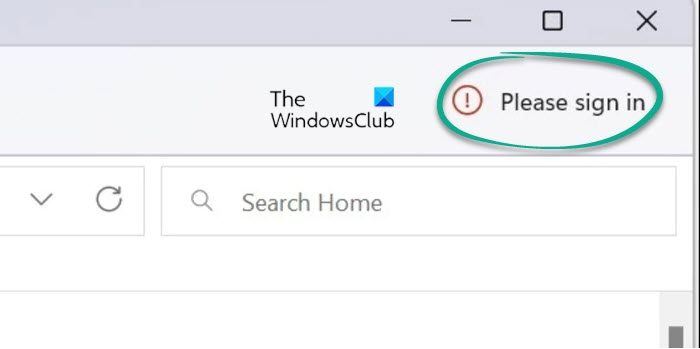
File Explorer in Windows 11 may display a Please sign in message in the top right corner. Some users report that their Explorer displays a Please Sign in message after the latest updates. If you see it and would like to remove it, then this post will help you.

How to remove Please Sign In from File Explorer
This Please sign in link is used to display OneDrive storage and your OneDrive files would then appear under Explorer Home and be listed under the Recent section.

To remove Please Sign In from Windows 11 File Explorer, follow these steps:
- Open File Explorer and click on the View tab
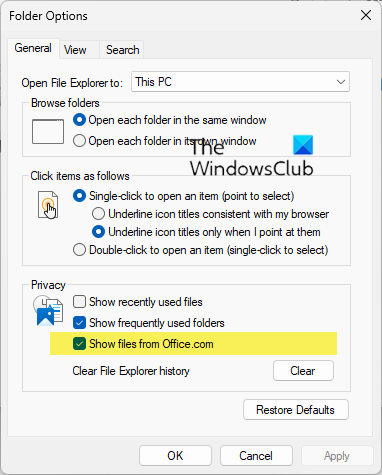
- Select Options and then click on the Change folder and search options link to open it.
- This will open File Explorer Options, earlier called Folder Options
- Locate Privacy section
- Uncheck the Show files from Office.com option
- Click Apply.
I hope this small tip helps you.
How to hide files from OneDrive or Office Online in Explorer Quick Access?
Disabling files from Office.com will stop File Explorer from showing recent cloud file data in the Quick Access view. You can do this via Group Policy Editor settings.
- Open Group Policy Editor.
- Go to Computer Configuration.
- Select Administrative Templates > Windows Components.
- Double-click the File Explorer folder.
- Choose the Turn off files from Office.com in the Quick Access view rule.
- Click OK to save the changes.
How do I get Windows Explorer back to normal?
If you wish to reset File Explorer back to default, take the following steps:
- Open File Explorer Options
- Under General tab > Privacy, click on the Restore Defaults button
- Next, switch to the View tab and under the Advanced settings box, click on the Restore Defaults button
- Click Apply/OK and exit.
- You could also run System File Checker to replace potentially a corrupted explorer.exe file.
This post will show you how to reset File Explorer Quick Access Toolbar.