Security Key is one of the sign-in options provided in Windows 11/10. You can set it up via Windows 11 Settings. To set up and use this login option, you should have a USB Security key. In this article, we will show you how to remove the Security Key on your Windows 11 computer.

How to remove Security Key in Windows 11
After setting up the Security Key, you have to insert the USB Security Key every time you want to log into your system. But for some reason, if you want to remove it, you can do so via Windows 11 Settings. Here will guide you on how to remove the Security Key in Windows 11. We will also talk about some fixes if you are not able to remove the Security Key, as the issue is reported by some Windows 11 users.
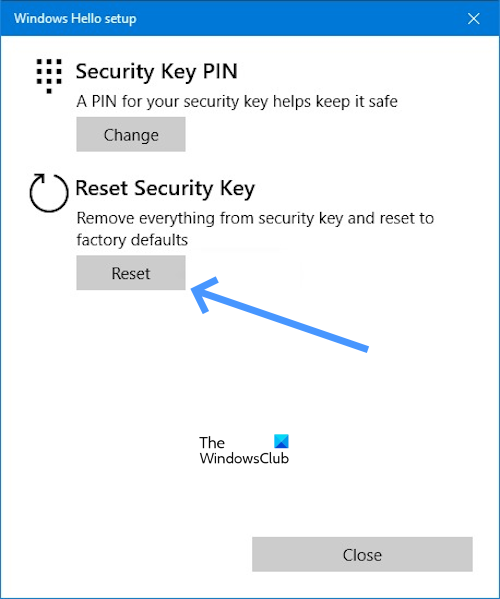
To remove your Security Key, you have to use the Reset option. This action will reset your Security Key to the defaults and clear all your login credentials and PIN saved on the Security Key.
The following steps will show you how to reset your Security Key to factory default settings.

- Go to the Settings.
- Click on Accounts.
- Scroll down and click on Sign-in options.
- Now, click on Security Key.
- Under the Security Key option, Click on Manage.
- Once you click on Manage it will ask you to Insert your security key into the USB port.
- Touch either the button or gold disk on your blinking security key (if applicable).
- Now, click on the Reset button under the Reset Security Key.
- Click on Proceed to confirm.
After performing the above steps, the security key should be removed from your system.
Cannot remove Security Key in Windows
If you cannot remove the Security Key, the following suggestions will help you.
- Is your computer managed by your school or organization?
- Are you an IT Administrator?
- Troubleshoot in Windows Recovery Environment
Let’s start.
1] Is your computer managed by your school or organization?
You won’t be able to remove the security key if your computer is managed by your school or organization. This is because they may have policies that require the use of a security key for your school or work account. To remove the security key from your computer, you will need to contact the IT department of your school or organization or you can contact your administrator.
2] Are you an IT Administrator?
If you are an IT administrator or you have admin rights, follow the below steps to remove the security key.

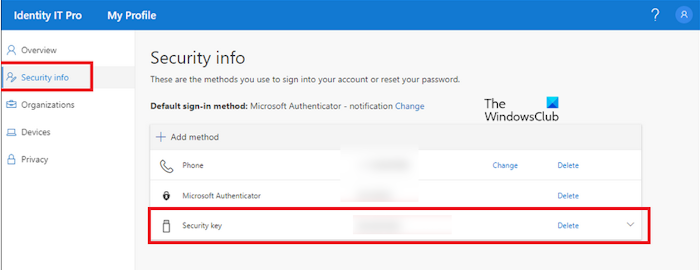
- Open your office.com account.
- Now, go to My Profile.
- Under the Security info.
- Click on Delete (Security key).
3] Troubleshoot in Windows Recovery Environment
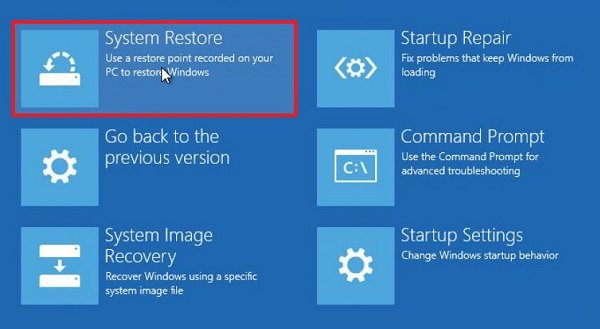
Some users reported that they did not add the Security Key to their systems but Windows is asking to connect a Security Key to login. If such a thing happens to you, System Restore may help you. Because you are logged out of your system and cannot log in because you are asked for a Security Key, you have to enter Windows Recovery Environment to perform System Restore.
Click on the Power button on the login screen. Now, press and hold the Shift key and select Restart. After that, Windows will boot in the Recovery Environment.

Once you enter Windows RE, go to Troubleshoot > Advanced Options > System Restore. Select the restore point before which the problem did not persist.

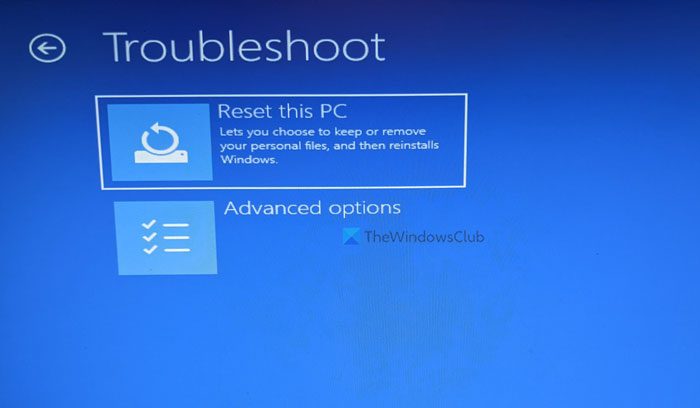
If System Restore does not work, you have to reset your PC. Again, enter Windows Recovery Environment and select Troubleshoot > Reset this PC.
I hope this article helps you to remove your Security key.
How do I remove a PIN from Windows 11?
To remove a PIN from Windows 11. Go to Settings > Accounts > Sign-in options, click “PIN (Windows Hello),” click “Remove,” confirm credentials, and click “OK“. You may find the Windows Hello PIN Remove button greyed out. In such a case, turn off the “For improved security, only allow Windows Hello sign-in for Microsoft accounts on this device (Recommended)” option.
Why is Windows 11 asking for my PIN?
Some users reported that Windows 11 keeps asking for a PIN. Such an issue occurs if the content of the NGC folder is corrupt. We suggest you clear the contents of the NGC folder to fix this problem.