In this post, we will show you how to restart the Sound driver in Windows 11/10. An audio driver is a software component that allows a computer to communicate with audio peripherals, such as earphones, speakers, internal sound cards, etc. When the driver stops working, the system stops playing audio.

Windows comes with a built-in automated audio troubleshooter, which is good enough to fix most audio issues. However, if the troubleshooter fails to resolve the sound or audio problem on your Windows 11/10 PC, you should try restarting the sound driver.
How to restart Sound driver in Windows 11/10
It’s always a good idea to restart the audio driver in Windows 11/10 before you attempt to reinstall the driver. Not only is this a simple process, but doing so can quickly fix your system sound problems without much effort. Here’s how you can restart the sound driver on your Windows 11/10 PC:
- Open Device Manager.
- Locate your sound driver.
- Disable the audio device.
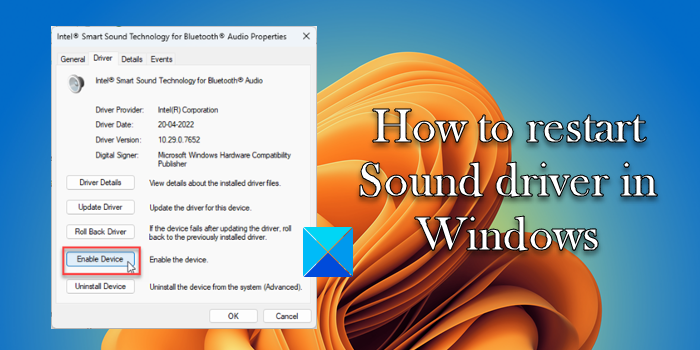
- Enable the audio device.
Let us see this in detail.
1] Open Device Manager

Click on the Windows Search bar and type ‘device’. Device Manager will show on top of the search results. Click on it to open the Device Manager in Windows.
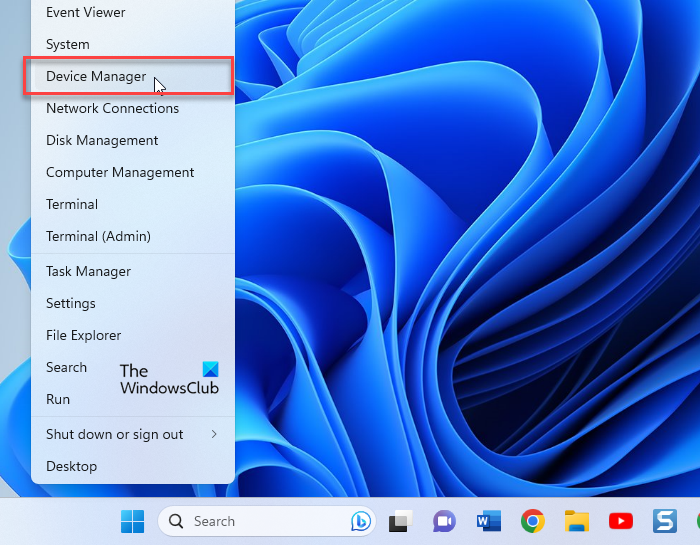
Alternatively, you can right-click on the Start button icon and select Device Manager from the WinX menu.
2] Locate your sound driver

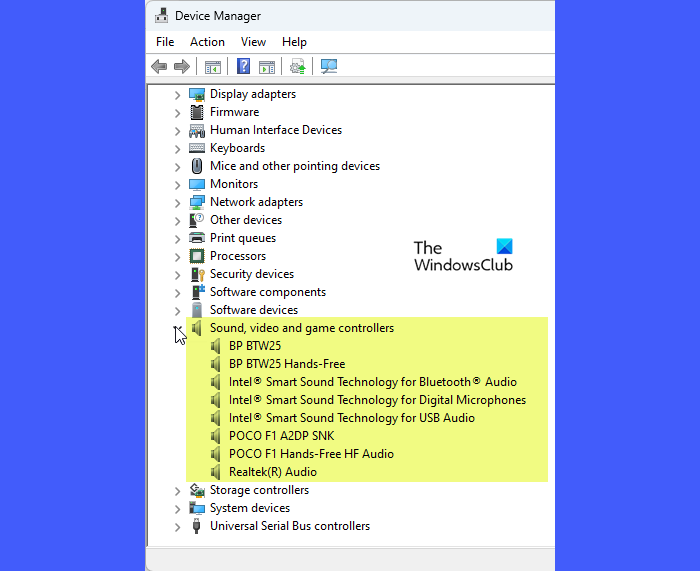
In the Device Manager window, click on the right arrow just before the Sound, video and game controllers option. The section will expand to show your sound driver.
Please note that you may see more than 1 sound driver installed on your system. Realtek will be the main onboard sound. Others could belong to the integrated or external graphics cards (such as Intel or NVIDIA ) or a USB audio device present on your system.
If you know which device is having the sound issue, good enough. You can quickly restart the driver for that device only. But if you don’t, you may have to restart the driver for all the audio devices you see in the Device Manager window.
3] Disable the audio device

Right-click on the audio driver. A menu will show up. Click on the Disable device option.
A confirmation popup will appear. Click on the Yes button in the popup window to confirm disabling the audio device.

If prompted for a reboot, save your work, close all open applications, and then restart your PC.
4] Enable the audio device

Once your PC restarts, open Device Manager and double-click on Sound, video and game controllers. Then right-click on the device driver and select the Enable device option.
This should hopefully resolve the sound problem on your Windows 11/10 PC. If you still experience the issue, try reinstalling the audio driver.
I hope this helps.
Also Read: Bluetooth speaker paired, but no Sound or Music.
How do I fix my audio driver Windows 11?
Open Device Manager and uninstall the audio device whose driver is causing issues. The driver will reinstall automatically on a system reboot. To manually update the device driver, go to Device Manager > Sound, video and game controllers. Right-click on the sound card/audio device and select Update driver. If the issue occurs after installing a driver update, try rolling back the audio driver.
How do I restart the sound service in Windows 10?
Type ‘services’ in the Windows Search bar. Open the Services app using administrator rights. In the list of services, right-click on Windows Audio and select Restart. Then right-click on Windows Audio Endpoint Builder and select Restart. Then right-click on Remote Procedure Call (RPC) and select Restart. This will restart sound services in Windows.
Read Next: Audio not working on Microsoft Team.
Leave a Reply