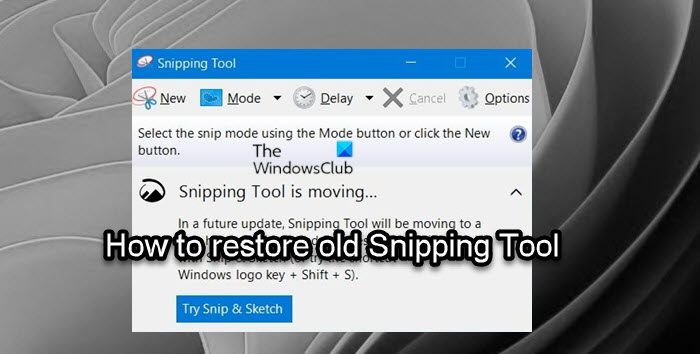
The Snipping Tool is on the list of Features Removed in Windows 11. PC users that recently upgraded to Windows 11 from Windows 10 may notice that the old Snipping Tool is missing and cannot be accessed – that’s because the old Snipping Tool was replaced with Snip & Sketch. In this post, we will walk you through the steps on how to restore the old Snipping Tool in Windows 11, should you wish too.

UPDATE: This may or may not work on the latest Windows 11 versions.
How to restore old Snipping Tool in Windows 11
If you’ve recently upgraded to Windows 11 from Windows 10 and the Windows.old directory is still present on your device, you can restore the old Snipping Tool in Windows 11 using the files in that folder. However, if the Windows.old directory has been removed, then you will need to copy the files from another Windows 10 machine.
On your Windows 11 PC, press Windows key + E to open File Explorer.
Create a new folder and name it SnippingTool at any location in the local drive on your system.
Restore from Windows.old folder
Navigate to the directory path below:
C:\Windows.old\Windows\System32
Copy the SnippingTool.exe file and paste the file into the new folder you just created.
Next, create another folder and name it en-US (or whatever locale or language you use) inside the SnippingTool parent folder.
Next, navigate to the directory path below:
C:\Windows.old\Windows\System32\en-US
Copy the SnippingTool.exe.mui file and paste the file into the new en-US subfolder you just created.
Once done, exit File Explorer.
Restore from another Windows 10 PC
If you’re copying from another Windows 10 computer, navigate to the directory path below on the Windows 10 PC:
C:\Windows\System32
Copy the SnippingTool.exe and SnippingTool.exe.mui files.
Now move them to your Windows 11 PC.
Place SnippingTool.exe in:
C:\Windows\System32\
Place SnippingTool.exe.mui in:
C:\Windows\System32\en-US
Once done, exit File Explorer.
NOTE: Windows might not allow you to paste an EXE file in the System32 folder for security reasons. So make sure you are signed in as an administrator, have all the rights, and then try.
Now, you can double-click the SnippingTool.exe to launch the old Windows 10 Snipping Tool in Windows 11. For quick access to take screenshots on your device, you can Pin it to your Taskbar or Start Menu.
That’s it!
Related post: How to enable or disable the Snipping Tool or Print Screen button.
How do I reset my Snipping Tool?
To reset Snipping Tool on your Windows 11/10 PC, simply restarting File Explorer may dislodge whatever’s keeping the Snipping Tool from working correctly. To do this, press Ctrl + Alt + Del, then select Task Manager. Alternatively, you can press CTRL + Shift + ESC to jump directly into the Task Manager.
Why is my Snip and Sketch not working?
In some cases, when the Snip and Sketch app does not work, the issue can be related to the app’s data on your system. In such a scenario, you will have to simply reset the Snip and Sketch application on your system which will delete the app’s data on your system.
Leave a Reply