ePSXe is a popular emulator that lets you play PlayStation (PS1) games on your computer. You can play PS1 games on Windows, Linux, and Android operating systems. You can emulate the hardware of the PS1 console using ePSXe and play games released 20 years ago. In this guide, we show you how to run ePSXe on Windows.
How to run ePSXe on Windows and play PS1 games
If you want to install ePSXe on Windows and play PlayStation 1 games, follow the below steps.
- Download ePSX3 emulator
- Install the emulator on your PC
- Download the PlayStation BIOS file and unzip it
- Copy/paste the bios file into the ePSXe folder
- Launch ePSXe emulator
- Click on Config in the menu
- Click on Wizard Guide and follow the on-screen instructions
- Select the BIOS file and click Next
- Complete the configuration process by following the on-screen instructions
- Click on File in the ePSXe menu
- Select Run ISO and locate the PlayStation games folder
- Select the game to Open
Let’s get into the details of the process.
To get started, open a web browser on your PC and go to ePSXe official website to download the ePSXe emulator. Select the file that is suitable for Windows and download it.
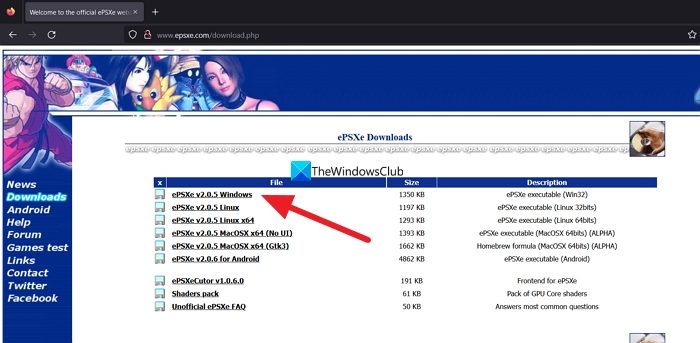
Now, unzip the file and run the installer, and complete the installation.
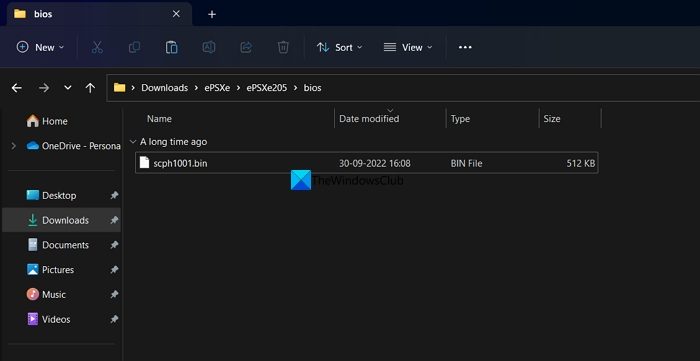
Now, search for PlayStation 1 BIOS file in Google and download it. Extract the BIOS file and copy/paste the file into the bios folder you find in the ePSXe folder.
Now, run the ePSXe program that is installed on your PC and click on Config in the Menu bar and select Wizard Guide.
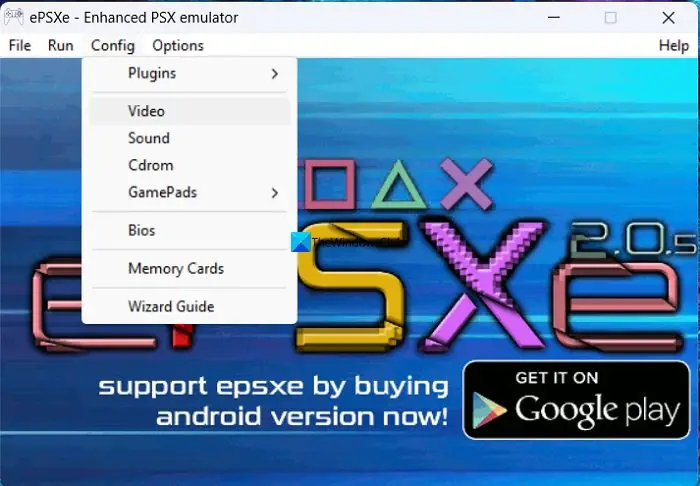
It will open the ePSXe config setup window. Click Next to start the configuration.
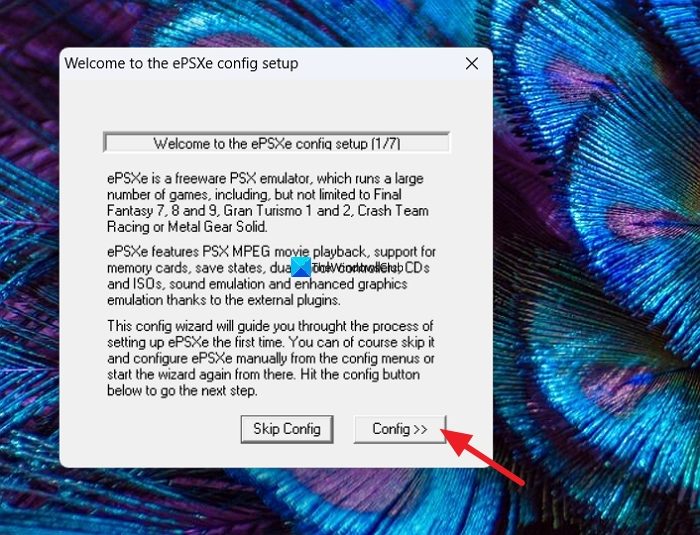
In the next step, select the BIOS and click Next
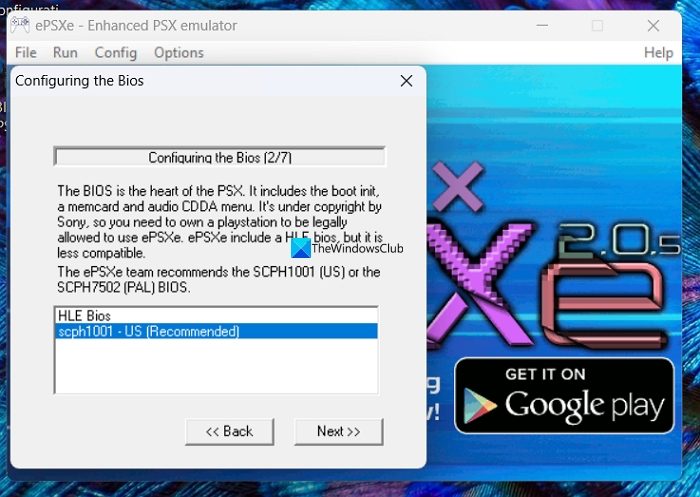
In the next steps, you need to configure Video, Sound, Cdrom, and Pads to complete the configuration process. Follow the on-screen instructions to complete the configuration. In the end, click on Done to complete the configuration. Now, download the PS 1 game files in ISO format to run in the emulator using PlayStation1 BIOS. Then, click on File in the Menu bar of the ePSXe program and select Run ISO. Locate the game in the downloaded folder and start playing it with your keyboard.
That’s it. You have now installed ePSXe on your Windows PC to play PS1 games.
Read: Best free PlayStation Game Emulators for Windows PC
How do I run ePSXe on Windows 11/10?
To run ePSXe on Windows 11/10, you need to download it from its website and install it on your PC. After that, you need PlayStation 1 BIOS file to be able to play games using the ePSXe on Windows 10. You can follow the above steps to do so.
Do I need a BIOS for ePSXe?
Yes, you need PlayStation 1 BIOS to be able to load and play games on Windows using the ePSXe emulator. Without the BIOS, you cannot do anything with the ePSXe. You can find the BIOS easily on the internet from multiple trustable sources.
Related read: How to join a PlayStation party chat on Windows 11.