Active Directory (AD) is an excellent file and folder permissions, security, and management tool. It allows administrators to give permission to access specific folders to specific users. Simply put, a user can only access a folder that the administrator has allowed them to. This is true for managing remote computer folders. AD permissions have two categories: standard and special. The special permissions allow users to have specific privileges and limited access to a folder. On the other hand, standard permissions grant users access to things like writing, reading, editing, or full control of the folder. In this post, we will discuss how to set permissions in Active Directory for users.

Active Directory permissions allow individuals and businesses to secure their folders. For example, if certain files need to be viewed or modified by a company HR officer, the administrator will only grant permission to them. So, a security officer has no business accessing such files, and they won’t be granted access by the admin. However, some users have no clue about how to set up permission in AD. We have the best tips and steps to help you manage your folders and grant access to only authorized users. Continue reading.
How to set Permissions in Active Directory for Users
To set up AD permissions, you need to follow some straightforward but little-known steps. Remember, to set these permissions, you must be the administrator or be granted special permission by the administrator to modify folder ownership in the Active Directory. There are two distinct methods to set permissions in Active Directory:
- Use GPMC to set permissions
- Use Active Directory Users and Computers
TIP: The steps in these two methods might be complicated or not user-friendly for some users. Some third-party AD programs are easy to use and have great UX. We recommend trying the free Microsoft Active Directory alternatives that we covered.
Let us look at these methods in detail.
1] Use GPMC to set permissions

GPMC stands for Group Policy Management console. It has group policy settings that you can use to set and configure security and access permissions. On the Group Policy Object Editor, for example, you can use the console to create a group policy object, which is a collection of settings that you can use to restrict or regulate user access to specific folders. Perform the following steps to set permissions using GPMC:
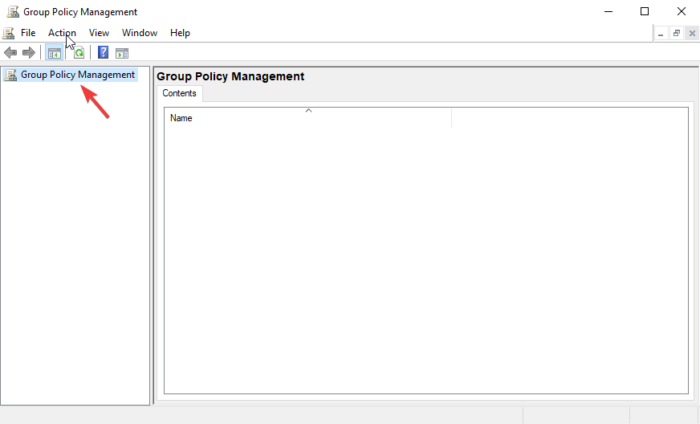
- Open the Group Policy Management console by using the Run dialog box. To open Run, press the Windows key + R. Type gpmc.msc and then hit Enter or click on the OK option.
- Locate the Group Policy Objects icon and right-click on it, then choose New from the drop-down menu.
- Next, insert a Name, and on the Source Starter GPO, set it as none. Select OK.
- You will see a new GPO, right-click on it and then choose Edit GPO from the drop-down list.
- While on the Group Policy Management Editor go to Computer Configuration > Windows Settings > Security Settings.
- Go ahead and right-click on the File System option and then choose Add File from the list.
- Now, navigate to the folder or file where you want to set permissions and click OK.
- Select the Advanced option on the Database Security window.
- Select Add on the Permissions tab. This will create and give access permissions to a user. You can also choose an existing user and click on the Edit option.
- In the new window, a list of permissions will appear. Tick the box next to each for Allow or Deny a Permission.
- Select the drop-down icon which is next to Apply onto. Here, choose where you grant the permissions to the user.
- Finally, click OK. This will terminate the process and save all the permissions.
These steps are used to grant access or deny privileges to a user. They grant access to specific folders or files without a user requesting permission from the administrator.
2] Use Active Directory Users and Computers

Before we set off with this method, it’s good to note that it’s used to set permissions for Delegated Authentication and can ONLY be applied in the Active Directory of Windows Server. Follow the steps below to set permissions for Delegated Authentication using Active Directory Users and Computers option:
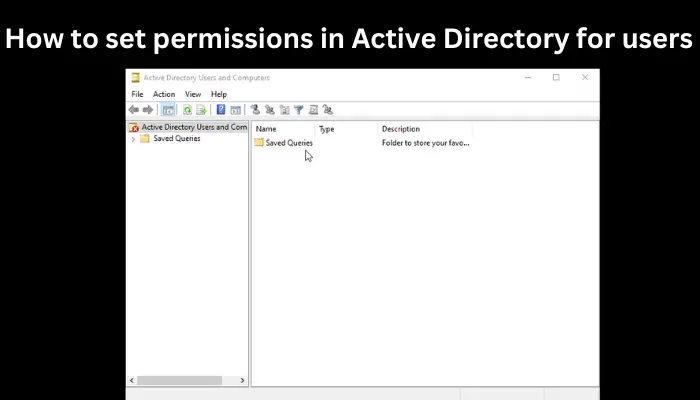
- Open Active Directory Users and Computers on the Run dialog box. To do this, press Windows key + R and type dsa.msc, then hit Enter.
- Right-click on the option you want to delegate such as group, organizational unit (OU), or user, followed by selecting the Delegate Control option.
- On the Delegation of Control Wizard, select Next followed by Add.
- Put the group name or username of the user you want to give permission on the Select Users, Computers, or Group dialog option.
- To verify you created the group or user in the AD, select Check Names, click OK, and then select Next.
- On the same Delegation of Control Wizard, check the box next to Delegate the following common tasks, and tick the box next to Reset user passwords and force password change at next logon. Click Next, and Finish to continue.
- Locate the modified group or user, right-click on it, and click Properties on the drop-down menu.
- Select Advanced on the Security option. Choose Add which is on the Advanced Security Settings.
- A Permission Entry Wizard will appear. Click on the Select a principal option. Go ahead and put the group or username that you granted permission to reset, then select OK.
- On the Applies, choose Descendant User objects. This will allow you to see the list of permission granted to a certain user.
- Scroll down and locate Read lockoutTime and Write lockoutTime. Enable the two options by ticking the box next to them. Select Next then OK to complete the process.
These steps allow the user to change the passwords of all objects that are in the administrative directory.
We hope something here helps you set permissions in the Active Directory for users.
What are the three types of domain object permissions?
The three types of domain object permissions are permissions by group or user, permissions by operating system profile, and permissions by domain object. Group or user permissions allow administrators to view, edit, and assign permissions for a specific group or user. The administrator can assign, edit, and view permissions for OS profiles in the administration tool. Permissions by domain object allow the admin to assign, edit, and view permissions for multiple groups or users on the domain object.
How do I check permissions on a directory?
To check permissions in the MS Active Directory, whether users or object permissions, go to the Properties tab. To do so, go to the Start and scroll to locate Administrative tools. Select Active Directory Users and Computers, locate the user or object, then right-click on it. On the new window, select Properties, and then head to the Security option. Here, you will be able to check and view all object permissions.
Leave a Reply