Walkie-Talkie is a feature in Teams that makes your phone into a simple and secure voice communication device. The Teams Walkie Talkie is integrated with your Teams environment. Using it, users can coordinate with coworkers, ask for immediate assistance, contact security, etc. In this post, we will show you how to set up and use Walkie Talkie in Teams.

How do I turn on Walkie Talkie in Microsoft Teams?
Follow these steps to turn on the Walkie Talkie feature in Teams:
- Log into the Microsoft Teams admin center with your administrator account.
- In the left pane, navigate to Teams apps and select Manage apps.
- Here, search and select the Walkie Talkie app and set the toggle beside Status to Allowed.
How to set up and use Walkie Talkie in Teams?
Follow these simple steps to set up the Walkie Talkie feature in Teams:
Open Teams on your smartphone and click the Walkie Talkie icon at the bottom. If it isn’t visible, click on More to access it.
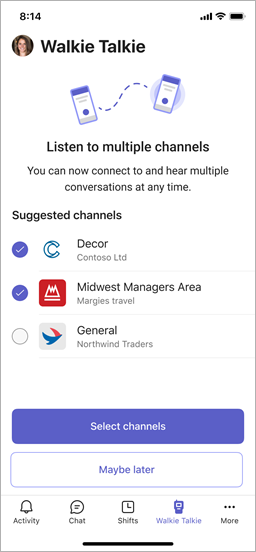
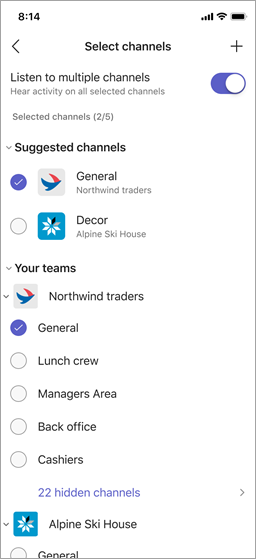
Select the channel to connect and click on Select Channels.
You’ll now be automatically connected to the selected channel. The channel name will appear at the top.

If selecting more than one channel, enable the toggle beside Listen to multiple channels.
In this case, you’ll be connected to the first channel. To change the default channel, click on the channel name and select another channel.

Once done, press and hold the mic icon to talk. You can now talk to the channel members wirelessly, just like a real walkie talkie. Note that you can’t use Walkie Talkie with private or shared channels.
![]()
Read: How to use Teams on Apple Vision Pro
I hope these steps help you.
Why can’t I hear the other person on Teams?
If you can’t hear the other person on Teams, check the audio settings and adjust the volume settings. Next, use the Teams test call feature to check if your microphone and speakers are working as expected. If that doesn’t help, make sure that your Microsoft Teams application is updated to the latest version.
How do you automate Teams chat?
To automate Teams chat, sign in to Power Automate and select My flows > New > Automated cloud flow. Here, enter a name for your flow, select the When a file is created (properties only) trigger, and click Create. Lastly, choose a SharePoint site and Folder ID to monitor and set up the trigger.
Leave a Reply