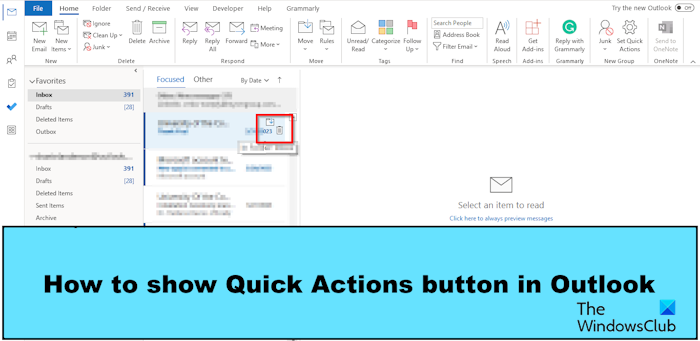
In Microsoft Outlook, whenever you hover the cursor over an email message, you will see small icons on the right of the email; these small icons are called Quick Actions. The Quick Actions feature allows users to get quick Access to some Outlook features. You, the user, can add multiple quick actions to your email messages to manage your email messages. In this post, we will show you how to hide or show the Quick Actions button in Outlook.

How to show Quick Actions button in Outlook
Follow the steps below to hide or show the Quick Actions button in Outlook:
- Launch Outlook.
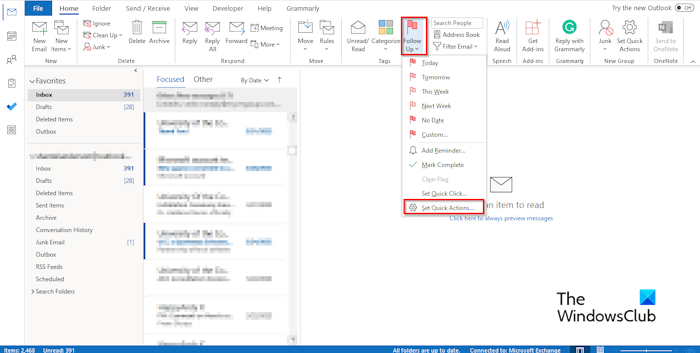
- Right-click the message and select Set Quick Actions or click the Home tab, click the Follow Up button, and select Set Quick Actions.
- Select from the list boxes the actions button you want to display.
- Then click OK.
- Hover the cursor over the email message to see the new quick actions button.
Launch Outlook.
There are two methods by which you can show Quick Actions.
Method 1: Right-click the message and select Set Quick Actions from the menu.

Method 2: On the Home tab, in the Tags group, click the Follow Up button and select Set Quick Actions from the menu.
A Quick Actions dialog box will open.

Select from the list boxes the actions you want to display when you use the cursor to hover over the email message.
Then click OK.
Now hover the cursor over the email message to see the new quick actions button.
Read: How to edit a Received email in Outlook
How do I add Quick Click in Outlook?
Follow the steps below on how to add Quick Click in Outlook:
- On the Home tab, click the follow up button in the Tags group
- Select Set Quick Click from the menu.
- A Set Quick Click dialog box will open.
- Choose a Quick Click, then click OK.
READ: How to color code Outlook Calendar
How do I add Quick Actions to my toolbar?
Follow the steps below on how to add the Quick Actions button to your Ribbon:
- Click the File tab.
- On the backstage View, click Options.
- An Outlook Options dialog box will open.
- Click Customize Ribbon on the left of the dialog box.
- Click the New Group button.
- This will add a custom group, which the command will go under.
- You can name the custom group by selecting it and clicking the Rename button; this will open a dialog box where you can rename the group, then click OK.
- In the Choose command from list, choose All Commands, then scroll down to the Set Quick Actions command and select it.
- Click the Add button.
- Then click OK.
- If you want to later remove the Set Quick Actions command from the ribbon.
- Go to the New Custom group where you have placed the Set Quick Actions command, right-click on it, and select Customize Ribbon.
- This will open the Outlook Options dialog box on the Customize Ribbon tab.
- Select the Set Quick Actions command, then click the Remove button.
- Then click OK.
The Set Quick Actions command is removed from the ribbon.
READ: Attachments not showing in Outlook
We hope you understand how to show the Quick Actions button in Outlook.
Leave a Reply