Windows 11/10 has always offered its users an impressive work environment for multitasking. With the sheer ability to run multiple software and applications at once and to switch between them with absolute ease, Windows does make us good at multitasking. One of the many multitasking features on Windows 11/10 is the Split Screen feature.
If you split your computer screen monitor, you can easily run several applications, view your web research on one half of the screen, and open your Word document on the other half. You could also display various status displays across the entire monitor. But if you have only one computer monitor on a Windows 11/10 system and want to split the screen into two halves, then how can you do that?
This Windows guide gives you a quick overview of how you can split the screen on Windows 11 or Windows 10 into two halves and work on two programs simultaneously with ease.
Turn on the Snap windows feature in Windows 11/10
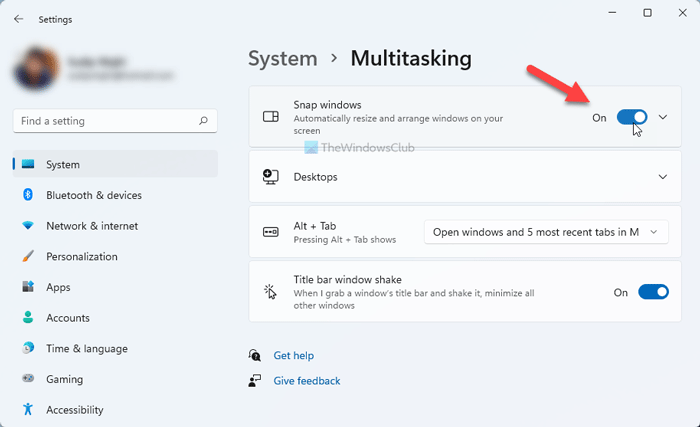
To turn on the Snap windows feature in Windows 11, do the following:
- Press Win+I to open Windows Settings.
- Ensure that you are in the System tab.
- Click on the Multitasking menu on the right-side.
- Toggle the Snap windows button to turn it on.
However, if you are using Windows 10, you can follow these steps:
A split-screen on Windows 10 is a multitask tactic where there are multiple applications displayed on a screen at one time. To work on multiple windows on a single monitor, you will have to first turn on the ‘Snap windows’ features on Windows 10. Follow these steps:
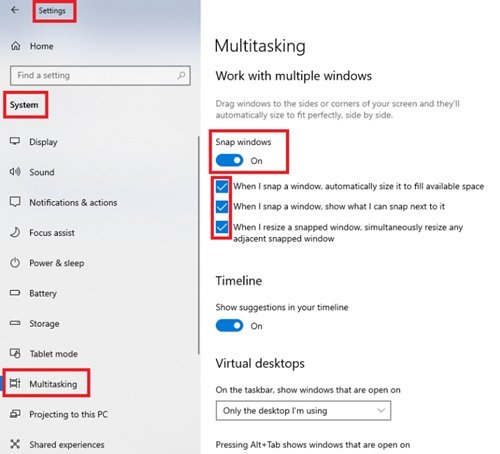
1] Go to ‘Settings’ from the ‘Start Menu’. Alternatively, you could also launch the Windows 10 settings with the shortcut ‘Windows Key + I’.
2] Click on ‘System’ and select ‘Multitasking’ from the left-side options
3] On the right side, you will see the ‘Snap Windows’ options.
4] Turn on the slider for ‘Snap Windows‘. You can select one or all of the Snap features enabled on your Windows 11/10 system:
- When I snap a window, automatically size it to fill available space.
- When I snap a window, show what I can snap next to it.
- When I resize a snapped window, simultaneously resize any adjacent snapped window.
- Show snap layouts when I hover over a window’s maximize button.
- Show snap layouts that the app is part of when I hover over the taskbar buttons.
- When I drag a window, let me snap it without dragging all the way to screen edge.
5] Close ‘Settings’.
Done! The Snap Windows feature is now ready to help you split screen on Windows 10 system.
Read: How to use Multitasking in Windows 11
How to enable Split Screen on Windows 11/10
If you are using Windows 11, you can take the help of Snap Layouts. The detailed guide is mentioned below.
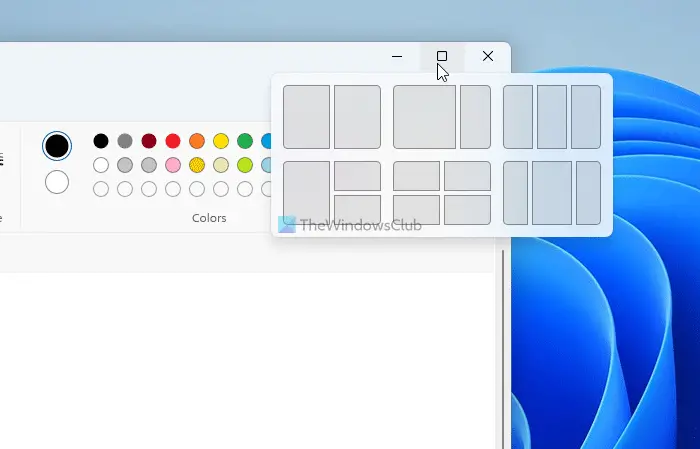
To split the screen in Windows 11 using Snap layouts, follow these steps:
- Open two or more apps on your computer.
- Hover your mouse over the maximize button of an app.
- Select a template and location where you want to snap the currently selected window.
- Choose another app to place it side by side.
Depending upon the monitor size, you can find different templates in Windows 11.
However, if you are using Windows 10, you can follow these steps:
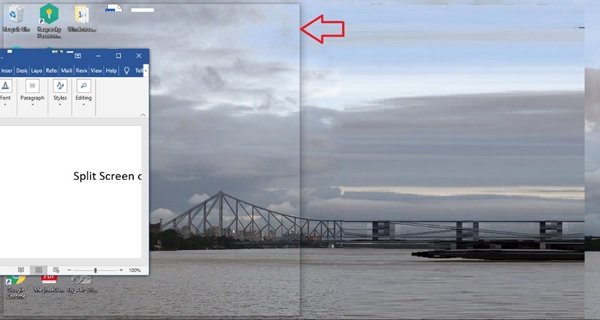
- Open two or more windows or applications on your system.
- Select the program or application window that you want to snap to one side of the screen.
- Put your mouse on an empty area on the title bar, hold the left mouse button, and drag the window to the left side of the desktop screen until your mouse pointer touches the edge.
- When you drag the mouse to the edge, you would see the desktop screen briefly flash and a light outline would appear. Release the mouse button when you see the light outline.
- Your desktop screen would be now split into two halves. You would see all the other opened programs on the right side of the split screen on the Windows 10 desktop i.e., the opposite side of the screen where you dragged the application window.
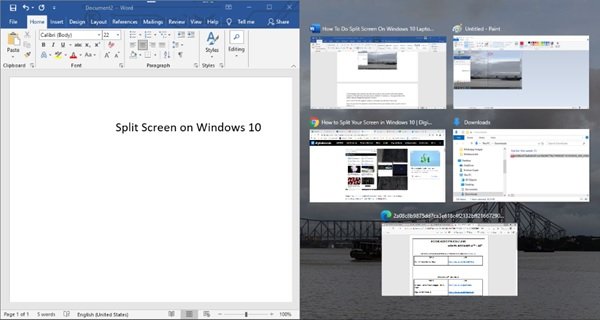
Now click one of the other program windows. It will snap to the right side of the screen.
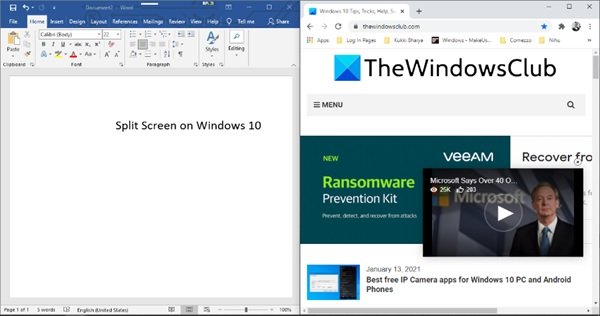
Done! Now you have two applications opened side by side on your desktop screen, i.e., split screen on Windows 10.
How to adjust the Spit Screen size
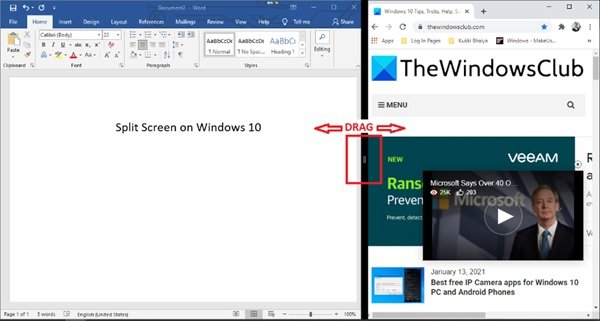
By default, Windows split screens follow a 50:50 ratio, which means both windows occupy 50 percent of the desktop screen. But that isn’t fixed; you can adjust it by putting your mouse between the windows. When you drag your mouse between the windows, you will see the pointer turn into a two-headed arrow. Click and drag the window to adjust the width.
How split the computer screen between 3 or 4 programs
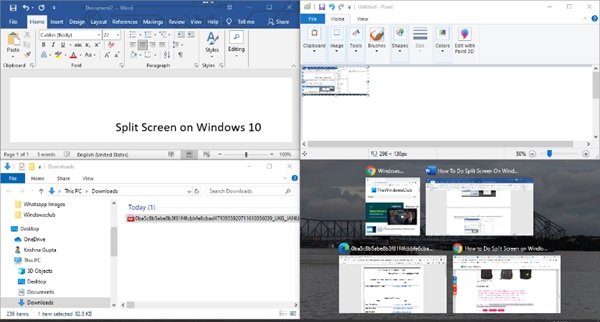
The answer is yes. If you have a huge display monitor, you can snap up to four windows to the screen – one in each corner. The process is almost the same as snapping windows as mentioned above. We listed the steps for better understanding:
1] Select the program windows that you wish to begin with.
2] Click on the title bar of the app window and drag it to the upper left or right corner of the screen.
3] As you drag it, take it to the corner until the screen flashes a light outline, now let go of the mouse button.
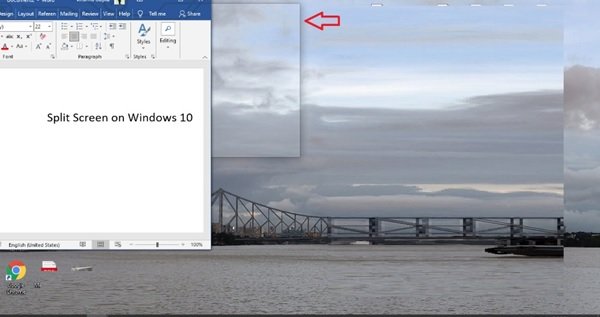
4] Now, drag the next window to the lower-left corner of the screen in the same way and do just what we mentioned in step #3
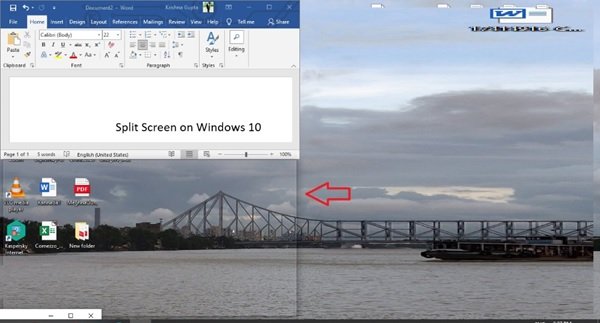
5] You would now see the open programs on the left side of the screen. Click the program you wish to snap on the entire right side of the screen.
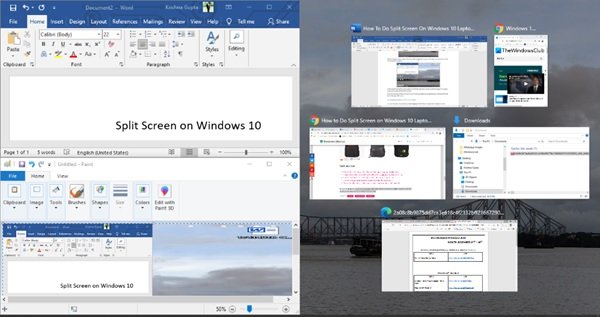
Now, you can leave it here or if want to pin 4 windows drag the next application by clicking on the title bar to the upper right corner.
Unsnap windows on the Split Screen
You can “unsnap” any window by simply dragging it by the title bar away from the edge or corner.
How do I split my screen into two windows?
To split your screen into two windows, you have two options. First, you can click on an app’s title bar, hold it, and drag the window to the left or right side. Then, place another app by following the same method. Second, you can select an app and press the Win+Left/Right arrow key.
Read: How to enable & use Split Screen in Edge browser
What is the shortcut for split screen?
The shortcut for the split screen in Windows 11/10 is Win+Left/Right arrow. You can click on an app’s window to select it and use the mentioned keyboard shortcut to place the window to the left or right side. However, you can also use Win+Z to display the Snap layouts.
We hope that with this guide, you will not have any trouble doing split-screen on Windows 11/10.