This post will show you how to switch back to Windows S Mode in Windows 11/10. If you had earlier switched out of S mode in Windows 11/10 and are looking for a way to switch back, then you will have to edit the Windows Registry.

This process was irreversible earlier. But if you are now using Windows 10, version 1803 or later, or Windows 11, you can do so.
How to switch back to Windows S Mode
Before you begin, make sure the PC uses UEFI and has Secure Boot enabled.

Type regedit in Search and hit Enter to open the Registry Editor.
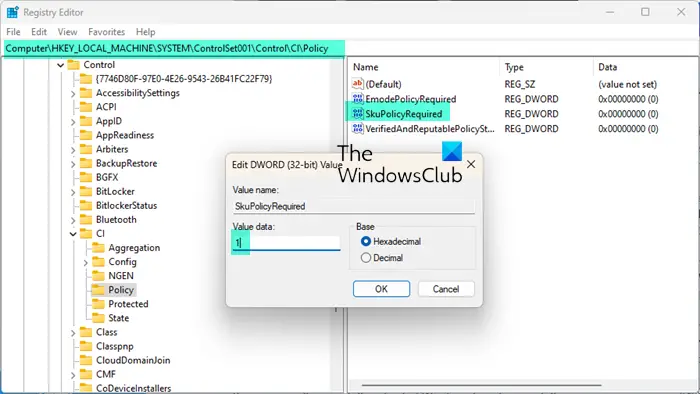
Navigate to the following key:
HKEY_LOCAL_MACHINE\SYSTEM\ControlSet001\Control\CI\Policy
On the right side locate the SkuPolicyRequired DWORD.
Double-click on it and change its value from 0 to 1.
If you do not see it, you will have to create it and give it a value of 1.
Restart your computer.
Your computer will boot in Windows S Mode.
What is Windows S Mode?

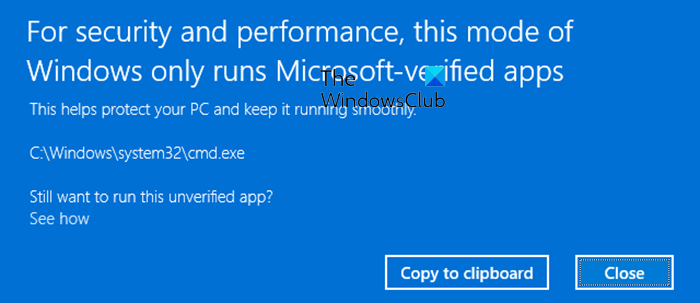
Windows S Mode is a lighter version of Windows 11/10, which runs apps in a sandboxed environment; this means that it is more secure and handles the performance requirements in a much better way. It is designed for superior performance, Microsoft–verified security, Microsoft Store, and Microsoft Edge only support. The S mode can be applied to Windows 11/10 Home, Pro, Pro EDU, and Pro WS editions.
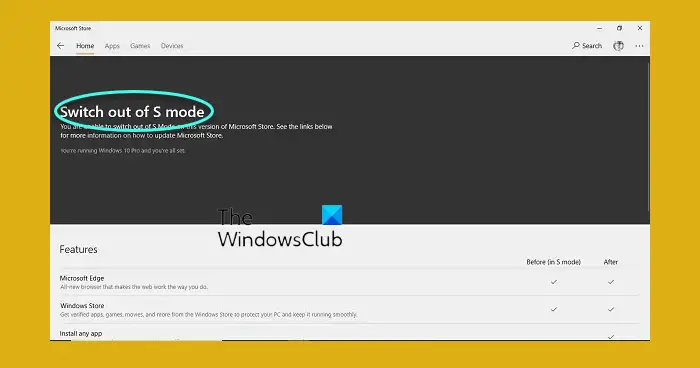
How do I switch out of Windows S Mode?
To switch out of Windows S Mode, you will have to visit the Microsoft Store and do the needful, as explained in the linked post.

The Registry Editor might not be accessible in Windows S Mode and you might have to boot into Windows PE to access REGEDIT. Nevertheless, if you do try to change the value of the SkuPolicyRequired DWORD back to 0, this may not work, and you will have to switch out via the Microsoft Store.
Read next: How to download & install Windows 11/10 S on any PC.