GIMP is a free open-source graphic software that is good for photo editing, photo manipulation, tracing, and much more. Learning how to trace images and objects in GIMP is a way to get your hand-drawn or printed art into GIMP.
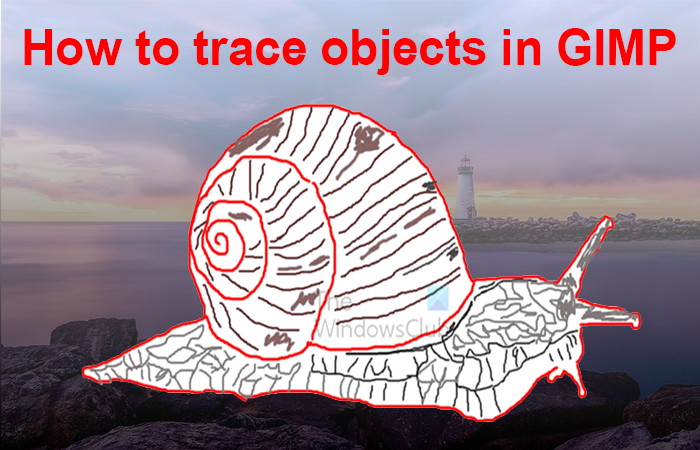
Tracing in GIMP is the process of making a new image by copying/tracing over an existing image on a new different paper. This is the same process in GIMP. In GIMP, you can use a Brush, Pencil, or Pen tool to trace onto a new layer. If your hands are steady you can use the Path tool to create a path over the original image then add your colors to the trace. Tracing objects in GIMP can be useful if you have an old logo or other artwork that is of low quality and you need to make it better. You would trace it and enhance it before reusing it. The great thing about this tracing method is that you can make silhouettes from any image.
How to Trace an Image in GIMP
Tracing is a fun way to get your art into GIMP. It can also be a way to create a logo or other artwork from previously made artwork. This article will show you how to trace images in GIMP using the Brush tool.
- Open and prepare GIMP
- Place the image into GIMP
- Create a new layer to trace on
- Trace the image
- Save
1] Open and prepare GIMP
To begin the tracing process open and prepare GIMP.
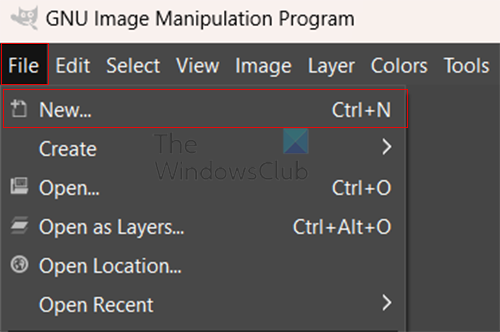
When GIMP opens go to File then New or press Ctrl + N.
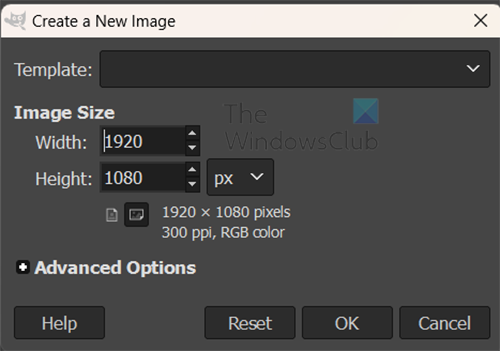
The Create a New Image options window will open. You can use the default settings or make changes then press OK. The blank canvas will open up for you to take the next step.
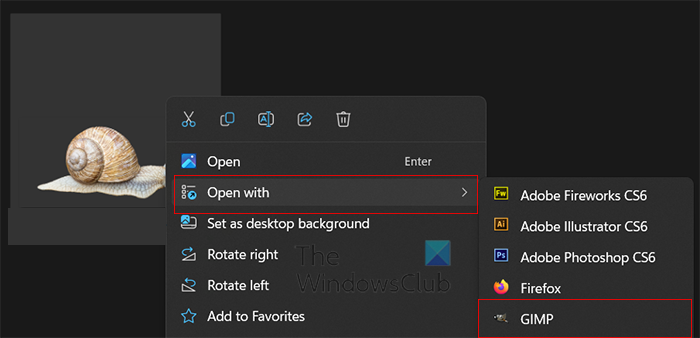
You can skip the new document step and place the original image straight into GIMP by right-clicking on the image and then choosing Open with the choose GIMP. The image will open up into GIMP on its own layer.
2] Place the image into GIMP
If you decide to open the new document first, you will then have to get the image into GIMP. To get the image into GIMP, you can find the image and then drag it onto the new document canvas. You may then have to resize the image to fit the canvas.
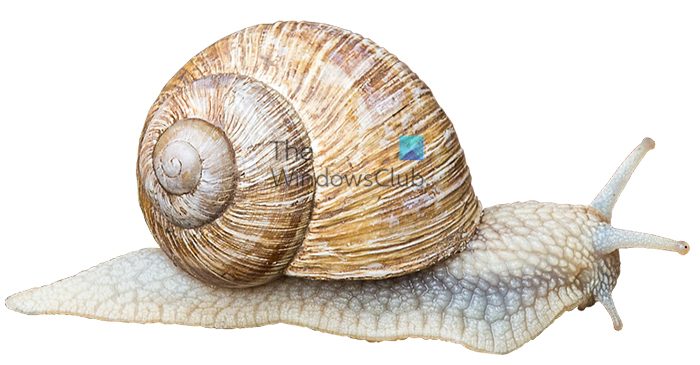
This is the image that is used for the trace.
3] Create a new layer to trace on
With the image placed in GIMP, you are now ready to trace. You should create a new layer above the image layer to trace on.

To create the new layer go to the top menu bar and press Layers then New Layer or you can press Shift + Ctrl + N.
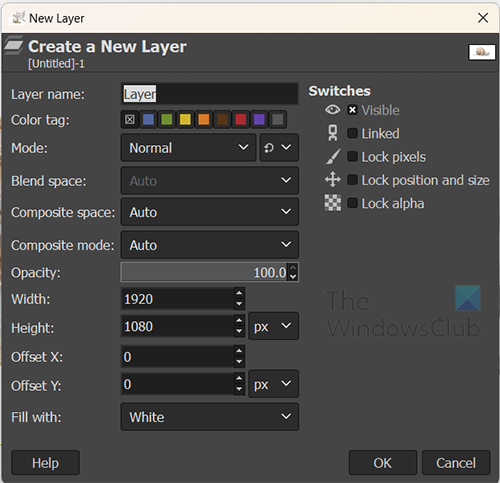
The New Layer options window will appear, here you will give the layer a name and choose other options for the new layer.
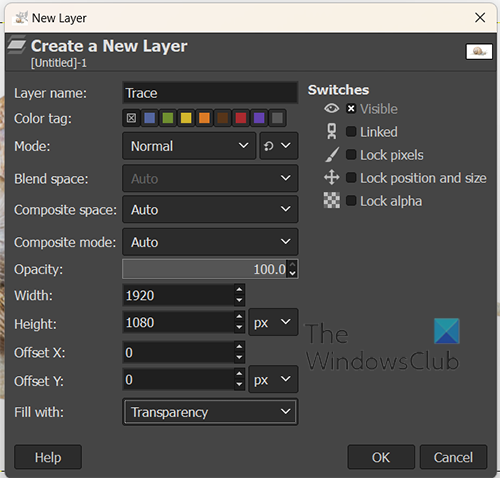
Give the New layer a descriptive name (Trace), keep the Mode as Normal, and make the Fill With option Transparent. When you are finished making these changes press OK.
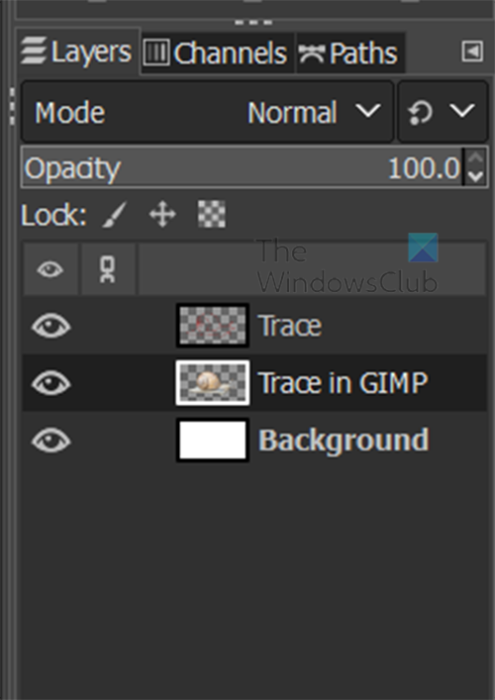
You will notice that the new layer will show in the layers panel but you will not see it in the canvas. Because you selected transparency, the new layer will not show but the image will show right through.
4] Trace the image
Now that the new layer is ready and it is above the image layer, you are ready to trace.
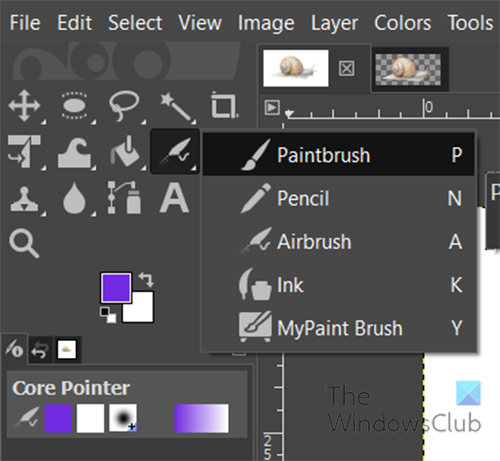
Ensure that you have the new layer (Trace) selected then go to the tools panel on the left and select the Paintbrush tool or press P.
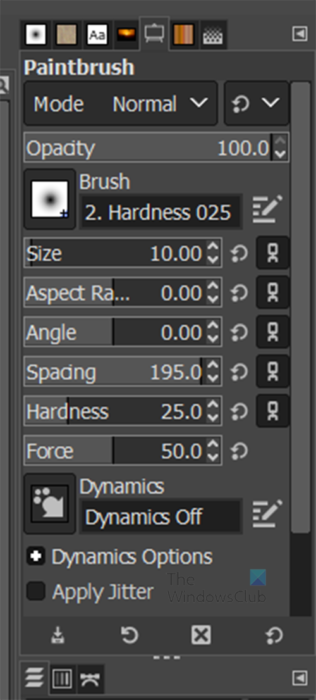
The Paintbrush options pallet will appear on the right side of the work area.
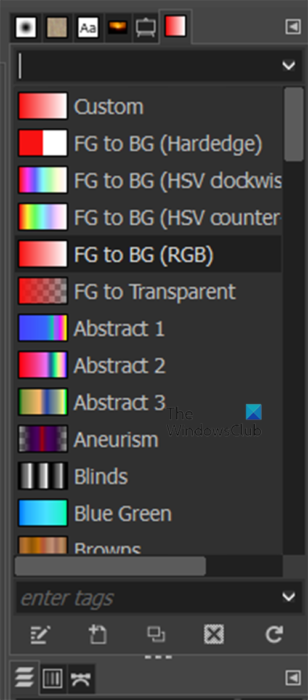
You can click on the tabs at the top of the paintbrush options pallet, you can change the color, size, pattern, type, etc.
The same steps that you use for the Paintbrush are the same steps you would use for the Pencil, Airbrush, or Ink.
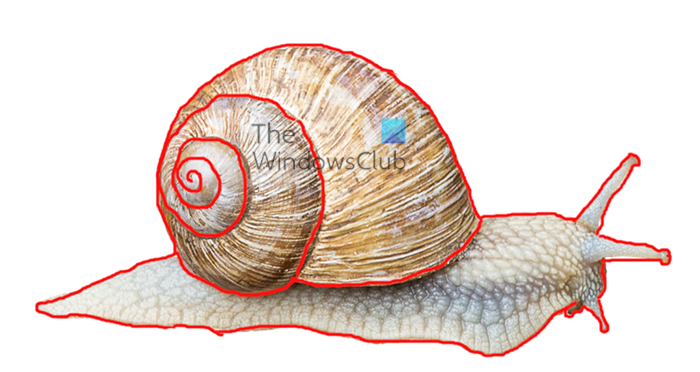
This is the trace of the image made with the Paintbrush, the Color is red and the Size is 12. You can choose the vary the brush size and colors and other settings on different parts of the image.
If you want to trace the image with dotted lines, go to the Spacing option in the Brush pallet and make the value higher. This will make the traced lines have spaces instead of one continuous line.
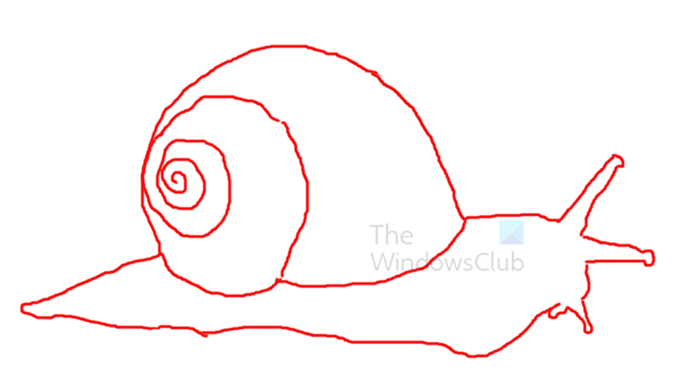
You can use the Eraser tool to erase mistakes.
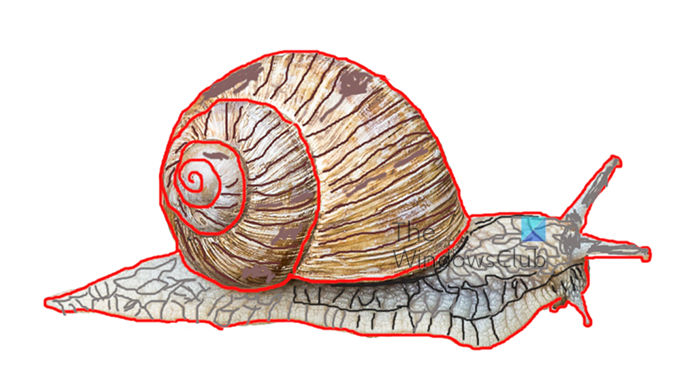
You can use other tools to fill in the spots and show details that you want from the original image. Above is the image with some filling over the original.
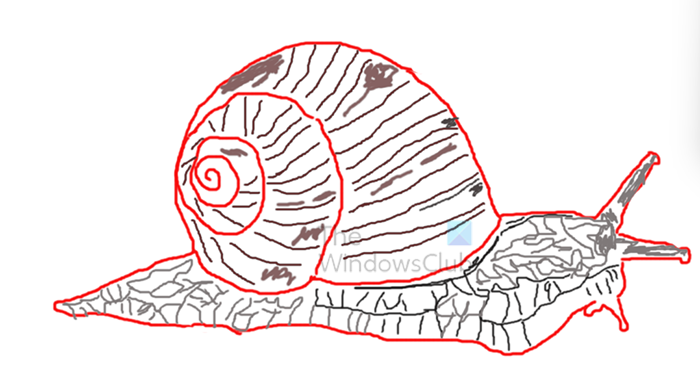
This is the trace without the original image below it. To remove the original and leave the trace you would just click the Eye icon beside the thumbnail of the original image in the layers panel.
5] Save
Now that you have finished tracing, you will want to save the result. As you were tracing you should save the file in the GIMP editable format. This will help you to retain your work if problems arise and your computer restarts.
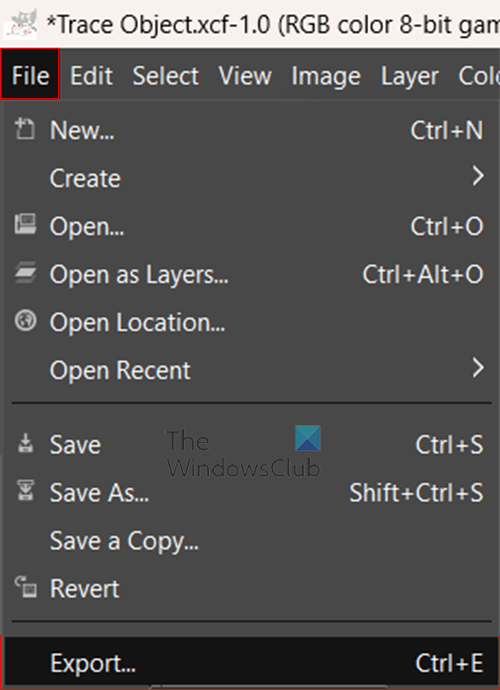
After finishing, you may want to save it in a file format that you can share easily. You would go to File then Export or press Ctrl + E.
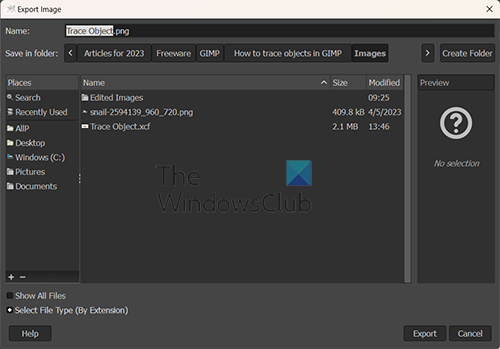
The Export image dialogue window will show up. Type in the name of the file that you want then place the file format as well, for example, you would type Trace Object.Png. When this is finished press Export.
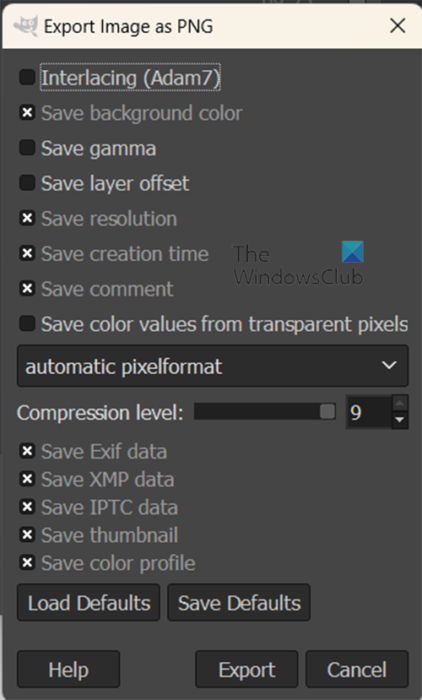
The Export Image as PNG options window will appear. Choose the options that you want and press Export.
If you had chosen to save the file as a JPG you would type Trace Object.jpg as the file name. The Export Image as JPG options window would appear. Choose the options that you want and press Export.
Read: How to add a Glow to an Object in GIMP
Does GIMP have an automatic Image Trace like Illustrator?
Unfortunately, GIMP does not have automatic Image Trace like Illustrator does. With GIMP, you would have to use the Pen, Pencil, or Paintbrush to trace the image onto a blank layer.
How do you draw a straight line in GIMP?
If you want to draw a straight line in GIMP, you would select the tool that you want to use for the line. You can select the Pen, Pencil, Paintbrush hold Shift and clock a start point then click an endpoint, you can then release Shift. You can draw the line without holding a shift, however, it will be harder to draw a straight line without holding the Shift key.
Leave a Reply