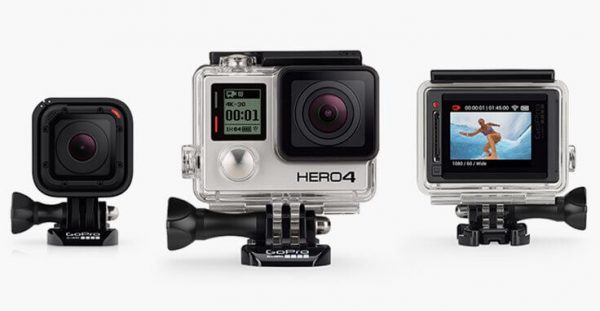
GoPro is a popular camera device for adventure photography. It is in vogue among adventures, surfers, and athletes because of its sleek compact design. It is one of the widely used pieces of equipment among the small camera sector for its high-quality HD cameras. In this article, we will explain how to connect a GoPro to your computer and transfer files from GoPro camera to Windows 11/10.

While GoPro an epitome for action photography, it is nowadays used by even casual users and bloggers as well. The quality of videos, videos and overall features are close to a production camera. It is possible to mound the GoPro camera in all impossible scenarios. That’s makes it incredibly handy for adventure photography.
To import all the GoPro videos and photos, all you need to do is install the GoPro app and connect your camera to the computer. The app automatically imports your videos and photos so that you can quickly check out the contents.
Recommended read: Best GoPro editing software.
Transfer files from GoPro to Windows 11/10
- Launch GoPro App(Quick) on your device and create a free account to access the app from anywhere.
- Connect your GoPro camera with the Windows desktop using the USB cable.
- Switch On the Camera and the GoPro app will automatically detect your device.

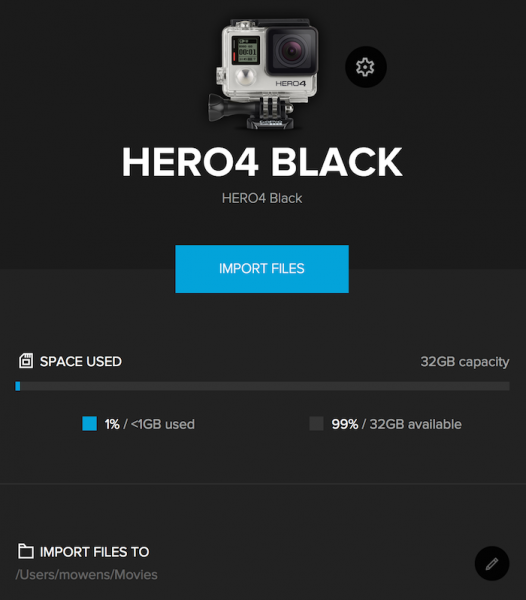
The GoPro App displays the camera details on the new device window and, click the Confirm option to import files to the desired location.

- Click on Import Files button. It will open a new window pop up asking if you want to import camera footages automatically to desktop.
- In the new pop window that appears, click Always Import if you want to automatically import contents as soon as the camera connects else click No.
- The app will now display a progress bar in the My Devices section. It will be visible until the media entirely transfers GoPro photos and videos from the camera to the Computer.
- Once complete, check if all the files are on the computer.
- Go to Alert Drawer in the Media Library to check the number of files transferred to the desktop.
Note: The settings to automatically import the files can be changed from the Camera Settings section.
Transfer files from GoPro camera to Windows 11/10 without a software
You can also copy the GoPro files to your desktop without installing any apps or software. Follow the steps below to manually import files directly to your computer.
Connect your GoPro camera to the USB cable and plug it into your main USB port on your Windows desktop.
Turn On the Camera. When the computer detects the camera, it will display a USB symbol.
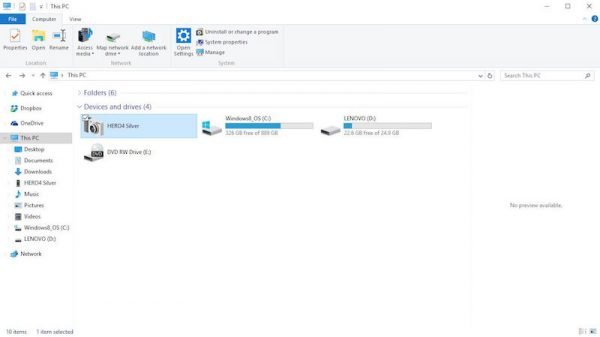
Now navigate to File Explorer and click on GoPro client that appears on the page.

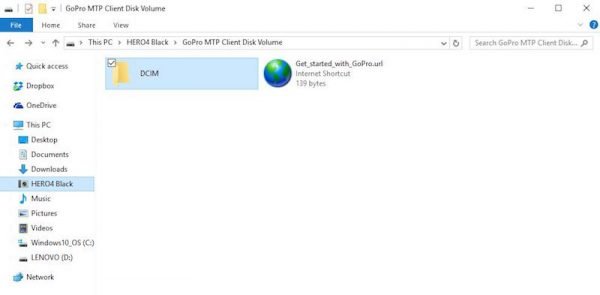
Click on DCIM folder.

Copy the files and paste them into your desired location on the Desktop.
Alternatively, you can choose to import files using an SD card. The steps remain similar to using a USB cable. However, instead of plugging in the camera to monitor, you have to use an SD card with a card reader. To import files from an SD Card, remove GoPro’s microSD card from the camera and insert it into your card reader attached to your computer.
How do you transfer files from GoPro camera to Windows 11/10? Do you use the app or directly using File Explorer?
How do I import photos from my GoPro to my computer?
You can import photos from GoPro to your computer using a USB cable. First, power off your GoPro and connect it to your computer via a USB cable. In This PC, you can see your GoPro camera or device. After that, you can open it and copy the DCIM folder.
How do I view GoPro files on Windows?
Viewing the GoPro files on Windows 11/10 is not that difficult as long as you have the USB cable. If so, connect your GoPro camera to your computer via the USB cable, open the DCIM folder, and double-click on any file to open it.
Can GoPro save directly to PC?
No, GoPro cannot save directly to PC. GoPro saves all the files to an SD card that is inserted into your camera. You can unplug the SD card and connect it to your computer via an SD card reader or use a USB cable to do the same.
Leave a Reply