Knowing how to type text on a path in Illustrator is a skill worth learning. Writing on the path of a shape or any artwork can add a new dimension of creativity to any artwork. The path of the artwork or image is the outer invisible line that goes around it. The path takes the shape of the image or artwork.
How to Type Text on a Path in Illustrator
Illustrator allows you to write on the path of your artwork like shapes that you create. You may have an image that you saved in any of the file formats, and you want to write around it. This may prove to be a challenge. However, if you use the shapes around the image, you can get the words around it. That is using the path of another shape to write around an image. The pen tool can also be used to write around images that are proving difficult to write on their path. This article will show how to write text on a path and also how to use the path of tools or shapes to write around an image.
- Write on the path of shapes
- Flipping the lower text
- Writing on other shapes
- Writing on the path of images
1] Write on the path of shapes
Illustrator allows you to write on the path of shapes that you draw using the tools. You can write around the shape or within the shape. In both cases, the text will take the outline of the shape.
Write on the outer path
To write on the outer path of a shape, draw the desired shape on the canvas. The example that will be used is the polygon.
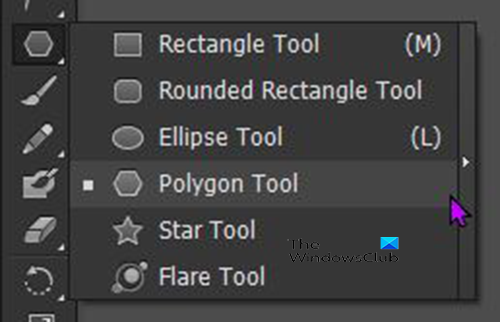
Go to the left Tools panel and choose the Polygon tool. The Polygon tool is in the same tool group as the Rectangle tool, Ellipse, and other shape tools. Select the Polygon tool and then click on the canvas and drag while holding the Shift + Alt key.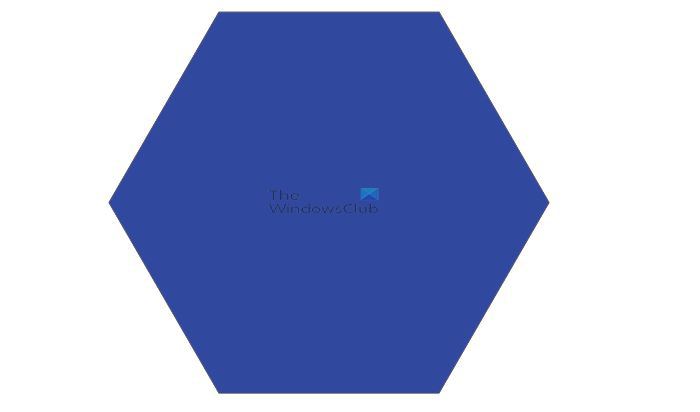
This will make the polygon tool spread out evenly and one of the flat faces will be placed horizontally. If you do not hold Shift + Alt while dragging, a pointed corner will be at the bottom instead of a flat face. The color of the shape doesn’t matter as the color will go as soon as the text is added. You can make sure that a stroke is around the shape so that you can see it.
To begin adding the text to the path, select the shape then go to the left tools panel and select the text tool. For some shapes, once you hover over the side it will automatically change to the Type on path tool.
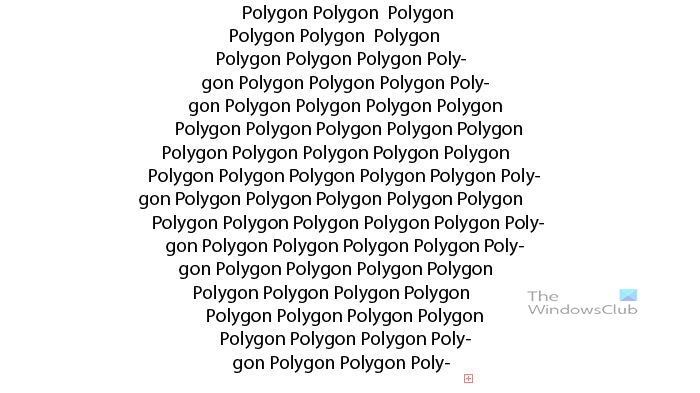
For this shape, if you do not select the Type on a path tool, it will automatically change to the tool that makes the text write in the inner path of the shape. The text paragraph of texts will take the outline of the shape and fill out the inside. If you look closely, you will see a red box with a cross + on the inside, that is showing that there is an overflow (extra text), you can double clock on it to see the extra text. You may also delete the extra text.
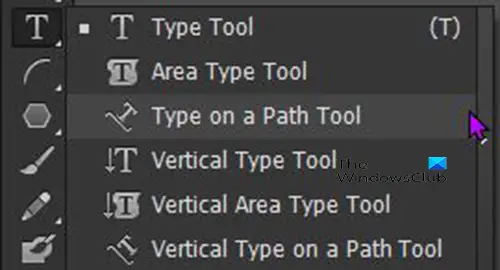
If you want the text to be on the outer edge, you will have to select the Type on a path tool from the Type tool group on the left tools panel.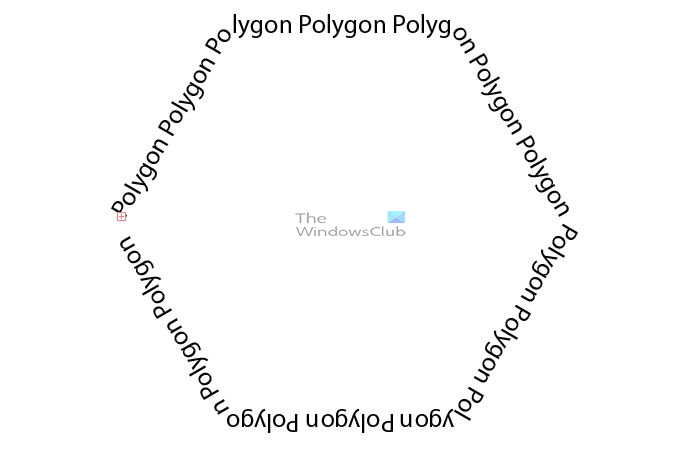
This is the result of using the Type on a path tool to write on the outer edge of the shape. You will notice the red box with the cross in the middle. That is showing that there is an overflow of text.
You may want the text on the lower part of the shape to be going in a different direction. You will have to create a copy of the shape.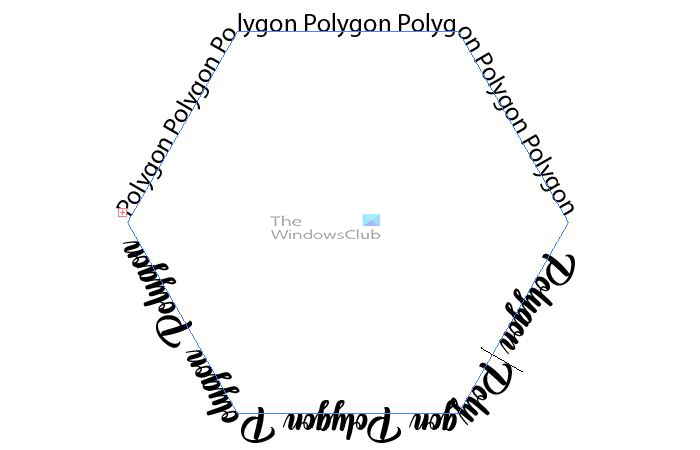
This is the text around the polygon before the lower text is flipped. The font type has been changed so that it is easier to see the differences.
2] Flipping lower text
To flip the lower texts in another direction you will need two shapes. You can select the shape and copy it then paste it in front of the other shape. You can also hold Alt then click and drag the shape so that the shape is duplicated. When you have the two shapes, you would delete the upper text from the second shape. You will notice that the lower text automatically replaces the upper text that was deleted. Another way to do this would have been to just write text on the upper part of the shape before duplicating. This would eliminate the need to delete the lower text. You would simply move to the next step after duplicating.
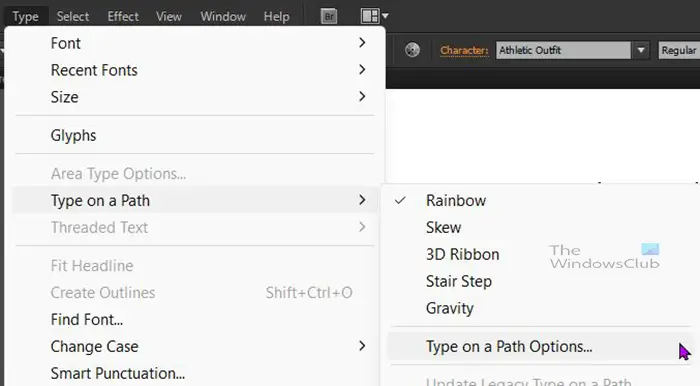
Select the shape that is at the front with the texts that you want to flip then go to the top menu bar and select Type then choose Type on path then Type on path options.
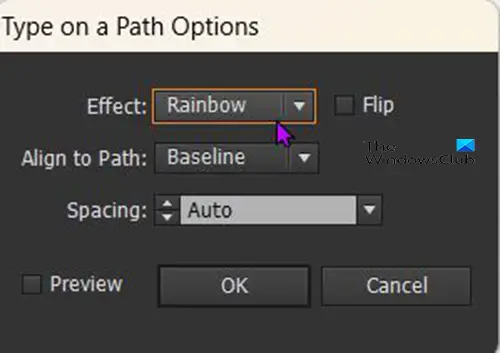
The Type on path option window will appear and Rainbow will be the pre-selected effect. Click Preview so that you can see the live changes on the artwork. Select Flip so that the text can be flipped. You can also change the spacing of the letters if you want. The default spacing is Auto.
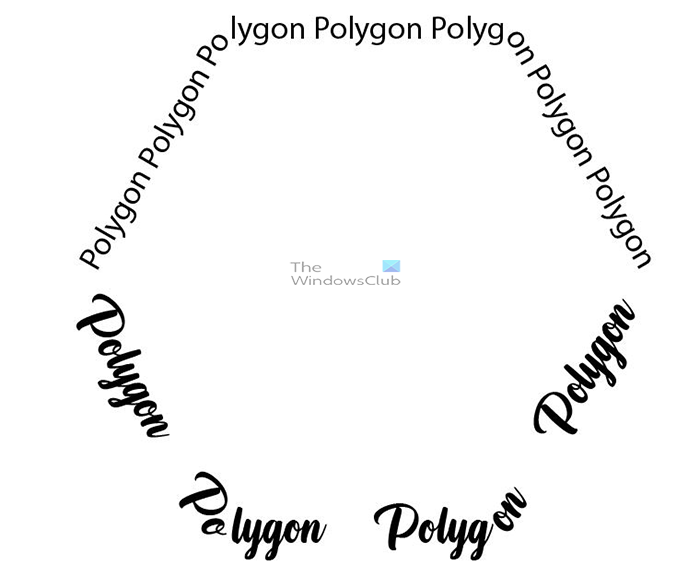
This is the polygon with the lower words flipped around so that the text is written from another direction.
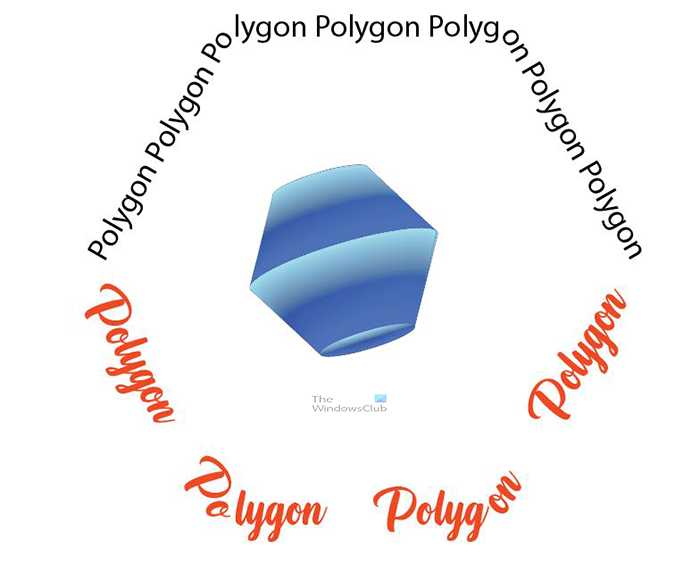 You can do other things to your artwork depending on the purpose. This is the text on the path with a 3D polygon in the center. This concept could have been used as a logo.
3] Writing on other tools
Spiral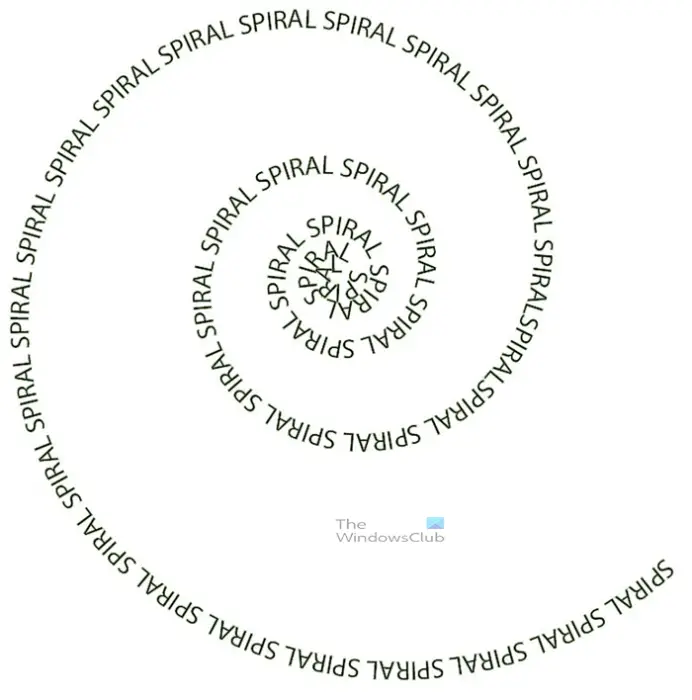
You can write on a variety of shapes and tools. This is another shape that will be tried, it is the spiral. Go to the left menu bar and choose the spiral, it is in the same group as the Line segment. After choosing the spiral shape, put a stroke to make it visible.
Go to the left tools panel and select the Type tool or press T on the keyboard. For this shape, you can select the regular type too. When you hover over the spiral shape the type tool will automatically change to the Type on a path tool. You would then click to type. If you need to type along the full length of the spiral you would need to click at the tail end and then type.
Arc tool
The last one that will be tried is putting the text on the path of the Arc tool. Go to the left tools panel and click the Arc tool. The Arc tool is in the same group as the Spiral and the Line segment tool.
When drawing the Arc on the canvas, try using Shift or Alt or a combination of both Shift + Alt to move and rotate the Arc to fit what you want. Drawing the Arc without any key combination will make the left edge anchored while you place the right edge anywhere. Holding shift will also cause the left side to be anchored, but the Arc moves faster and more uniformed. Drawing while holding will make both ends move but they will move opposite to each other (one end up will see the other one going down). If you hold Shift + Alt while you draw the Arc, the pivot point will be in the middle.
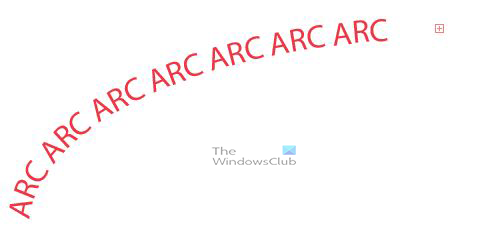
This is the finished Arc with the text written on its path. Depending on how you draw the arc, the text written will have a different angle to it. You can experiment with different angles to see what fits your project best.
4] Writing on the path of images
Illustrator allows writing text on a path around an image’s path like Photoshop does. You may have a JPEG image that you want to write text around. you can use a few ways to get it done. You can trace the image with the Pen tool and then write around the pen tool trace. The image may have a background so you can use the Image trace option to get rid of the background then use the Type on a path tool to write around the image.
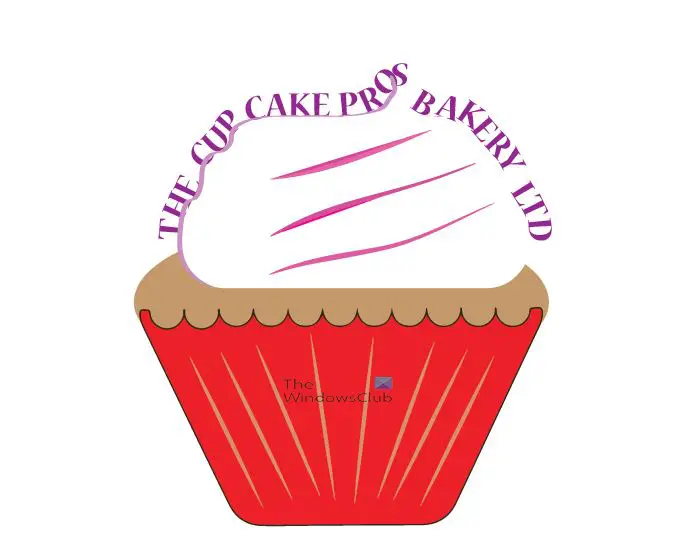
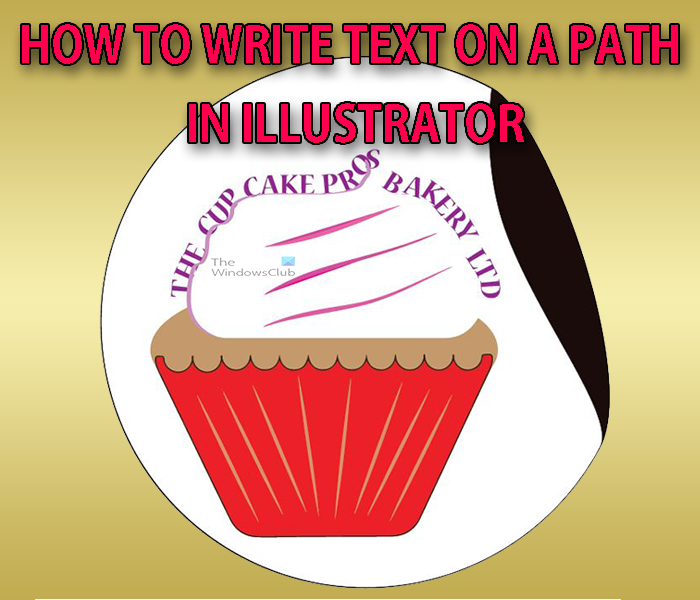
This cupcake had a white background and the Image trace was used to remove the background then the text was written around it using the Type on a path tool.
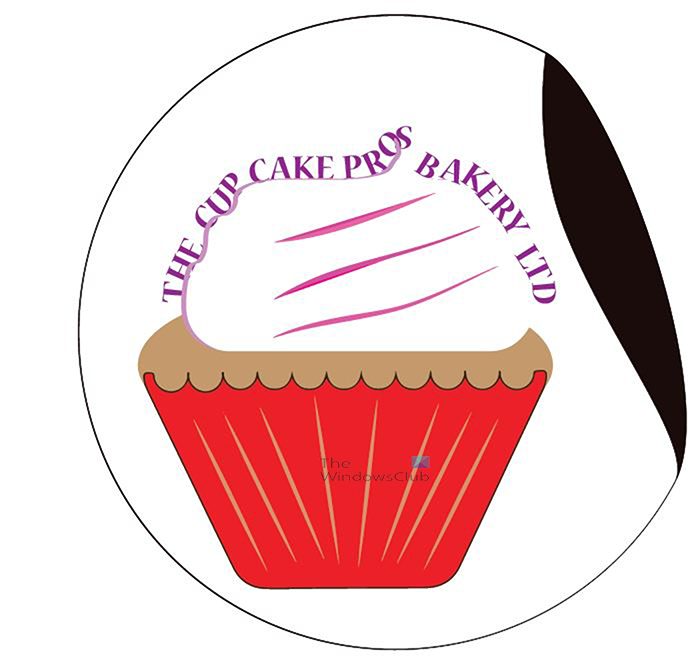
The cupcake is used as a logo
How do I fill text in a path in Illustrator?
From the Type Tool drop-down menu, choose the Type on a Path Tool. Hover your cursor over one edge of the line and click once. The curved line will be transformed into a type path. You can now type in a text, and apply formatting in the same way as you would for text in a text frame.
How do I edit text on a path in Illustrator?
To edit text on a path in Illustrator, you can follow the above-mentioned guide. There are mainly four steps you need to go through. However, when you need to edit the existing text, you can simply click on the text you want to edit and start the editing process on the go. Whether you used it on an image or shape, the process is same.
Leave a Reply