Voice Recorder app in Windows 11/10 is yet another basic app available. It is essential to have tools like these when you fresh install, but if you use an alternative sound recorder, you don’t need it anymore. In this post, we will learn how to uninstall the Windows Voice Recorder App in Windows 11/10.
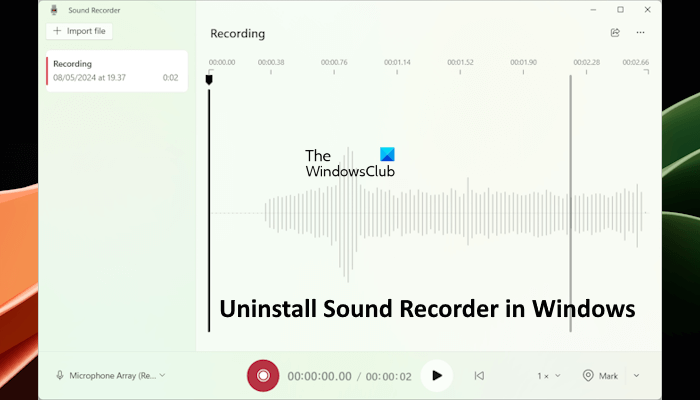
We can do it via the Start Menu, Settings, using a PowerShell command or a free app uninstaller to remove apps. In the latest version of Windows 11, Microsoft has changed the name of this app from Voice Recorder to Sound Recorder. Hence, if you have the latest build of Windows 11, you will find the Sound Recorder app on your system.
How to uninstall Voice Recorder App in Windows 11/10
You can remove or uninstall the Voice Recorder App using these methods:
- Uninstall from the Start Menu
- Uninstall via Settings
- Use a PowerShell command
- Use a third-party freeware.
Voice Recorder helps you record audio using a microphone on your computer. While it may not offer a lot of options, it does work without a problem. So unless you have an alternative, do not uninstall it.
1] Uninstall the Voice Recorder App from the Start Menu
The following steps will guide you on how to uninstall Sound Recorder on Windows 11 from the Start Menu.
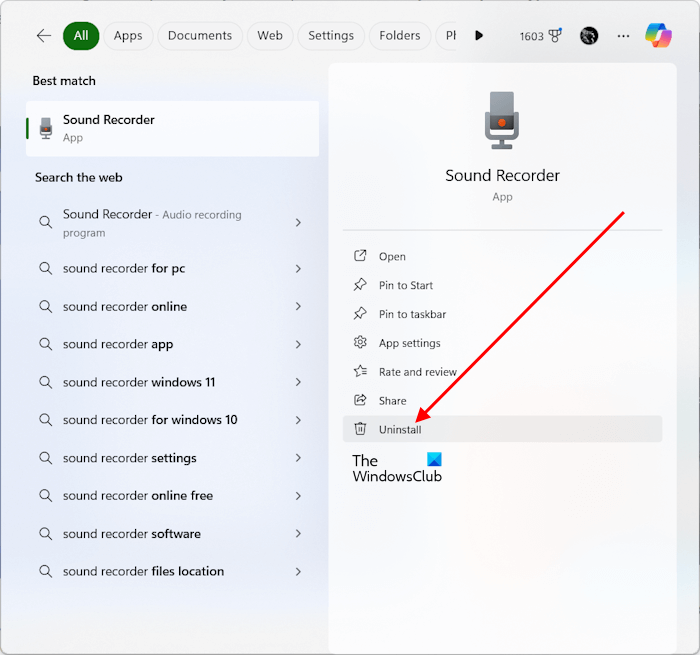
- Click on the Start button, and type Sound Recorder.
- When the Sound Recorder App appears in the list, right-click on it.
- Click on the Uninstall option.
There is another uninstall option on the right side of the listing which also reveals some quick action for the app.
Alternatively, you can also right-click on the Sound Recorder in the search results and select the Uninstall option.
2] Uninstall the Voice Recorder app via Settings
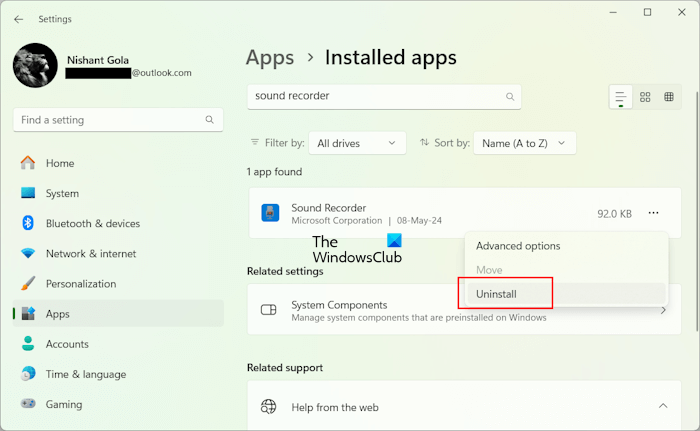
The first method works fine, but you can also uninstall via the Settings
- Open Settings > System > Apps and Features. In the latest build of Windows 11, the Apps & features option is replaced with Installed Apps. Hence, Windows 11 users with the latest build have to go to Settings > Apps > Installed apps.
- Wait till the app list is populated.
- Locate the Sound Recorder app. You can also search for the Sound Recorder app by typing its name in the search box.
- Once you find it, click on it. It will reveal the menu to Move and Uninstall. In Windows 11, click on the three dots next to it and select Uninstall.
- Click on the Uninstall button to remove the Sound Recorder from Windows.
3] Use a PowerShell command to remove the Voice Recorder app
If you are a power user, this method works like a charm.
Open PowerShell with admin privileges, and execute the Remove App package command for the Sound Recorder App:
Get-AppxPackage Microsoft.soundrecorder | Remove-AppxPackage
Once the execution is complete, the Sound Recorder app will be uninstalled.
4] Use a third-party freeware
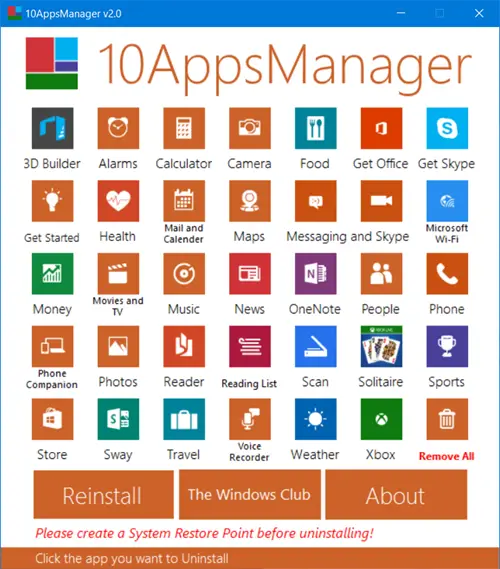
You can also use CCleaner, 10AppsManager or AppBuster to uninstall unwanted apps like the Sound Recorder app in Windows.
So as you can see, it is easy to uninstall the Sound Recorder app using any of the methods. Use PowerShell with precaution, and use the specific command. The settings menu is useful when you need to uninstall multiple apps, else the right-click on the Start menu method works great.
If you wish to reinstall apps, you may do so via the Microsoft Store – or use these PowerShell commands to reinstall pre-installed apps.
Where are voice recordings stored in Windows?
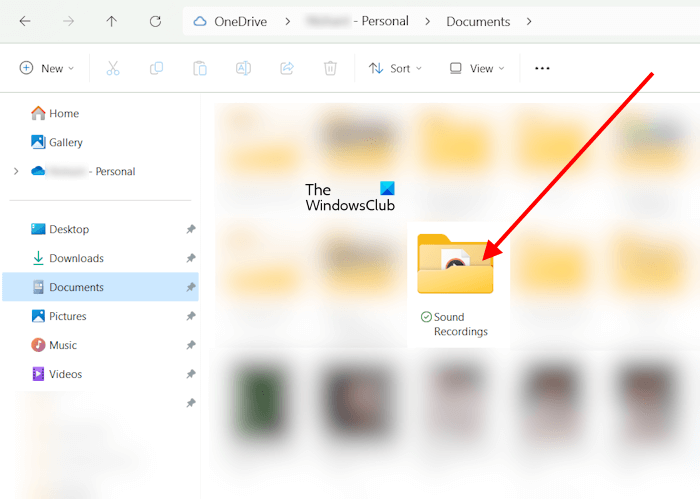
Voice recordings are stored at the default location in Windows 11/10. This default location is the Documents folder. You will find the Sound Recordings folder inside the Documents folder. All your recordings are saved here. You can also open this folder via the Sound Recorder app. Click on the three dots on the top right side in the app and select the Show in folder option.
How do I remove an audio device from Windows 11?
All your audio devices in Windows 11 are listed on the Bluetooth & devices page in Windows 11 Settings. You can remove your audio devices from there. Open Windows 11 Settings and go to Bluetooth & devices > Devices. Your audio devices will be available under the Audio section. Click on the three dots next to the audio device you want to remove and select Remove device.
Read next: How to completely uninstall Corsair iCUE on Windows.
Leave a Reply