This post will show you the seven best ways to utilize free Bing Image Creator for quality output. Bing Image Creator (now called Image Creator from Microsoft Designer) is one of the best AI art generators available online. It can generate highly realistic visuals from scratch based on user-specified prompts. The more descriptive, explicit, and creative the prompt is, the better the results.
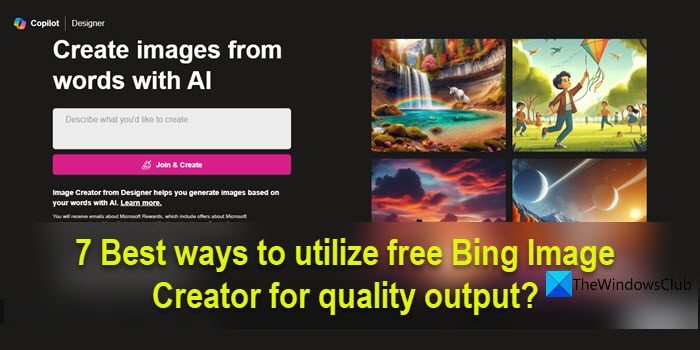
Image Creator from Microsoft Designer has made significant progress toward creating high-quality images. It now uses the DALL-E 3 training model that exhibits a higher level of detail and realism. However, whether it can consistently generate HD results depends on several factors, including prompt clarity, resolution constraints, and post-processing. In this post, we will share some effective tips to help you generate quality output that best fits your needs or the objective of the project you’re working on.
How to use Bing Image Creator free
Here are the seven best ways to use the free Bing Image Creator (now called Image Creator from Microsoft Designer) for quality output:
1] Keep your prompt detailed and descriptive
A detailed and descriptive prompt provides clear instructions and parameters, guiding the AI toward generating high-quality images that closely match your requirements and expectations.
For example instead of saying ‘portrait of a man’, you can say ‘portrait of a middle-aged Norwegian man, tall, muscular, blue eyes’
While keeping the prompt as detailed as possible, you may craft it as per the following template:
Adjective + Noun + Verb + Style
The above template is recommended by Bing Image Creator. Since DALL-E 3 can interpret adjectives precisely, you can use descriptive adjectives in your prompt to help the AI understand the desired outcome.
For example, you may craft your prompt as follows:
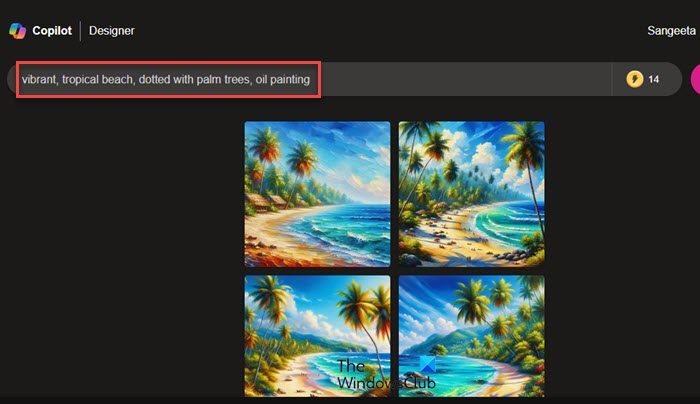
vibrant (Adjective), tropical beach (Noun), dotted with palm trees (Verb), oil painting (Style)
The above prompt generated the following results, which were in line with my expectations:
You can also expand each segment of the above format using multiple adjectives and styles and achieve more accurate results.
2] Use resolution (HD/4K) keywords
The default resolution in which you can download images from Bing Image Creator is 1024×1024 pixels with a 1:1 aspect ratio (square). While you cannot modify this aspect ratio or download images in higher resolution, you may incorporate resolution-related keywords in your prompt if you want more clarity in your images. Ultra photoreal, Photorealistic, Ultra detailed, Intricate details, 4K, and 8K are a few keywords you can specify in your prompt to get quality output.
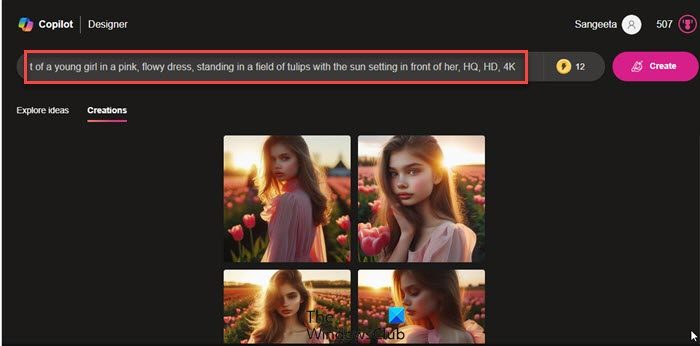
For example, I used the following prompt to get high-quality image output from Bing AI:
“Close-up shot of a young girl in a pink, flowy dress, standing in a field of tulips with the sun setting in front of her, HQ, HD, 4K“
The results were surprisingly good, as you can see in the following image:
3] Use camera parameters
Another trick to get quality output from Bing Image Creator is to add camera parameters to the prompt. You need to study, learn, and experiment with these parameters to get accurate and satisfying results.
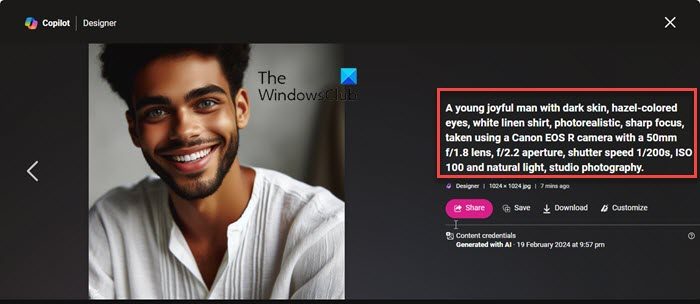
For example, for the following prompt:
“A young joyful man with dark skin, hazel-colored eyes, white linen shirt, photorealistic, sharp focus, captured using a Canon EOS R camera with a 50mm f/1.8 lens, f/2.2 aperture, shutter speed 1/200s, ISO 100 and natural light, studio photography.”
I got the following results:
4] Include art styles
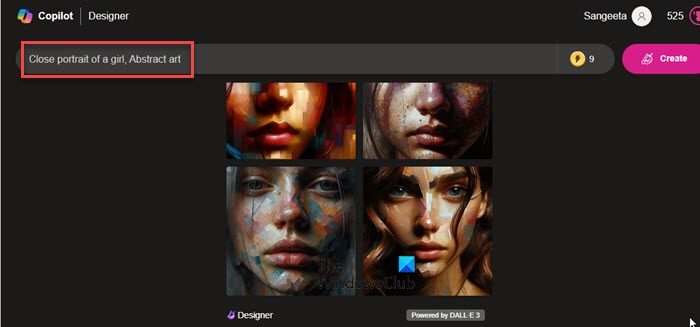
If you have a certain art style in mind, include it in your prompt. Graffiti, Oil painting, Pencil sketch, Abstract, Surrealism, Impressionism, Japanese anime, Hyperrealistic/ultrarealistic/photorealistic, and Pop art are a few examples you may use. Adding a style not only adds aesthetics but also has a significant impact on the resultant image.
5] Experiment with different prompts
Experimenting with different prompts is a great way to achieve better quality output with Bing Image Creator. Try varying the level of detail and specificity in your prompts. Sometimes a more detailed prompt can yield better results, while other times an open-ended or abstract prompt might lead to unusual and exciting results.
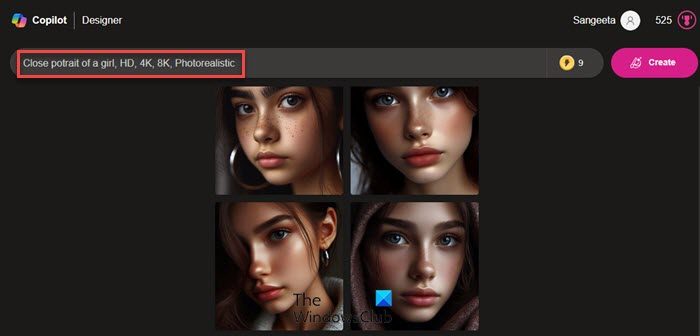
Consider combining multiple prompts or adding specific constraints to see how they impact the generated images. You can also adjust parameters such as style, colors, or mood within your prompts to fine-tune the results.
6] Post-processing
You may apply additional post-processing or image enhancement techniques to enhance the image quality. For this, you may use the ‘Customize‘ feature in Image Creator or use third-party image processing software such as Gimp or Adobe Photoshop.
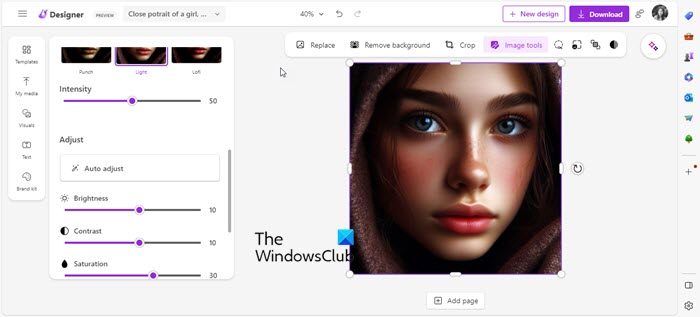
The Customize button can be found next to the Download button after generating the results. Clicking this button will open the selected image in Microsoft Designer within a new tab, where you can edit your image by adjusting various parameters such as brightness, contrast, sharpness, temperature, etc. You can also apply creative filters or effects to add depth and character to your image.
7] Upscale your image
You may use other AI art generators to upscale the generated image and achieve better results (Image Creator doesn’t natively support this feature).
For example, after downloading the image from Image Creator, you can head to HD Upscaler from PromeAI.com and upload your image there. Then select the desired scale, arrange your image, and let the generator fill in the gaps.
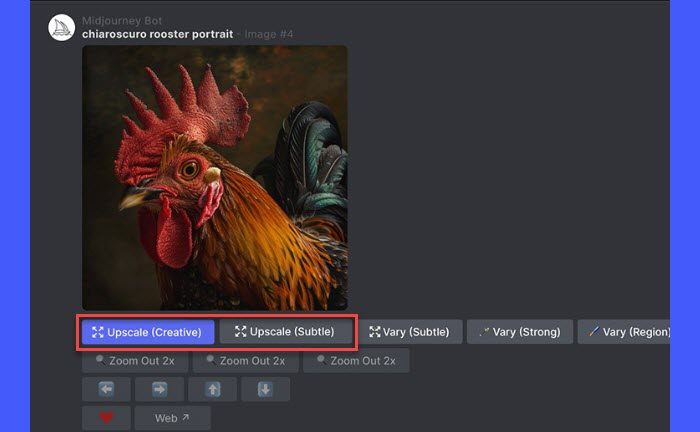
Some AI art generators such as Midjourney provide native support for the Upscale command to upscale your AI images to a higher resolution.
I hope you find this post useful.
Read: How to make Music with AI for Beginners using Musicfy.
Can I use Bing image Creator for free?
Yes, Bing Image Creator (Image Creator from Microsoft Designer) is free to use. You can sign up for a new Microsoft account or log into your existing Microsoft account to use the Image Creator. Initially, you will receive 15 ‘boosts’, which are single-use tokens to generate images faster (one boost is used per image). If you run out of boosts, the image-generation process may take longer, but you can continue to use Bing Image Creator without paying anything.
How do I get more boosts on Bing Image Creator?
Once you’ve used up all your boosts, you can redeem the Rewards points associated with your Microsoft account to get additional boosts. You can see your current rewards points next to your profile photo in the top-right corner of the Image Creator’s home page. Clicking the rewards icon will show a Redeem option that allows you to trade off the accumulated points for more boosts.
Read Next: Wepik AI Image & Template Generator Review.
Leave a Reply