Cloudflare WARP is more than just a VPN. It uses the 1.1.1.1 service of Cloudflare and, at the same time, optimizes and encrypts your connection. What’s good about this tool is that it uses 1.1.1.1, which is way quicker than your normal VPN. In this post, we will see how to use Cloudflare WARP for Windows Desktop and Teams.
How to use Cloudflare WARP on Windows PC
All VPNs are not the same, some are better and quicker than others, and Cloudflare WARP is one of them. Most VPNs use one network, which is congested and the Internet speed could be slower. However, Cloudflare utilizes its vast network of servers which makes it easier for users to enjoy fast, reliable, and secure Internet.
Download Cloudflare WARP on Windows Computer
First of all, we need the installation media of Cloudflare WARP. To do the same, you can either go to 1.1.1.1 or install.appcenter.ms. Once you are on the website, download a copy of Cloudflare WARP for your operating system.
In 1.1.1.1, you will get a copy of the VPN for multiple OSs; make sure to choose the right one. Once you click on the correct option, the file will start downloading.
Read: How to setup and use CloudFlare’s new DNS service 1.1.1.1?
Install Cloudflare WARP on your system

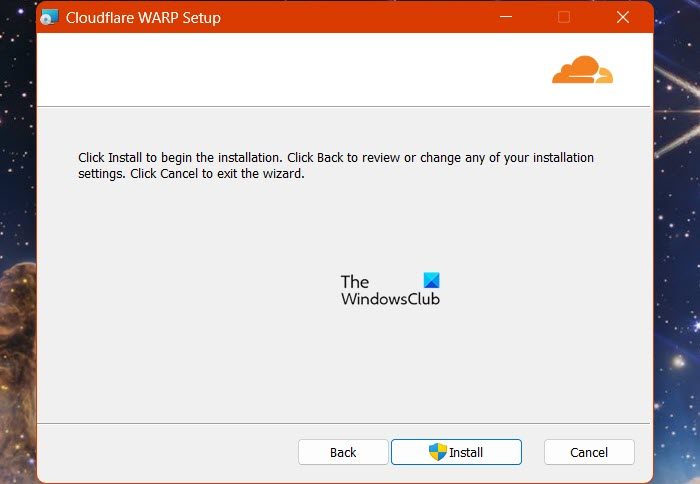
After downloading Cloudflare, we need to install it as well. It is pretty simple to do the same, just go open File Explorer and go to the Download folder. Once you are there, double-click on the Installation Media. You can now follow the on-screen instructions, and select Yes when prompted by UAC.
Also read: How to setup and use Cloudflare 1.1.1.1 for Families.
Using Cloudflare WARP

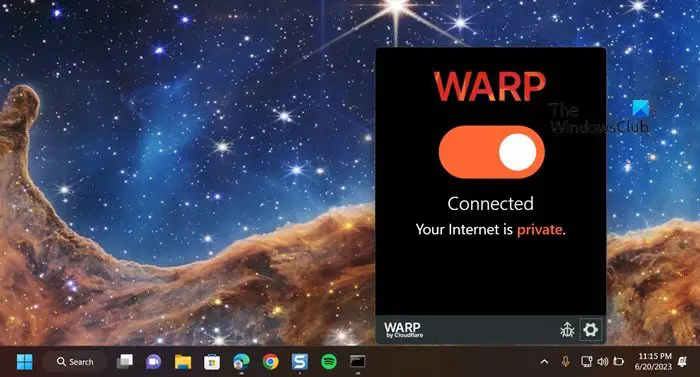
Now that we have installed Cloudflare WARP on our system let us turn on the VPN and start using the tool. Usually, when you finish installation, you will get a Cloudflare WARP pop-up; you can enable the VPN from there.
In case you didn’t see any pop-up, search out “Cloudflare WARP” from the Start Menu. Now, go to the Taskbar and click on the Cloudflare WARP icon. Sometimes, the icon is hidden; in that case, you must click the Arror (^) icon. Finally, enable the toggle to enable Cloudflare WARP.
We hope that with the help of this guide, you understand how to download, install and use Cloudflare WARP.
How to use Cloudflare WARP for Teams?

Cloudflare has integrated its VPN solution with Microsoft Teams and if you are a part of an organization that requires a VPN, this can be the way to go. If you are just a member and are asked to join the Cloudflare VPN, it is normal to be a little confused. In that case, all you have to do is connect to your organization’s network.
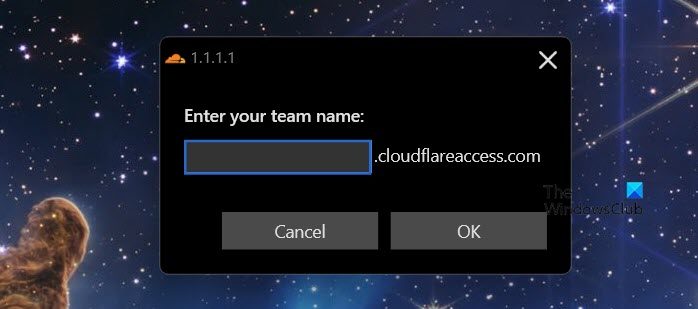
To connect your organization, you need to go to Cloudflare WARP, turn on the VPN, click on the cog icon, and then click on Preferences. Finally, click on Login with Cloudflare Zero Trust. Enter the credentials provided by your organization to log in.
However, if you are setting up Cloudflare WARP, go to dash.cloudflare.com, login, and then set up the Gateway policy.
To know more about it, we recommend navigating to blog.cloudflare.com. This will help you to set up Cloudflare VPN for your organization.
Read: Best free VPN software for Windows
How do I use Cloudflare WARP on Windows?
It is pretty simple to use Cloudflare WARP VPN for Windows. You just need to install the application and then turn on the VPN. If it is not visible, just go to Taskbar and if it is hidden, click on Arrow (^) icon. However, if you are part of an organization, you need to sign in to Cloudflare Zero Trust and then set up your account.
Read: Why you should also use VPN software for Security & Privacy
Does WARP work on Windows?
Yes, WARP is available for Windows as well as some of the other major operating systems including macOS and Linux. All you need to do is install the application and turn on the VPN. WARP is Cloudflare WARP VPN is also integrated with Teams. If you want to know how to do either of the two, check out the guide mentioned above.
Leave a Reply