Windows 11 makes it possible for users to connect their computer to Ethernet and Wi-Fi simultaneously, but do not expect the system to use both connections at the same time by default. Automatically, the Windows operating system arranges the network adapter order priority in a bid to deliver the best internet connection via either Wi-Fi or Ethernet.

But this can be changed if you want it to. Microsoft has made this very simple to do, and as always, we will explain how to accomplish this in a way for every reader to understand.
How to use Ethernet and Wi-Fi at the same time
To use Wi-Fi and Ethernet at the same time in Windows 11/10, you must first disable packet priority for both the Ethernet and Wi-Fi adapters.
- Open the Control Panel
- Go to Network and Sharing Center
- Open Ethernet Adapter Properties area
- Disable Priority and VLAN
Open the Control Panel and go to Network and Sharing Center.

From the left panel, click on Change Adapter Settings.
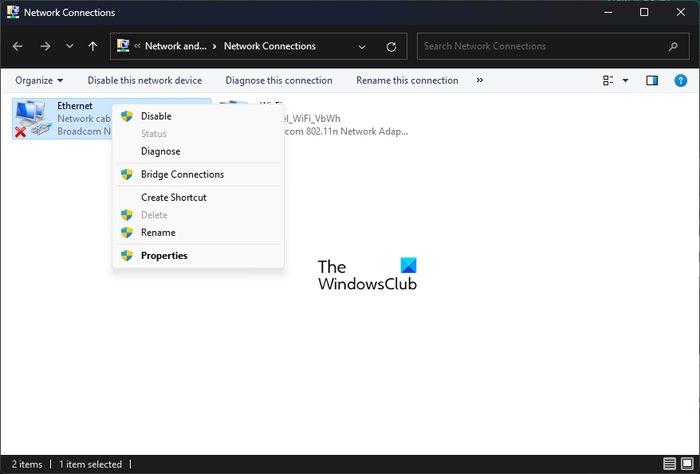
Look for your preferred Ethernet Network Adapter.
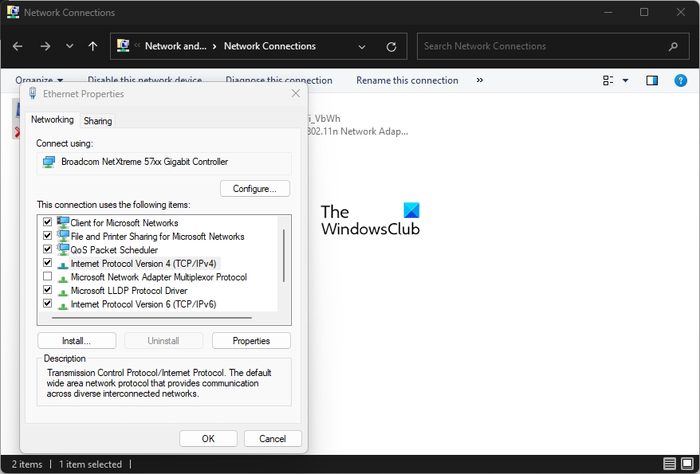
Right-click on it, then select Properties.

The next step here is to go to the Networking tab, then select the button that reads, Configure.
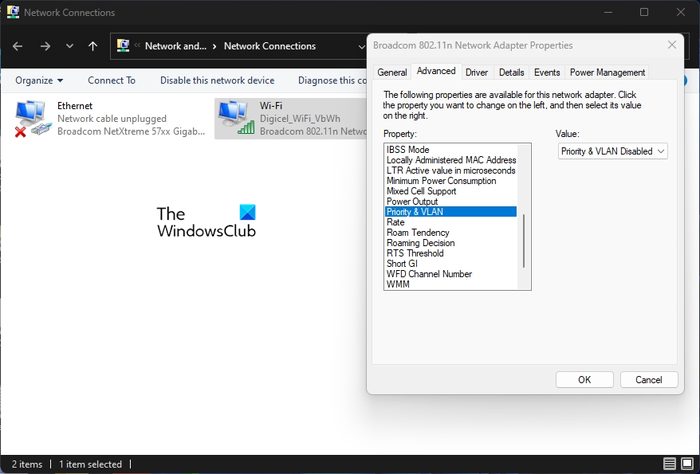
After that, you must open the Advanced tab.
Under the Property section, look for Priority and VLAN, then select it.
Once the above is done, click the drop-down menu that is situated under Value.
Choose the option that reads, Priority and VLAN Disabled.
Hit the OK button to save the changes you’ve made.
Repeat the steps for your Wi-Fi adapter, then click the OK button to save those changes when you’re done.
Now that the network adapter priority feature has been disabled, the Windows operating system will now use both network connections at the same time.
How to manually set Network Priority in Windows

Windows will always choose the best network connection automatically, and in most situations, that will be the Ethernet connectivity option. So if you want to browse the web using Wi-Fi after disabling packet priority, then do the following:
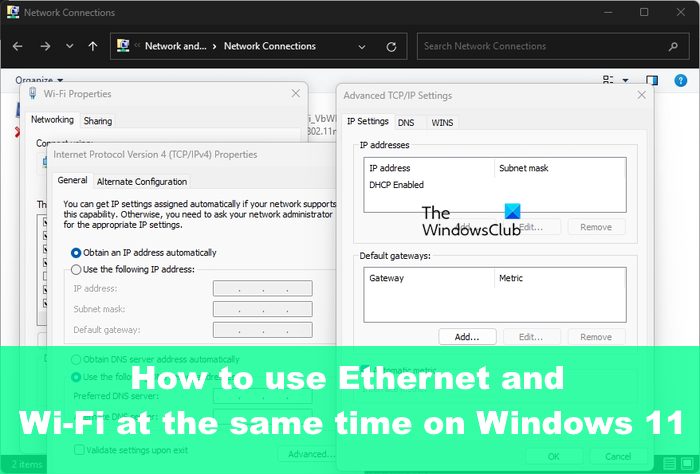
- Press the Windows key + R to open Run, type ncpa.cpl and hit the OK button. The Network Connections window should now be visible.
- Right-click on the preferred adapter and choose Properties.
- Click on Internet Protocol Version 4 (TCP/IPv4), and after that, select Properties.
- Click on the Advanced button via the Properties dialog area.,
- Uncheck the Automatic Metric box and type 5 inside of the Interface Metric field.
- Finally, click on the OK button on all windows that are currently opened.
Doing this will save the changes you’ve made.
Now that the changes have been made in full, the Windows operating system will prioritize the chosen connection whenever more than a single network adapter is connected.
Manually setting network priority is to ensure the system chooses either Wi-Fi or Ethernet according to your settings. It will not choose the connection it feels is best.
READ: Ethernet capped at 100mbps in Windows 11
Can I turn on Wi-Fi and Ethernet at the same time?
Yes, it is possible to have your computer connect to both Wi-Fi and Ethernet at the same time, but Windows will prioritize one over the other, and in most cases, Ethernet will be the choice.
Why is my Ethernet not working but Wi-Fi is on Windows 11?
Ensure the Ethernet cable is connected to the computer and router securely. Furthermore, you should check to see if the cable is plugged into the correct port where the router is concerned. Finally, you should try to figure out if the cable is damaged and needs replacing.
Leave a Reply