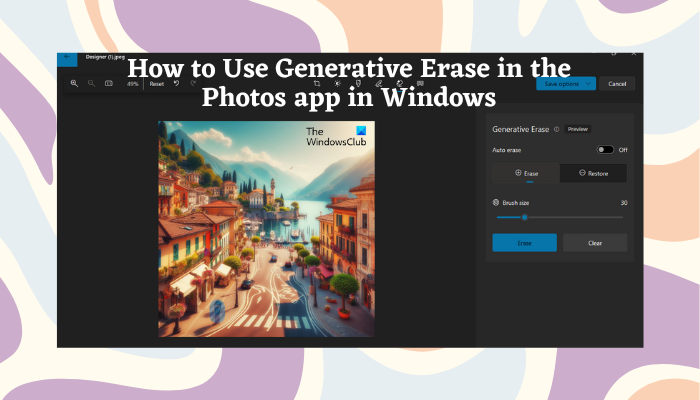
Are you wondering how to use the Generative Erase feature in the Photos app of Windows 11? This post will cover that and more related to this new AI-powered feature in Windows Photos.
 In addition to the other recently released AI edit features, Generative Erase helps to boost the tool’s editing powers. With this tool, you can erase unwanted objects from the image background and any visual clutter.
What is Generative Erase in the Windows Photos app?
Microsoft recently introduced an addition to the Windows Photos app with a new AI feature called Generative Erase. Similar to Google’s Magic Eraser, the app can help you remove any distractions from the photo easily.
The Photos app also supports features like blurring and removing or replacing the background. To avail of the Generative Erase feature, you must update your Photos app to the latest version
How to use Generative Erase in the Photos app of Windows 11
Generative erase is an upgrade to the Spot Fix tool, thus helping you to cover larger objects and areas compared to the previous version. It analyzes the image with the help of AI and removes the disruptive object neatly without affecting the background. So, let’s explain how to use Generative Erase in the Windows 11 Photos app.
1] Removing objects automatically using Generative Erase
Go to the Windows search bar, type Photos, and select the Photos app from the result.
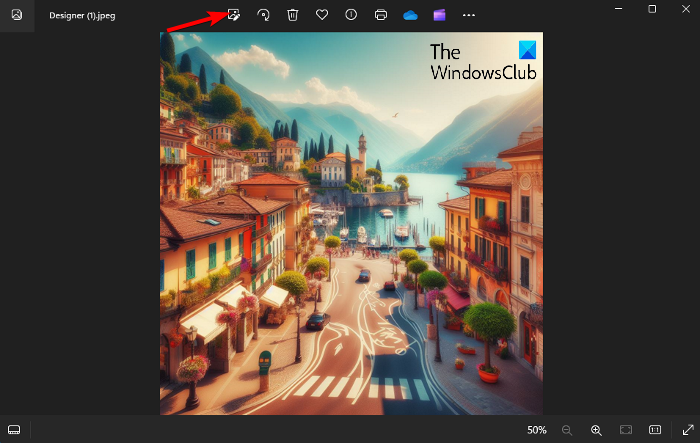
Next, in the Phots app, open the Photo you want to make changes to and click on the Edit image icon on the top. You can also press Win + E to open the image in the editing pane.

Now, click on the Erase option in the toolbar to open the Generative Erase pane on the right.

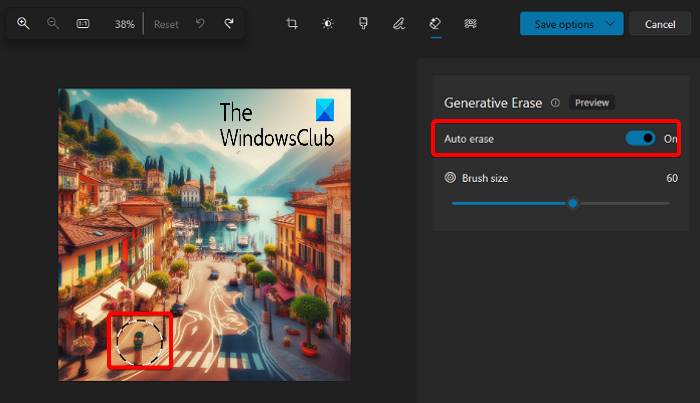
Here, the Auto erase option is enabled by default. If you want it that way, simply place the mouse over the object you want to remove and adjust the brush size based on how much area you want to remove.
Now the tool will start erasing the object. Generative erase will generate the results in a few seconds. #
Now, click on Save options at the top right, and select either Save as copy, Save, or Copy to clipboard from the drop-down menu to save the changes.
Read: Best free Image and Photo Viewer apps for Windows
2] Removing objects manually using Generative Erase
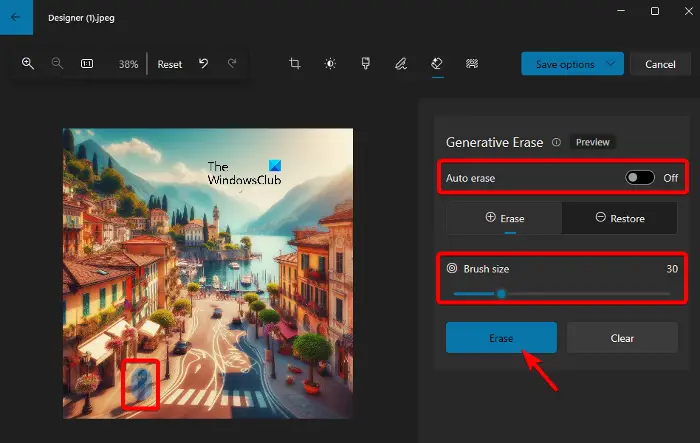
But if you want to remove it manually, you can turn off the Auto erase option and with Erase option highlighted, you can adjust the Brush size. The size of the brush will help you mask the exact area that you want to remove.

Then, place the pointer on the object you want to remove and press the Erase button on the right.
Photos will take a while and generate the desired result with the object removed.
You can click on Restore next to Erase to restore the previous image.
Once done, click on Save options at the top right, and select either Save as copy, or Save to save the changes.
You can also select or Copy to clipboard from the drop-down menu to just copy the modified image.
Read Next: Photos app is not working, is missing, or keeps crashing in Windows 11/10
How do I reset the Photos app on Windows 11?
To reset the Photos app on Windows 11, open Settings (Win +I) > Apps > Apps & features. Here look for Microsoft Photos, click on the three dots next to it, and select Advanced options. Then, go to the Reset option and click on it to reinstall the app and reset its data without affecting your images.
How do I access the Photo Editor in Windows 11?
To access the photo editor in Windows 11, navigate to Windows search, type Photos in the search bar and open the Photos app. Select the image you wish to edit, then click Edit & Create on the toolbar and proceed to edit. This feature offers various editing tools for enhancing your photos.
Leave a Reply