OpenAI Whisper will turn your voice into text on Windows 11/10 devices. Since this program is in development by OpenAI, it should be clear that artificial intelligence is at the heart of what it can do. And if ChatGPT is anything to go by, you can trust that the AI tech that powers Whisper is top-notch.
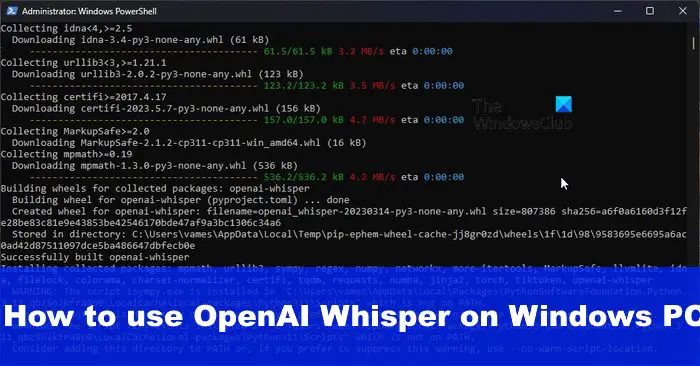
Additionally, we have to say that Whisper is perfect for those who want to convert voice into text but are low on funds. That’s because the AI-powered application is free to download and use.
What are some of the downsides of Whisper?
The installation is probably the one part that most users will not like. That’s because it’s not straightforward. It requires a longer process than what is deemed normal, and that may be an issue for novice users.
Furthermore, AMD GPUs are not supported. That’s because those GPUs do not support CUDA, a tool created by NVIDIA and is deemed as a parallel computing platform and programming model.
So as it stands, CUDA only supports NVIDIA GPUs, and the closest alternative to it from AMDs perspective, are the Radeon Compute Platform and OpenCL. We suspect OpenAI will support such platforms in the future, so for now, one has to wait.
Still, we have to point out that CUDA is more mature when compared to others, so that could be the primary reason why OpenAI decided to forego the OpenCL and Radeon Compute Platform for the moment.
How to download and install OpenAIs Whisper on Windows 11/10
Installing and using Whisper on a computer requires the use of PowerShell and the installation of key tools such as Python, etc. The steps involved are:
- Download and install Python
- Download and install PIP
- Download and install Chocolatey
- Download and install FFMPEG
- Download and install Whisper
- Convert audio to text with Whisper
1] Download and install Python
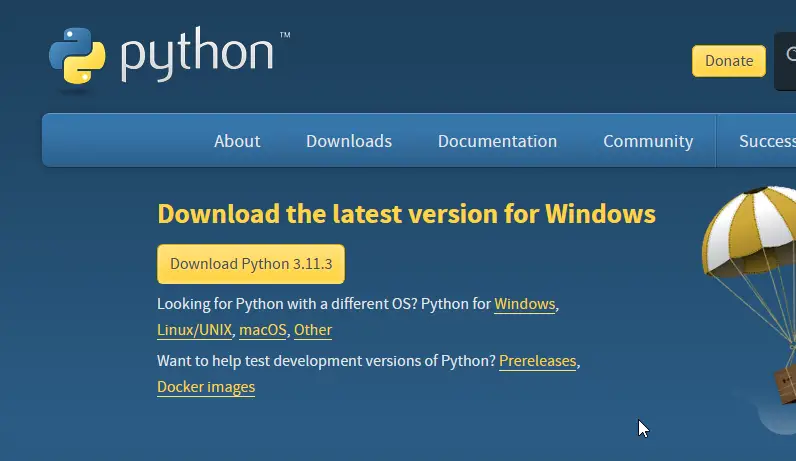
If you haven’t already done so, please visit the official Python website, then download and install the application.
Bear in mind that Python does not have a user interface, therefore, everything is done via the command line.
2] Download and install PIP
Here’s the thing, if you’re using Python 2.7.9 or greater, then PIP is installed by default. This is because PIP is built into the Python installer, so we suggest downloading the latest release because the older versions will not be supported forever.
3] Download and install Chocolatey
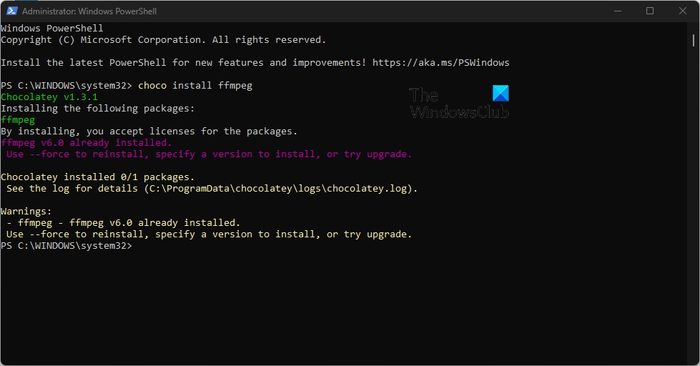
Finally, you must take the time to download the Chocolatey package to your computer.
To do this, open PowerShell on your computer as an Admin.
We must ensure Get-ExecutionPolicy is not Restricted so run the following command and hit the Enter key.
Get-ExecutionPolicy
If you see Restricted, then please run:
Set-ExecutionPolicy AllSigned
Or
Set-ExecutionPolicy Bypass -Scope Process
If everything goes according to plan, you will see the following message:
Make sure to hit the Enter key right after pasting to run the command. The execution policy helps protect you from scripts that you do not trust. Changing the execution policy might expose you to the security risks described in the about Execution Policies help topic at https:/go.microsoft.com/fwlink/?LinkID=135170.
Type Y for yes, then click on the Enter key to make the changes official.
Now, you must paste the following command into PowerShell, and as per usual, hit the Enter key:
Set-ExecutionPolicy Bypass -Scope Process -Force; [System.Net.ServicePointManager]::SecurityProtocol = [System.Net.ServicePointManager]::SecurityProtocol -bor 3072; iex ((New-Object System.Net.WebClient).DownloadString('https://community.chocolatey.org/install.ps1'))
Wait patiently for Chocolatey to be installed onto your computer.
4] Download and install FFMPEG
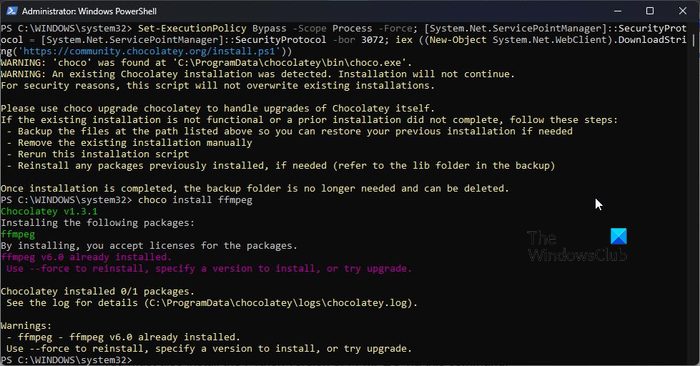
The next step, then, is to download and install FFMPEG. This can only be done if Chocolatey is installed. Also, the installation must be accomplished via the PowerShell tool.
Copy and paste the following command into PowerShell and select Enter:
choco install ffmpeg
You must also install the Python version of FFMPEG via this command:
pip3 install python-ffmpeg
5] Download and install Whisper
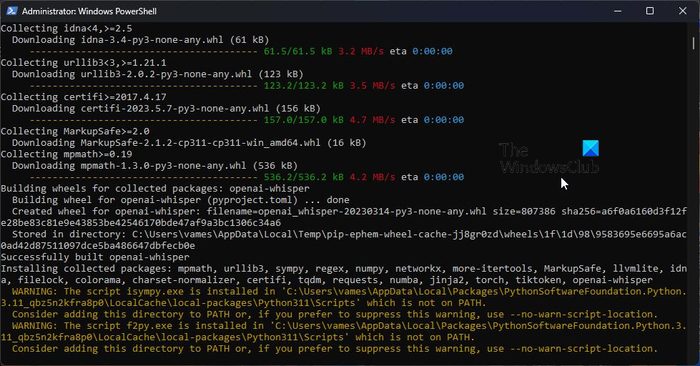
Finally, use the following command to get Whisper onto your computer:
pip3 install git+https://github.com/openai/whisper.git
Everything should now be moving in the right direction, so congratulate yourself.
6] Convert audio to text with Whisper
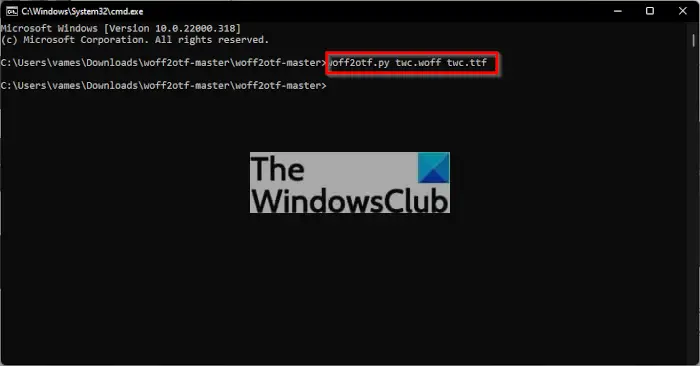
With everything installed and ready to go, it’s now time to transcribe. Since there is no GUI, the command prompt is your only friend.
Now, before we begin, you must record an audio file, or prepare one already saved on your computer.
So lets for say, for example, we have an audio file called TWCAudio.mp3, stored in a folder called TWCThings.
The first thing to do here is to change the directory by using this command:
cd C:\TWCThings
Run the Whisper tool on the file with this command:
whisper --model base --language gr --task translate TWCAudio.mp3
Return to the folder and look for a text file. Within that file is the translated audio in text form.
READ: What is OpenAI Playground and how to use it?
Can you run Whisper locally?
Yes, it is possible to run Whisper locally on your personal computer or from a cloud platform that supports the running of this open-source speech recognition application.
Read: How to control ChatGPT with your voice
Can Whisper AI be used offline?
Whisper AI tool supports offline usage, but it will work best on a computer that is powerful and fast. A weaker computer will force the user to wait a long time for files to be transcribed, and it all depends on the length of the audio recording.
Leave a Reply