You can make your Microsoft Teams meeting experience more joyful by adding a spark of AR filters to it. Yes, the integration of this new feature in Teams via Snap Camera will allow you to mess with your appearance in elaborate ways. Let’s quickly see how to use Snapchat filters in Microsoft Teams.
How to add Snapchat filters in Microsoft Teams
Snap Camera lets you apply Lenses to your face while using your computer’s webcam. As such, you can integrate your favorite third-party live streaming or video chat applications with this tool. Simply download it and select Snap Camera as your webcam device.
- Download Snap Camera for Windows.
- Select from the Top Community Lenses
- Launch Microsoft Teams app.
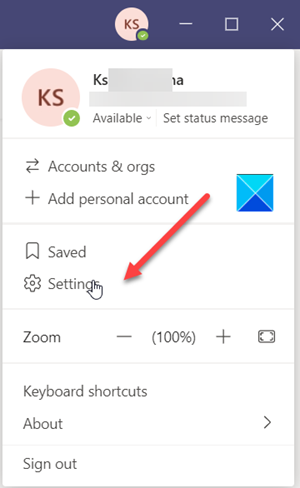
- Click your profile.
- Select Settings.
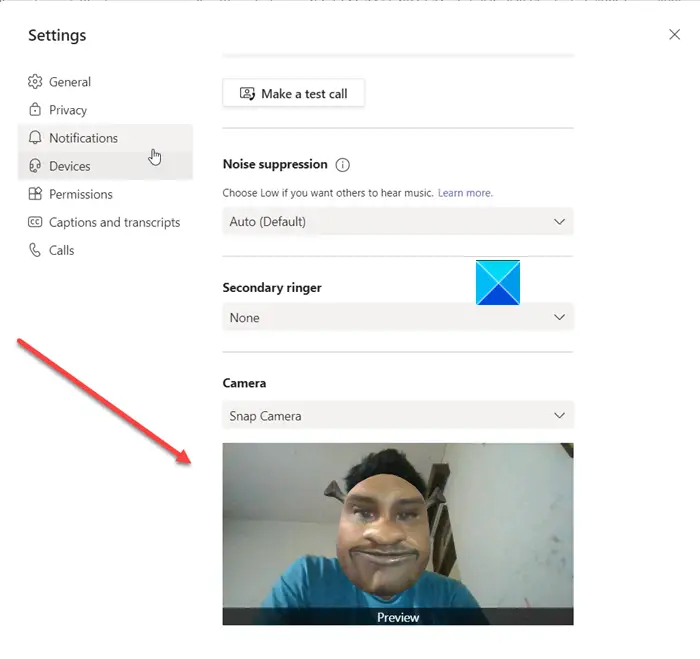
- Choose Devices from the left pane.
- Go to the Camera section.
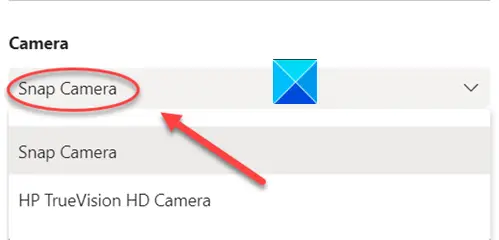
- Select Snap Camera instead of True Vision HD Camera.
Before proceeding with the above steps, close any active video or streaming apps you have enabled or running.
Download Snap Camera for Windows.

Launch it and scroll down in the Lens selection section to select from the Top Community Lenses.
Open Microsoft Teams app.
Right-click your profile icon to display a list of options.

Choose Settings from the list.
When the Settings window opens, scroll down to the Devices option in the left pane.

Now, move to the Camera section and hit the drop-down arrow under the Camera heading to check if the Snap Camera option is visible. If yes, select it.

Instantly, you’ll find your face is replaced with the lens you selected earlier via Snap Camera.
To turn off the feature, change the Camera from Snap Camera to your Default Web HD camera.
If your webcam enabled application was running prior to opening Snap Camera, you’ll have to restart the application for it to recognize Snap Camera.
Hope it helps!
Also read: How to use Snapchat Camera filter in Skype.
Leave a Reply