If you are a gamer, you are probably familiar with Steam. It is by far, the best game launcher and place to buy some of the most exciting titles. Most people don’t know that Steam has its own command-line interpreter, SteamCMD. In this post, we are going to talk about it and see how you can use SteamCMD on Windows PC.
What is SteamCMD?
SteamCMD is nothing but a command-line interpreter for Steam. Just like Command Prompt, you can do anything here that you would normally do on your Steam client app just by executing appropriate commands. However, for the most part, it is just used to install Steam Server. We have mentioned how to do the same hereinafter.
Read: How to download, install, and use Steam on Windows PC
How to use SteamCMD on Windows PC
If you want to use SteamCMD, you first need to download it and install it. In this guide, we are going to learn that as well.
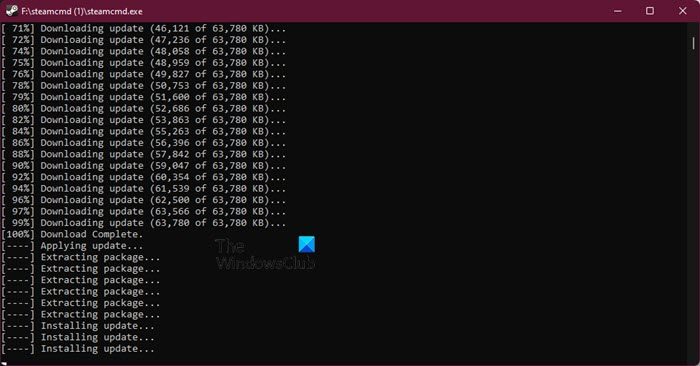
So, follow the given steps to download and install Steam CMD on your Windows computer.
- Go to developer.valvesoftware.com.
- Click on Windows from Content.
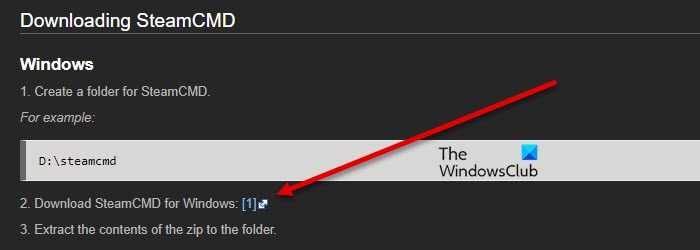
- Click on the link placed next to “Download SteamCMD for Window”.
- A zip file will be downloaded.
- Go to the location where you have stored the file and extract.
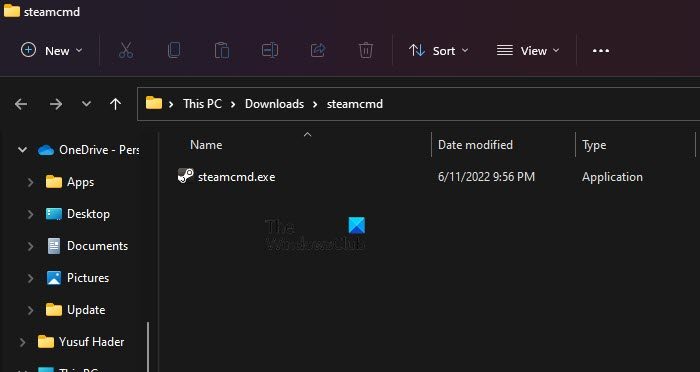
- You will see steamcmd.exe.
- Double-click on it and follow the on-screen instructions to install it.
That’s how you can install SteamCMD on your system.
You can also install SteamCMD using Command Prompt.
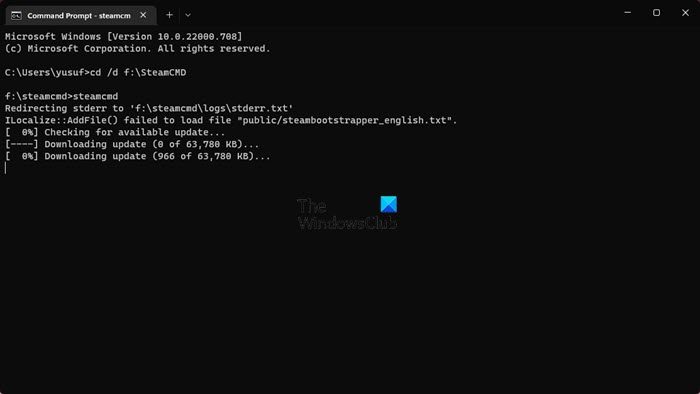
Just open Command Prompt as an administrator and run the following commands.
cd f:\steamcmd
steamcmd
Note: Replace ‘f’ with the drive in which you have extracted the files.
However, the latter has been giving some users trouble, so, it is preferable to just double-click on the exe file to launch the console.
Now, every time, you want to use SteamCMD, just search it out from the Start Menu or open Command Prompt with administrative privileges and execute f:\SteamCMD\steamcmd, make sure to replace ‘f’ with the letter of the drive in which SteamCMD is stored.
How do I download a SteamCMD server?
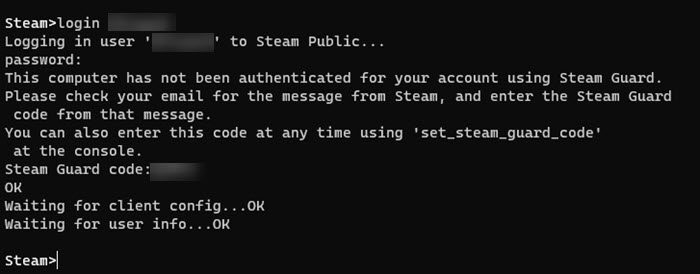
One of the major uses of SteamCMD is installing Game Server. To do the same, you first need to open SteamCMD by following any of the aforementioned methods.
Now, execute the following command to create a folder where your server will be installed.
force_install_dir <path>
In <path> you need to mention the location and the name of the folder, for example, if I want to create a folder for Warzone in Local Disk F, my command will be force_install_dir “f:\warzone”.
Next up, you need to login into your Steam account. Only then, you will be able to access games added to your Steam account. So, go ahead and run the following command.
login <username>
Note: Replace <username> with your username.
You will be asked to enter the password and do all the necessary security checks before getting into your account including entering Steam Guard Code.
Now that we have logged into your account, we need to install the server.
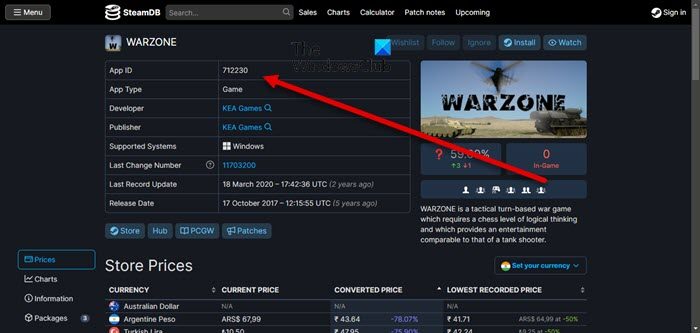
To do that, we need to know the Steam Application ID. You can visit steamdb.info and check the Steam Application ID of the game you want to download. Search for the game you want to install, click on it and copy the App ID.
After copying the App ID, run the following command in SteamCMD.
app_update <App-ID> validate
You need to replace <App-ID> with the actual App ID of the game you want to install. For example, as you can see in the screenshot, the App ID of Warzone is 712230. So, the command will be app_update 712230 validate.
Depending on how big the files are, it will take time. After completion, you will see Success!. Finally, end the process by executing the following command.
quit
That’s it! It’s not that difficult, is it?
How to remove Steam Server and SteamCMD?
You might be wondering, is removing Steam Server as much of a hassle as adding it was? Well!, the answer is a big “NO”. If you want to delete the Steam Server, just delete the folder that you have created while installing the Server aka the folder that contains your server files. Just right-click on the folder and click Delete.
That’s how you need to remove SteamCMD from your computer. Just delete the folder and you will be good to go. Remember, SteamCMD is not a program, it’s just binaries, so, you are going to find it in Apps and Features.
How do I log into SteamCMD?
It is pretty easy to log into SteamCMD, just open the app, enter login <username>, and hit Enter. You will be asked to enter the password and do some other authentication steps. Once you do that, you will be logged into your Steam account.
That’s it!
Also Read: How to Enable or Disable Steam Overlay on Windows PC
Leave a Reply