Learning how to use the clipping mask in Illustrator is one of those skills that will make designing artwork even more interesting. A clipping mask is a shape or object that masks another object. The part of the other object that is visible is the part that is inside the clipping mask. Think of a clipping mask as a frame, the frame goes over the picture and only allows the parts that are at the opening of the frame to be visible. The frame causes the visible part of the photo to have a certain shape.

How to use the Clipping Mask in Illustrator
Clipping masks are great to use as they can be used to create unique shapes. The Clipping mask can be used to protect parts of an image from edits or is can be used to make sure that edits are done to a specific part of an image.
- Guidelines for using clipping mask
- Using the clipping mask
- Create a clipping mask for a group of layers
- How to edit a clipping mask
- How to edit paths within a clipping set
- How to add or remove objects from a masked artwork
- How to release objects from a clipping mask
1] Guidelines for using clipping mask
- The objects that you mask are moved into the clipping mask’s group in the Layers panel if they don’t already reside there.
- Only vector objects can be clipping masks; however, any artwork can be masked.
- If you use a layer or group to create a clipping mask, the first object in the layer or group masks everything that is a subset of the layer or group.
- Regardless of its previous attributes, a clipping mask changes to an object with no fill or stroke.
2] Using the clipping mask in Illustrator
- Create the object you want to use as the mask. – This object is called the clipping path. Only vector objects can be clipping paths.
- Move the clipping path above the objects you want to mask in the stacking order.
- Select the clipping path and the objects you want to mask.
- Choose Object > Clipping Mask > Make.
Note: To create a clipping path from the area where two or more objects overlap, group the objects first.
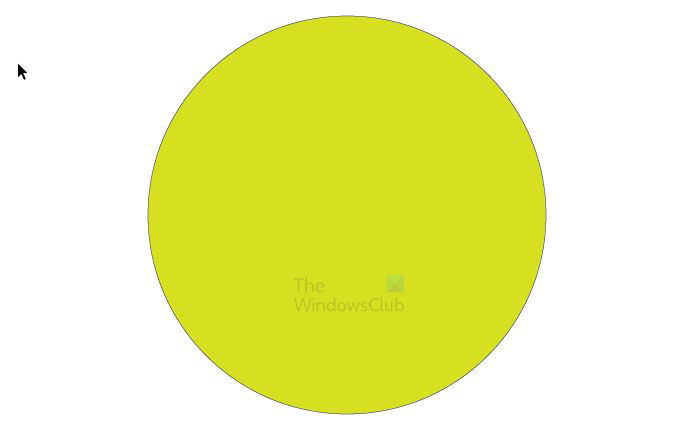
The ellipse is the Clipping mask/path. The color does not matter as the color and the stroke will disappear when it becomes the Clipping mask.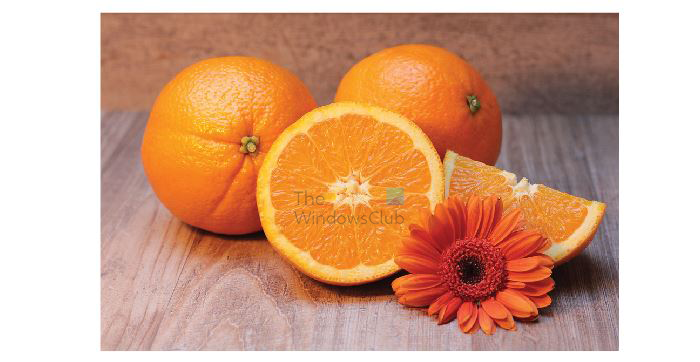
This is the image that will be placed inside the clipping mask.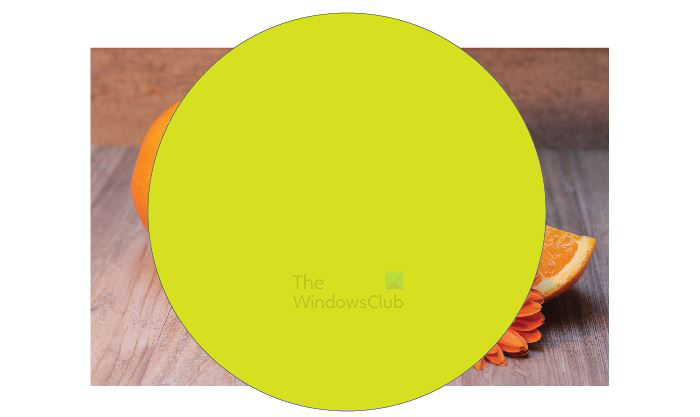
Move the clipping mask (the ellipse) in front of the image. If the image is in front of the clipping mask (ellipse), right-click on the image and click Arrange then Send to back, or right-click on the Ellipse and click Arrange then Bring to front.

If the image is above the clipping mask then there will be an error message.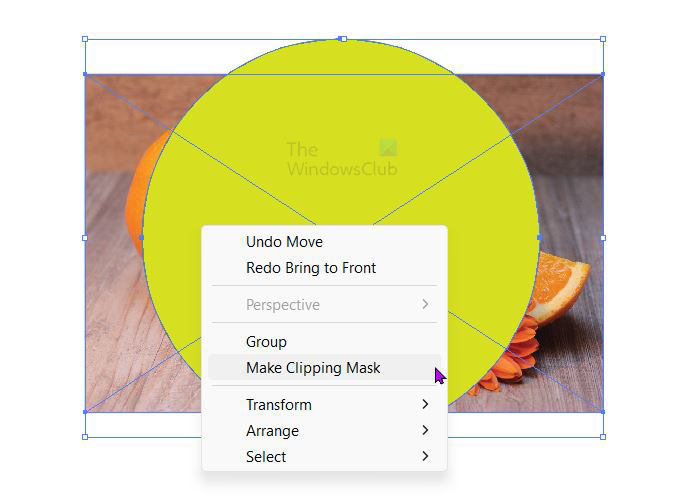
When the layers are in the proper order, select both then right-click on them and click Make clipping mask.
The image will go inside the ellipse. In this case, the image is smaller than the circle. You can see the edges of the image and there are empty spaces inside the ellipse. You can choose to resize the image to make it fill the ellipse. To resize the image, double-click on it to put it in Isolation mode, you can then resize the image. after the image is resized, double-click to exit Isolation mode.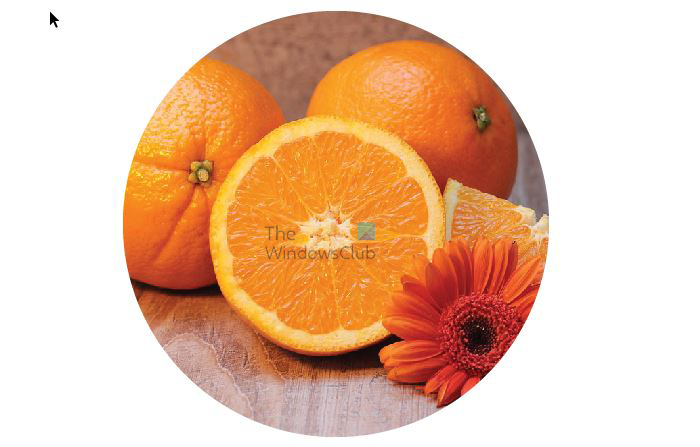
This is what it looks like when the image is resized to fill the ellipse.
Note: The clipping mask can be any vector and not just an ellipse, it can be a rectangle or any other vector.
Recolor clipping mask (ellipse)
You can recolor the clipping mask if you choose. The clipping mask loses the color and the stroke when it becomes a clipping mask. You can choose to give it back color even while it is a clipping mask. To show the recolor, the image will be resized to be smaller than the clipping mask so that the ellipse can be seen when it is recolored.
To start the recolor process, go to the layers panel and click the arrow beside the layer to reveal the other layers below it. Look for the ellipse layer and select it. Select it by clicking it and then clicking the circle. When you do this procedure, you will see the outline of the circle on the canvas. Go to the color pallet on the right and click a color and the ellipse will get a color.
This is the clipping mask (ellipse) with color added.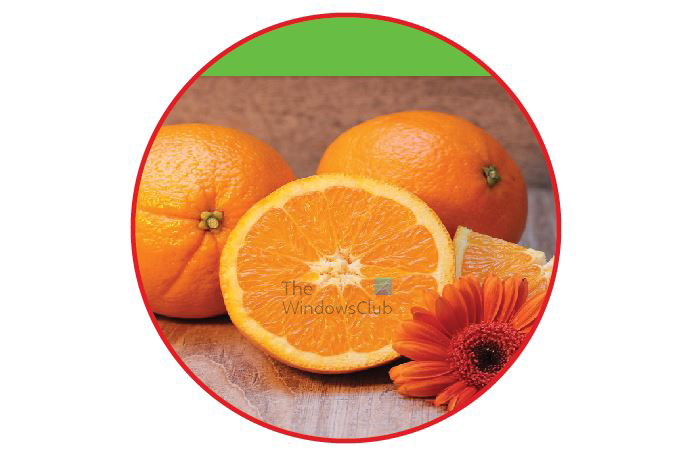
You can also add a stroke to the clipping mask as well. This is the clipping mask with a red stroke added.
3] Create a clipping mask for a group of layers
- Create the object you want to use as the mask. This object is called the clipping path. Only vector objects can be clipping paths.
- Move the clipping path and the objects you want to mask into a layer or group.
- In the Layers panel, make sure that the masking object is at the top of the group or layer, and then click the name of the layer or group.
- Click the Make/Release Clipping Masks button at the bottom of the Layers panel or select Make Clipping Mask from the Layers panel menu.
You can add multiple images to one clipping mask, one simple way to do so is to add the image to Illustrator then go to the layers panel and expand the layers so you can see them individually, you can then click and drag that layer below the clipping mask. The new image or images will become a part of the clipping mask. You can minimize the images inside the mask so that each can be shown inside the clipping mask.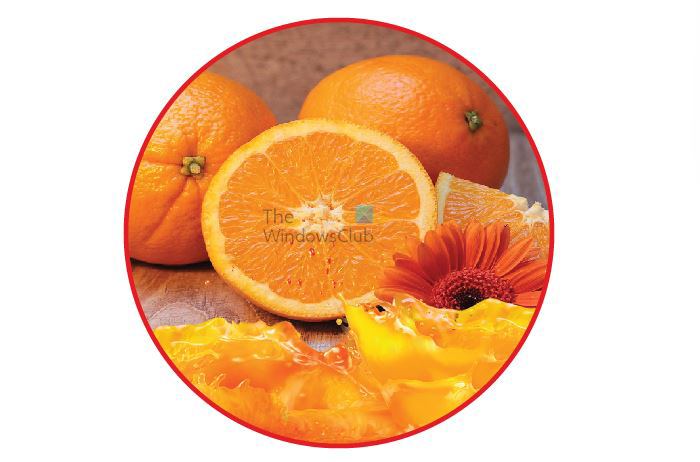
This is the clipping mask with two images in it, they were arranged to give it a more artistic look. I can see this as an advertisement for orange juice. You could remove the background of the images so that they will blend much better.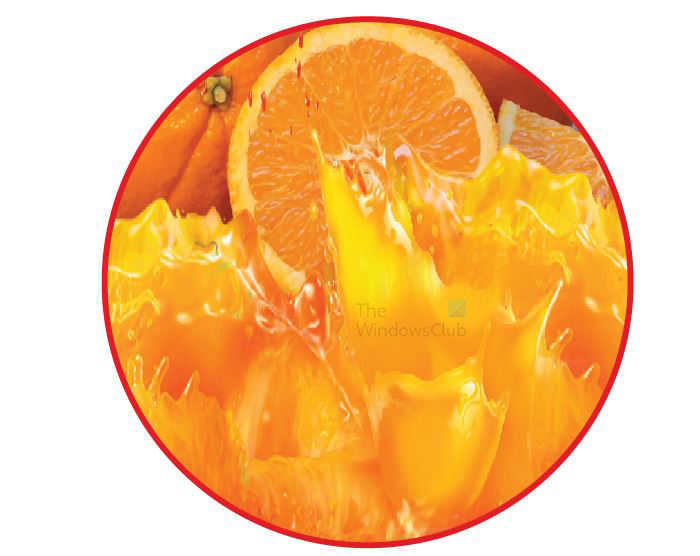
This is just an example of what can be done with the multiple images inside the clipping mask.
4] How to edit a clipping mask
- In the Layers panel, select and target the clipping path. Or, select the clipping set and choose Object the Clipping Mask then Edit Mask.
- Do any of the following:
- Move the clipping path by dragging the object’s center reference point with the Direct Selection tool.
- Reshape the clipping path using the Direct Selection tool.
- Apply a fill and stroke to a clipping path.
Note: To select all clipping paths in a document, deselect all artwork. Then choose Select then Object then Clipping Masks.
5] How to edit paths within a clipping set
To edit portions of a path that fall outside of the clipping mask, you must first select the specific path within the clipping mask boundary and then edit the path.
- Do one of the following:
-
- Target the path in the Layers panel.
- Position the Direct Selection tool over a portion of the path that appears within the mask. When the path’s outline appears, click it.
To select a clipped path by clicking it, you must click the portion of it that appears inside the mask.
- Edit the path.
6] How to add or remove objects from a masked artwork
To add or remove an object from a masked artwork, in the Layers panel, drag the object into or out of the group or layer that contains the clipping path.
7] How to release objects from a clipping mask
To release objects from a clipping mask, do one of the following
- Select the group that contains the clipping mask, and choose Object> Clipping Mask > Release.
- In the Layers panel, click the name of the group or layer that contains the clipping mask. Click the Make/Release Clipping Masks button at the bottom of the panel, or select Release Clipping Mask from the panel menu.
Because the clipping mask was assigned a fill and stroke value of None, it is now not visible unless you select it or assign it new paint attributes.
Read: How to use Adobe Illustrator using these hidden advanced features
Why do I get an error when I try to make a clipping mask in Illustrator?
You may get an error when you try to create a clipping mask in Illustrator because the object to be used as the clipping mask is not in front of the image. to change the order you can go to the layers panel and drag the image below the clipping mask object, or right-click on the clipping mask object on the canvas and click Arrange then Bring to front.
How do you color a clipping mask?
To add color to the clipping mask, go to the layers panel and click the arrow beside the layer to reveal the other layers below it. Look for the ellipse layer (clipping mask layer) and select it. Select it by clicking it and then clicking the circle to the right. When you do this procedure, you will see the outline of the circle on the canvas. Go to the color pallet on the right and click a color and the ellipse will get a color.
Leave a Reply