As a necessary recovery option, during or after you create a system image of your Windows 11 or Windows 10 computer, we recommend you validate the system backup image, which ensures you can successfully restore Windows from it – because if the data on the image or the image itself is corrupted, you’ll be unable to restore or transfer the Windows image.

How to validate Windows System Backup Image
There are many situations that can render your Windows system backup image invalid; for example, if you have stored data on a scratched hard drive, the backup image might be damaged. Consequently, when your backup image file has been damaged, you cannot restore it successfully.
To verify if a system image backup is valid without actually doing a restore, you can mount the backup image with reliable imaging backup software and then check it. For the purposes of this post, we will be using the free AOMEI Backupper Standard software to validate Windows System Backup Image integrity in either of the following ways:
- During the system image creating process
- After the system image creating process
Let’s have a look at the description of both instances.
The software in highlight will do the following:
- Verify the integrity of your backup image file.
- Diagnose the damaged data if any.
- Check any other inconsistencies of the backup image file.
1] During the system image creating process

This option to verify or validate the Windows system backup image during the backup process requires you use the software to create the system image.
Do the following:
- Download and install AOMEI Backupper Standard software on your Windows 11/10 PC.
- After the installation, launch the software.
- Click Backup on the left navigation pane.
- Click System Backup on the right pane.
- In the next screen, click where the arrow points and select a destination path (external hard drive, USB flash drive, NAS, network location, etc) to store the backup image.
- Click Start Backup to begin creating a system image.
- After the backup process start, click the Settings icon.
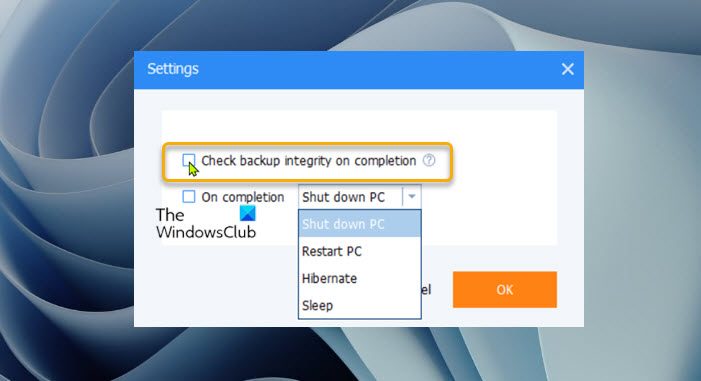
- Checkmark the Check backup integrity on completion option.
This will check backup image file after completing the backup and ensure you can successfully restore it.
2] After the system image creating process

To verify or validate the Windows system backup image after the system image creating process, do the following:
- Launch AOMEI Backupper Professional.
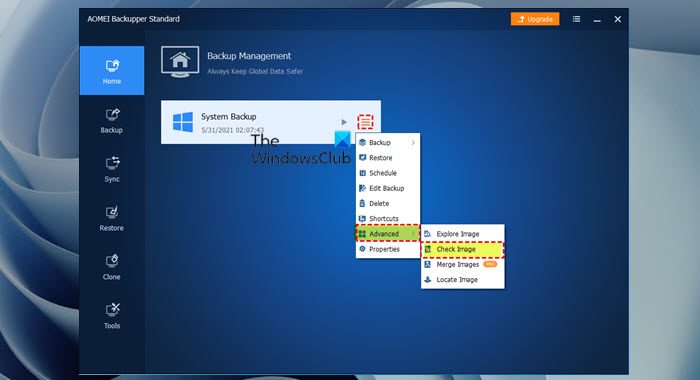
- Go to Home tab.
- Choose the system backup task.
- Click the Settings icon at the right side.
- From the drop-down, select Advanced > Check Image.
Alternatively, do the following:
- Go to Tools tab.
- Select Check Image.
- Select a backup time point to check.
- Click Next to begin the image validation and you’ll now see the backup image check progress.
- When the task completes and there is no problem, click Finish.
That’s it on how to validate Windows System Backup Image!
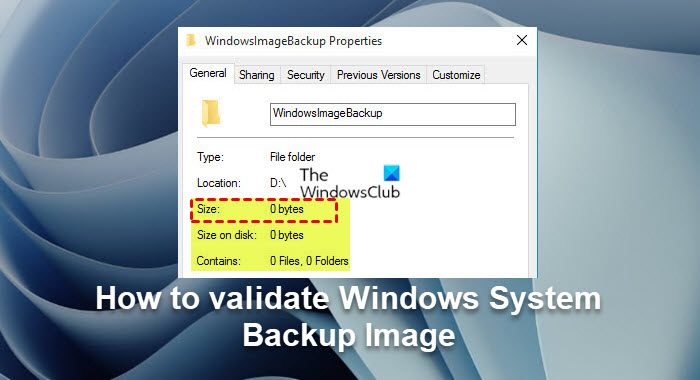
Related post: Windows backup says 0 bytes; does nothing!
How do I view Windows system image?
To view Windows system image or restore single file from Windows System Image Backup, do the following:
- Open Disk Management.
- In the Disk Management window, click Action > Attach VHD.
- Click Browse and locate the system image backup file.
- Click Open and mount the image. The mounted system image will appear as a drive inside your computer window.
How could you test the effectiveness of your backup and recovery solution?
You can run the following tests with your backup solution:
- Run a test of how long it takes to back up a given quantity of data. Run a restore of this same information and record the results.
- Run an application backup. Run a restore of this same application and record the results.
- Run a VM backup.
- Run an offsite restore test.
Does Windows Backup include system image?
When you set up Windows Backup, you can let Windows choose what to back up, which will include a system image, or you can select the items that you want to back up and whether you want to include a system image.
Leave a Reply