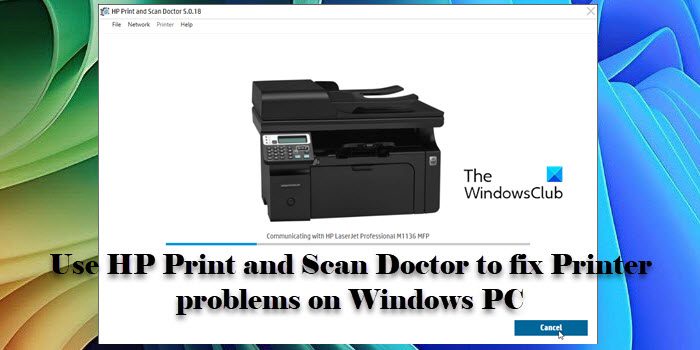
This post explains how to use HP Print and Scan Doctor to fix Printer problems on a Windows 11/10 PC.

If you’re experiencing printing or scanning issues with your HP printer, you’re not alone. Many users encounter these challenges and struggle with issues like unresponsive printers, poor print quality, or scanning errors that disrupt their workflow. Fortunately, HP provides a powerful, easy-to-use tool called HP Print and Scan Doctor designed specifically to diagnose and resolve these common issues.
What is HP print and scan Doctor for Windows?
HP Print and Scan Doctor is a powerful troubleshooting tool that helps fix problems related to printing and scanning on a Windows PC. It removes stuck print jobs from the queue, reconnects offline printers, fixes issues with the print spooler service, checks for and installs available printer driver updates, and corrects port mismatches in Windows.
HP Print and Scan Doctor will fix Printer problems on Windows PC
To use HP Print and Scan Doctor on your Windows 11/10 PC, follow these steps:
- Download and Install HP Print and Scan Doctor
- Run the HP Print and Scan Doctor
- Select your Printer
- Diagnose and Fix Issues
Let us see the process in detail.
Start by downloading the software from the official HP website.
Double-click the downloaded executable. Click Yes in the User Account Control prompt.
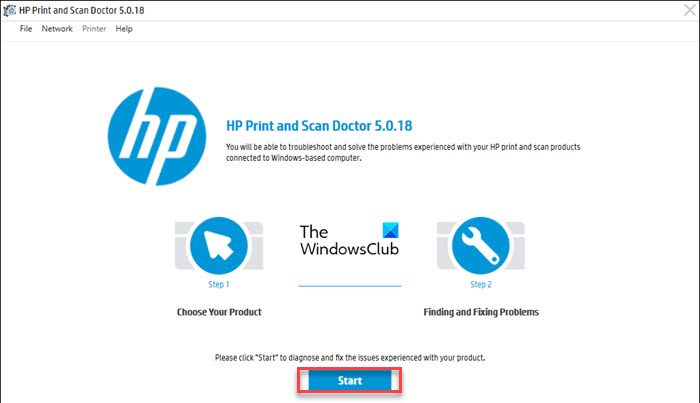
Once HP Print and Scan Doctor runs, click the Start button. The tool will start searching for any HP printers connected to your computer. If your printer isn’t found, ensure it’s connected via USB or network, and click Retry.

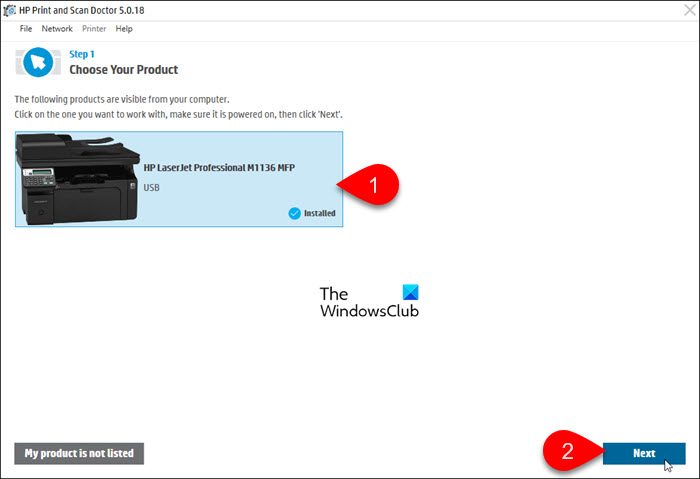
After the search, a list of available printers will be displayed. Select your printer and click Next.

Depending on the issue you’re facing, you may see one of the following options: Fix Printing or Fix Scanning. Choose the appropriate option.
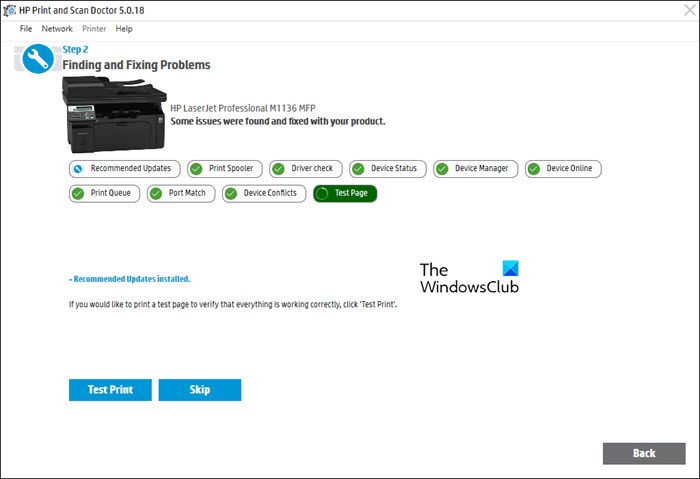
HP Print and Scan Doctor will then run a series of diagnostics and attempt to fix any issues it detects. This may include checking the printer’s status, network connections, driver problems, etc.

If the tool finds issues, it will either fix them automatically or provide you with steps to resolve them.
Each test result will accompany an icon that indicates the following:
- A checkmark indicates that your printer passed the test.
- A wrench signifies that a problem was found and resolved.
- An exclamation mark means a test failed and was skipped.
- An X means there is a problem with the printer. Follow the instructions provided to resolve the problem.
To verify that everything’s working correctly, you may click the Test Print button to print a test page, or simply click Skip and continue to Quit the application.
I hope you find this useful.
Read: HP Printer Scanner not working in Windows.
How to fix Printer connection and Printing problems in Windows?
To fix printer connection and printing problems in Windows, check cables and wireless connection, run the Printer Troubleshooter (run HP Print and Scan Doctor for HP printers), update printer drivers, clear and reset print spooler, or reinstall the printer.
Read Next: HP Printer validation failed in Windows.
Leave a Reply