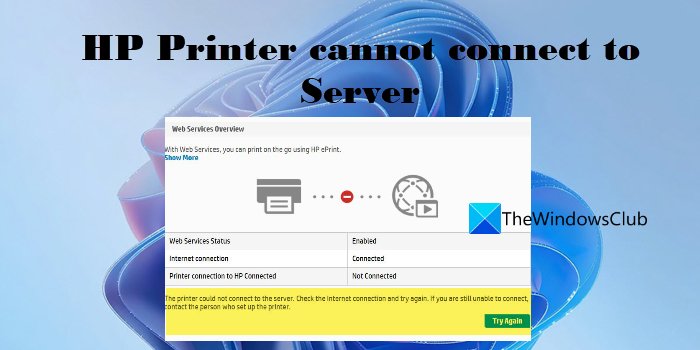
In this post, we will show you how to fix HP printer cannot connect to server error. This error usually occurs when you try to use a web-connected printing service (HP ePrint or HP Instant Ink) on your HP printer. The root cause of this error is that the printer cannot connect to HP Web Services. This happens if there’s a temporary glitch in the internet connection or if HP has revoked support for these services on your printer model. In either case, if you try to print or scan a document directly to your printer, you may get one of the following error messages:
Server Connection Error. There was a problem connecting to the server. Press retry or OK to exit.
Web Services Problem. Problem connecting to Web Services server.
Server Connection Error. Unable to connect to Web Services. Confirm internet access and try again.
In this post, we will talk about different methods using which you may resolve the server connection error on your HP printer.

Fix HP Printer cannot connect to Server on Windows PC
Generally speaking, to fix HP printer connection issues, first check if you have a stable internet connect, restart your PC, printer, and router, and see. If that does not help, here are a few fixes you may use to resolve the HP Printer cannot connect to Server error:
- Check if your printer still supports the web services
- Check your connection
- Restart network-connected devices
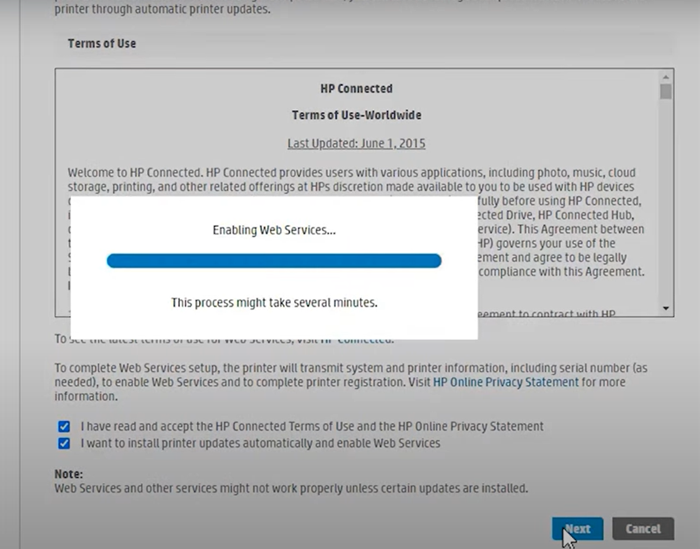
- Turn on the Web Services
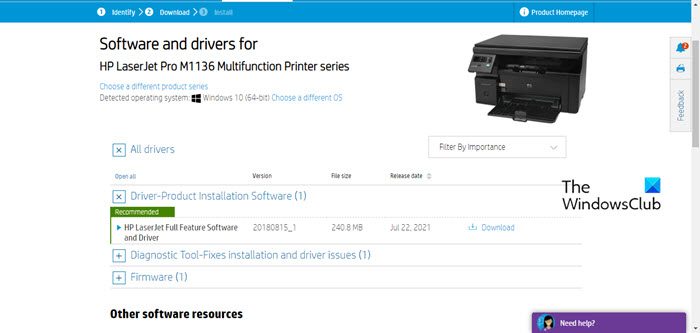
- Update the Printer Firmware, Drivers and Software
- Update router firmware
- Run HP Print and Scan Doctor
- Reset the printer to factory defaults
- Speak with HP Customer Support
Let us take a look at these in detail.
1] Check if your printer still supports the web services
![]()
Start by checking if your printer supports the Web Services. HP has released a list of printers that no longer support web-connected features, such as eFax, HP ePrint, HP Printable and Printer Apps, and web-based scan services. These printers include HP TopShot LaserJet Pro MFP M275, HP Photosmart eStation All-in-One Printer – C510a, HP Photosmart Wireless e-All-in-One Printer – B110a, etc. You may check the list of all affected printers at HP’s official website. You may also confirm this by looking for an ePrint or Web Services icon in your printer’s Control Panel. If it doesn’t have this icon, your printer doesn’t support web-connected services.
2] Check your connection
- Make sure the printer is not connected to your computer through a USB cable. This prevents the printer from connecting to the web services.
- Your printer may support 2.4 GHz or 5.0 GHz band. Depending on which band it supports, connect the printer to your router’s 2.4 GHz or 5.0 GHz band SSID.
- Check your printer’s Wireless Network or Settings panel and make sure the wireless feature is turned on.
- Make sure the printer and the computer are connected to the same network.
- Check the network signal strength on your computer by clicking on the Network icon in the system tray. If you’re getting weak signals, place the computer and printer in close proximity to the router.
3] Restart network-connected devices
Turn off the printer and computer. Then disconnect the router, wait for 15 seconds and reconnect it. Once the router displays a connected status, turn on your computer and printer. Now try connecting to the web services and see if it works.
4] Turn on the Web Services

Depending on whether you have a printer with an LCD or touchscreen display or without an LCD or touchscreen display, turn on web services as follows:
A] For printers with a touchscreen or LCD display
- Connect your printer to a stable wired or wireless connection.
- Click on the HP ePrint icon on the Control Panel. If there’s no such icon, click on Web Services Setup, Network Setup, or Wireless Settings to go to Web Services settings.
- If you see a Summary screen, Web Services are already enabled on your printer. Else, you will be prompted to turn on Web Services or set up HP ePrint.
- Follow the instructions to enable web-connected printing services on your printer.
- If you’re prompted to update the firmware, press the OK button.
B] For printers without a touchscreen or LCD display
You may turn on web services on your non-LCD or non-touchscreen printer using the printer’s EWS (Embedded Web Server) homepage.
- Consult your printer’s documentation to identify the button combination which allows you to print a Network configuration or Wireless Network Test Results page.
- Print the page and locate your printer’s IP Address in the printout.
- Launch your web browser and type the printer’s IP Address in the address bar of a new browser tab and press the Enter key.
- If a login window appears, enter the PIN. This can either be the password set by your printer administrator or the PIN found on the UPC sticker at the back or beneath the printer.
- On the EWS screen, click on the Web Services tab (If it doesn’t have it, your printer doesn’t support web-connected services).
- If a summary page displays, web services are already on. If a setup page displays, follow the instruction to turn on web services.
Note: If you’re using a proxy server, update the proxy settings on the EWS with proxy information on your computer.
5] Update the Printer Firmware, Drivers and Software

HP periodically releases firmware updates with printer enhancements and bug fixes. Make sure you update the Printer Firmware, Drivers and Software. You may update the firmware from your printer’s Control Panel (for LCD and touch-enabled printers) or using the HP Smart app.
Read: How to use HP Support Assistant to update drivers and firmware.
6] Update router firmware
Also, update your router firmware to the latest available version. It may help fix security issues or other router-related issues.
7] Run HP Print and Scan Doctor

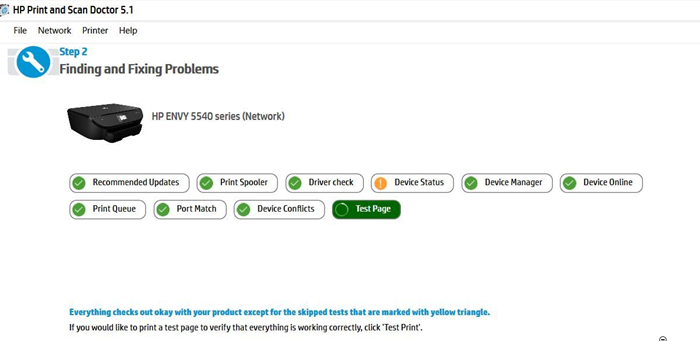
HP Print and Scan is a free printer troubleshooter software offered by HP. It is available as a free download for the Windows platform. You may install and run the software on your Windows 11/10 PC to identify and troubleshoot printer connectivity issues.
Fix: Printer cannot be contacted over the network
8] Reset the printer to factory defaults
Resetting the printer to factory defaults will remove all custom printer settings and preferences.
- For printers with a touchscreen: Click on Control Panel > Setup > Printer Maintenance > Restore > Restore Factory Defaults.
- For printers without a touchscreen: Open EWS homepage. Click on Settings > System. Locate the Restore Default/Services menu. Click on the Restore Factory Defaults option.
9] Speak with HP Customer Support
If none of the above solutions work, contact HP Customer Support and ask for a product repair or replacement.
I hope the above solutions will help resolve the issue.
Read Next: Fix HP Support Assistant Important action needed error.
Leave a Reply