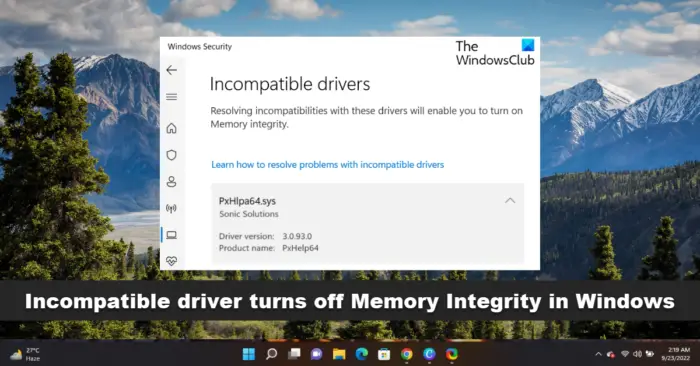
If you see a message stating Incompatible drivers under Device Security > Core isolation in Windows Security on Windows 11/10, then this post will be able to help you. Memory integrity is one feature of Core isolation that regularly verifies the integrity of the code running those core processes to prevent any attacks from altering them.

What causes an Incompatible driver to disable Memory Integrity in Windows 11?
If the Memory integrity setting continued to remain enabled, then it would prevent incompatible drivers from loading. Now, blocking these drivers might cause unwanted or unexpected behaviors, and so the operating system prefers to disable Memory integrity instead and allows these drivers to load. Some drivers that are known to cause this issue are – ftdibus.sys, igdkmd64.sys, pxhlpa64.sys, brusbisib.sys, tib,sys, Wdcsam64.sys, STTub30.sys, etc.
Incompatible driver turns off Memory Integrity in Windows 11
If Windows Security lists an Incompatible driver and disables Memory Integrity in your Windows 11, here are the steps you can take to fix the issue.
- Identify the driver that is preventing Memory Integrity from being enabled
- Update the driver using Windows Update or download it from the manufacturer’s website
You should know that Microsoft does not recommend that you delete drivers to attempt to restore these settings.
Now let us see the steps in detail.
Memory integrity cannot be turned on incompatible drivers
1] Identify the driver that is preventing Memory Integrity from being enabled
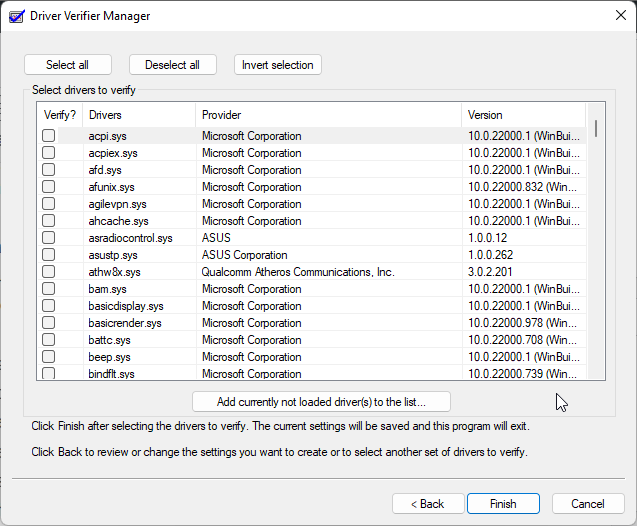
Faulty drivers could prevent Memory Integrity from being enabled. While the driver that is causing the problem will be listed there, and you can use that information, you can also use the Driver Verifier Manager to check all drivers and see if any more faulty drivers are present. Here’s how you can do it:

- Press the Windows key, search for CMD, and hit Run as Administrator.
- Type verifier and hit Enter.
- Select Create Custom Settings and click Next.
- A list of tests will appear; uncheck the two tests, “DDI Compliance Checking (additional)” and “Randomized low resources simulation”. Click on the Next button.
- Now check Select driver names from a list and hit Next.
- It will start loading, and a list of drivers will appear. Check all drivers except Microsoft’s ones because those drivers aren’t corrupted. However, if you know about the specific corrupt driver, run the Driver Verifier for it.
- Your system will now restart, and the Driver Verifier will start running. Keep using your system as normal, and a blue screen will appear if any faulty drivers are found.
- Once the faulty driver is identified and fixed, open cmd as an admin, and run verifier /bootmode resetonbootfail to exit the Driver Verifier Utility.
- Once done, restart your device to save the changes.
2] Update the driver using Windows Update or download it from the manufacturer’s website

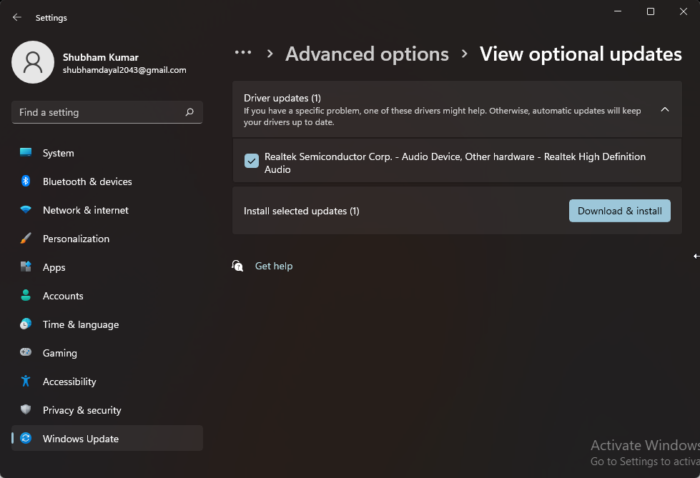
Once you have verified the faulty driver, it’s time to fix it. Run Windows Update and see if any driver updates are available under Optional Updates. Here’s how:
- Press the Windows key + I to open Settings.
- Navigate to Windows Update > Advanced Options > Optional Updates.
- Expand the Driver Updates option, any updates will be present here.
- Select the driver update if any and click on Download and Install.
You can also download and install the latest drivers directly from the manufacturer’s website.
These two are the safest options out there.
Fix: Windows Memory Diagnostic not working; Displaying no results
What is pxhlpa64.sys?
PxHlpa64.sys is the Sonic CD/DVD disc driver system driver file that allows your Windows device to communicate with hardware and connected devices. This process is usually installed as a part of DVD drivers. It runs all the time to check for updates and notify users when they get an instant message.
How do I get rid of Incompatible drivers for Memory integrity?
To restore memory integrity settings, check driver incompatibility by seeing if the updated and compatible driver is available through a Windows update. Blocking these drivers can make your device behave abnormally. However, Microsoft doesn’t recommend deleting drivers to restore these settings.
How do I change Memory integrity in Windows 11?
To change the Memory Integrity setting in Windows 11, you need to open the Windows Security first. For that, search for core isolation in the Taskbar search box and click on the individual search result. Find the Memory integrity option and toggle the corresponding button to turn it on or off.
Leave a Reply