The Windows Server Essentials Log Collector is a diagnostic tool designed to gather system logs for troubleshooting issues in the Windows Server Essentials environment. In this guide, we will walk through the steps to download, install, and run the tool.
Install and run Windows Server Essentials Log Collector
To get and run the Windows Server Essentials Log collector, check out the steps mentioned below:
- Install the Log Collector
- Reinstall the Log Collector
- Manually install the Log Collector
- Run the Log Collector
- Manually run the Log Collector
Let’s get started with the guide.
1] Install the Log Collector

First and foremost, users need to install the Windows Server Essentials Log Collector Package. For that, check out the steps to learn how to do it:
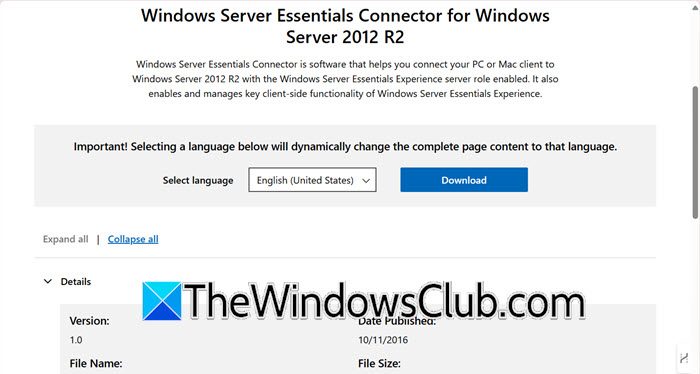
- Navigate to the Microsoft Download Centre page, and select the package that suits best the client system and version details.
- Once the package is downloaded, double-click on the Log Collector icon, and when working on a network computer, add in the credentials when prompted, and then follow the onscreen prompts.
- To run on the server, tick the Only on the Server checkbox after accepting the Microsoft Software License Terms, and for all the network computers, tick the On the server and on all of the computers on the network checkbox. Lastly, hit the Install the Add-in button to install it.
2] Reinstall the Log Collector
In case, users need to reinstall Log Collector because, for whatever reason, the first step is to uninstall it from both the server and all network computers. If we remove it from the server, it will also be deleted from all connected network computers. To do so, launch the Windows Server Essentials Dashboard, go to the Add-in tab, look for Log Collector in the list, select it, and click the Uninstall button. After it is deleted, install Log Collector like we did in the first step on the server and all the network computers.
3] Manually install the Log Collector

If the installation wizard (automated installation process) for the Log Collector does not work or encounters errors, we can also install it manually on a standalone machine. Here’s how to do the same:
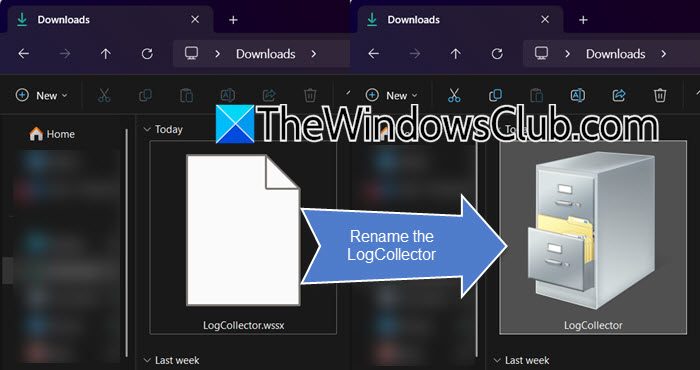
- Navigate to the place where the downloaded file is stored, generally, the local downloading place, and rename the file extension from .wssx to .cab to manually extract the file’s content.
- Double-click on the .cab file, hit the Ok button when prompted, find, and then double-click on the .msi-ending file.
- Now, select the destination where you want to extract the content. Once done navigate to the folder, open it, and then double-click the main installation file to launch the installation wizard. Follow the wizard’s instructions to complete the installation.
The steps guide the users through the manual installation process if the automation installation wizard fails.
4] Run the Log Collector

The Windows Server Essentials Log Collector can be run from either the server or a network computer. However, if one runs it from the server, they can only collect logs from the server, while if run from a network computer, they can collect both from the server and the computer.
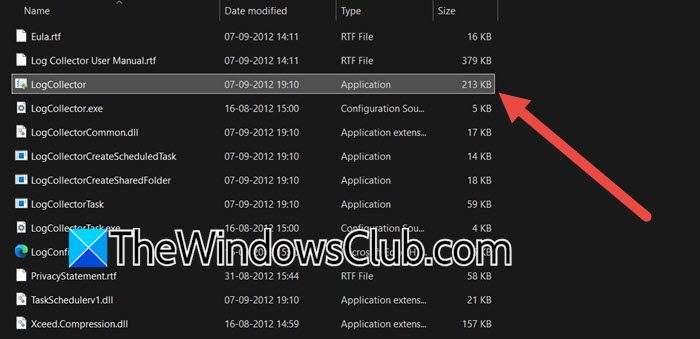
- Log in to the server, click on Windows Server Essential Log Collector from the start page, and if you don’t see it, navigate to the following location, and then double-click on LogCollector:
%system%\Program Files (x86)\Windows Server Essentials Log Collector
- Enter the credentials if not logged in with admin rights, and then select the location where the collected logged files will be selected. Either select the default location by clicking the Next button or Browse button to navigate to the folder, and hit the Save button.
- A progress bar will show as the logs are being collected. To see the log files, check the Open the file location where the logs were saved box, and hit the Close button.
That’s how we can run the LogCollector via the wizard.
5] Manually run the Log Collector

After the installation process, the wizard will automatically create a scheduled task to run the tool. However, users can also do the same through the Scheduled Task Manager if once face issues starting the wizard. For manually running the Log Collector on the server, follow the steps mentioned below:
- Log in to the server, go to the Start menu, and search Task Scheduler.
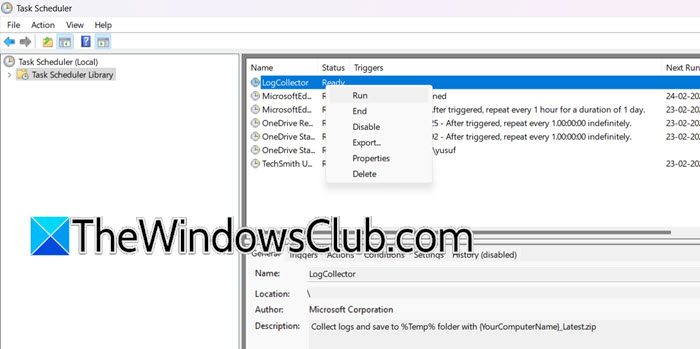
- Select Run as administrator, navigate to the Task Scheduler Library, and then go see the root directory to find the scheduled task called LogCollector.
- Right-click on it, and then select the Run button.
If you want to run the Log Collector on a network computer, log in to the network computer, go to the Search bar, search, and open Task Scheduler. Navigate to the Task Schedule Library, look for LogCollector, right-click on it, and select the Run button.
Read: How to configure Host Guardian Service on Windows Server?
How do I collect Windows Server logs?
Users can collect Windows Server logs via the Windows Server Essentials Log Collector. This handy tool gathers logs from Windows Servers and network computers. To configure it, follow the steps in this post.
How to install Server Essentials?
Windows Server Essentials Experience is a Windows Server Role that users can install from the Windows Server Manager along with related features by following these steps:
- Log in to Windows Server as an administrator and open the Server Manager.
- Go to Manage > Add Roles and Features.
- Select Roles-based or feature-based installation
- Once you are on the Server Roles tab, tick Windows Server Essentials Experience.
- Click on Add Features and then add Windows Server Essentials.
Also Read: Setup IPAM on Windows Server.
Leave a Reply