A web server is a fundamental element of the internet. Apache works by establishing a connection between a remote server and the browsers of website visitors as they communicate with each other. Although its use has declined over time, this webserver still maintains great penetration in the server market. With that in perspective, we will walk you through how to go about installing Apache on Windows 11/10.
How to install Apache on Windows 11/10
Before you begin, you’ll need to download these two items:
- Microsoft Visual Studio C++.
- The latest version of the Apache Lounge.
Once you have downloaded these items, you can now proceed as follows.
First, double-click the Microsoft Visual Studio C++ executable file to install it. After the installation is complete, you’ll be prompted to restart your computer. Go ahead and restart.
On boot, you can now continue to install Apache.
Here’s how:
Create a folder named Apache24.
This folder must be located in the root of the directory where Windows is installed. For eg, C:\Apache24.
Then unzip the content of the Apache Lounge you downloaded into the Apache24 folder.
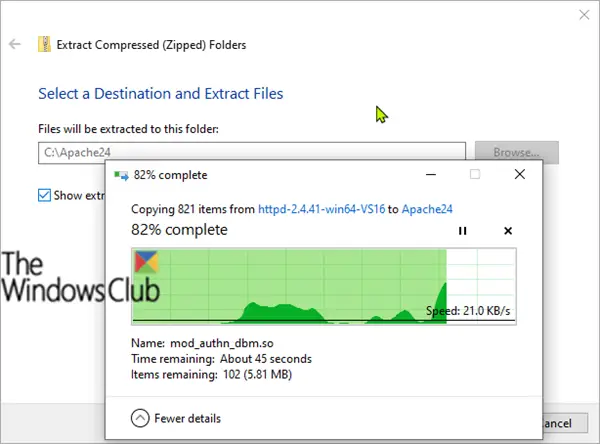
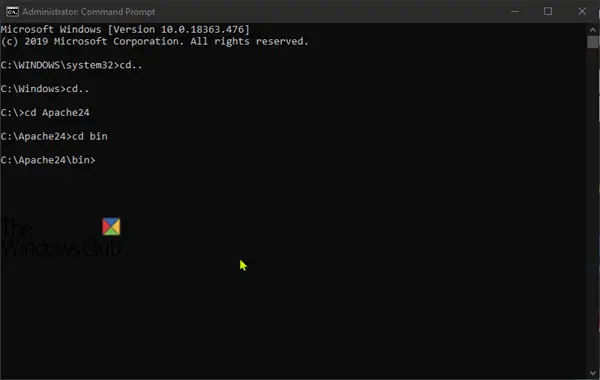
Once the extraction into the directory completes – launch a command prompt in elevated mode and copy all together and paste the following commands and hit Enter to get to the bin folder:
cd..
cd..
cd Apache24
cd bin
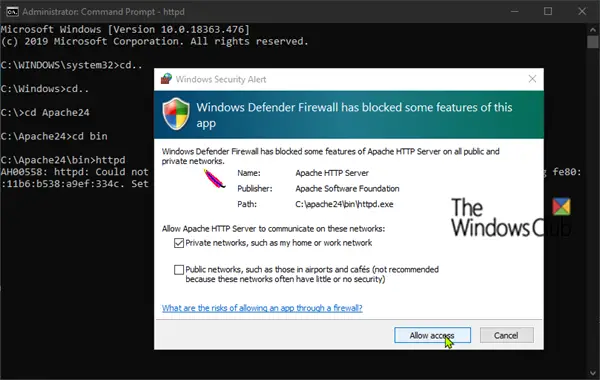
Now, type httpd and hit Enter to install and run the server. You will be prompted to allow access via the Windows Firewall to be able to connect to the network.
At this point, you can now test the server. To do so, fire up any installed web browser on your PC, then type localhost or the IP address of the PC into the address bar and hit Enter. You’ll see the message: It works!

You can terminate the service by pressing the CTRL + C key combination.
Now that you have the Apache webserver installed, configured, and tested – you will need to configure it as a system service. To do so, copy and paste the command below and hit Enter:
httpd.exe -k install -n "Apache HTTP Server"
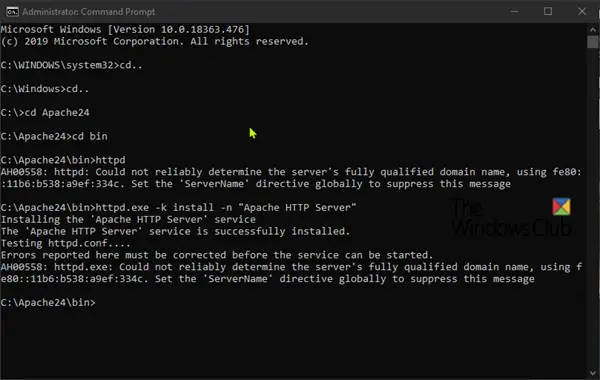
You can now verify if Apache has been successfully added as a system service. To do so, press Windows key + R. In the Run dialog box, type services.msc and hit Enter.
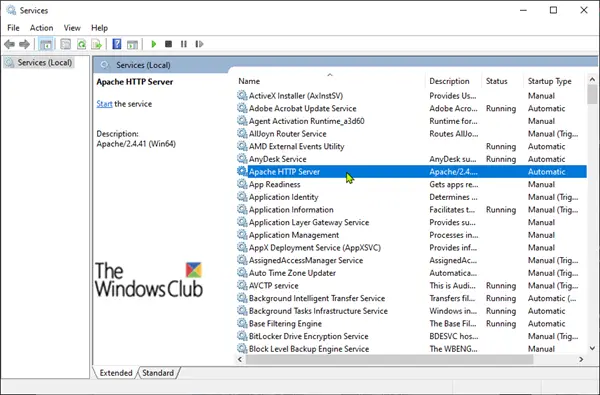
In the Services window, locate Apache HTTP Server and verify that the Startup Type is set to Automatic. This ensures that the server starts automatically every time you boot Windows.
That’s it, folks!
Leave a Reply