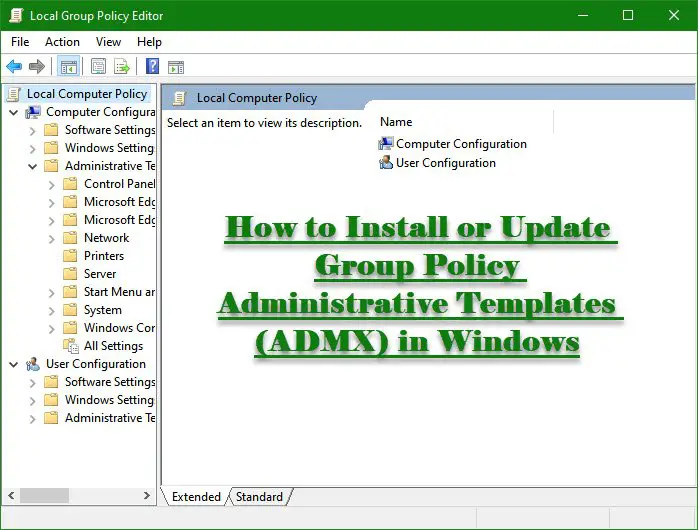
In this article, we will be seeing how to install or update Group Policy Administrative Templates (ADMX) in Windows 11/10. It is a simple procedure that will help you to cope up with the constant upgrading that the Windows OS is subjected to.

What are Group Policy Administrative Templates?
To centralize users for better management in the Active Directory environment we use Group Policy Administrative Templates.
At first, these files were used with an extension, .adm as they were text-markup files. But after the introduction of Windows Vista and Server 2003, XML-based Administrative Templates were introduced with .adml or .admx extension.
Related:
Install or Update Group Policy Administrative Templates (ADMX) in Windows 11/10

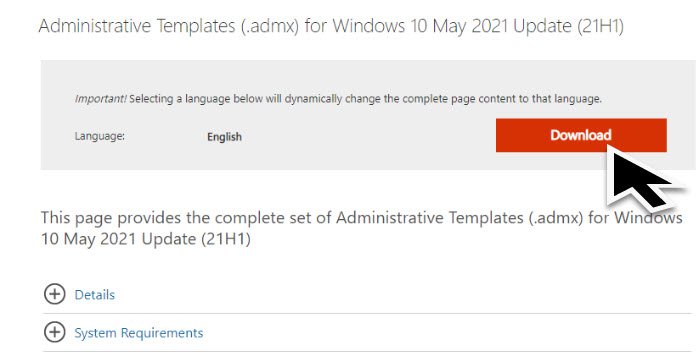
Before installing the templates, we need to download them. You can download GPO Administrative Templates from microsoft.com
Once you have downloaded the suitable file, go to the following locations.
C:\Program Files (x86)\Microsoft Group Policy\Windows 10 May 2021 Update (21H1)\PolicyDefinitions
Copy the content and paste it into the GPO Central Store on your domain controller.
There are few points that you should be aware of while doing the copy-paste action.
- It is recommended to backup the PolicyDefinitions directory before replacing the files. So, you will be able to downgrade to the previous Administrative Template.
- There is no need for you to copy the adml file for all the languages. Just move those languages that your GPO editor is currently using.
- If your system is running Windows 10, there is no need for you to install the MSI file, just copy the administrative templates from “%WinDir%\PolicyDefinitions”
Next, create a new GPO in Group Policy Management Console and make sure it has the policy configuration from the latest Windows 11/10 build.
How to create a new GPO in Group Policy Management Console
To create a new GPO:
- Open the Group Policy Management console.
- Expand Forest > YourForestName > Expand Domains > Expand YourDomainName
- Click Group Policy Objects > Click Action > Click New.
- Type the name for your new GPO.
- Finally, click the new GPO in the Navigation pane
- In the details pane, click the Details tab and change the GPO Status to User configuration settings disabled.
You can now deploy the new GPO template in your clients and you will be good to go.
Similarly, you can install new administrative templates.
Related: Download Group Policy Templates for Microsoft Edge browser.
How do I import GPO Administrative Template Files

We will see how to import a pcoip.adm file. You can follow the given instructions to do the same.
- Launch Group Policy Editor from the Start Menu.
- Go to Computer Configuration > Administrative Templates.
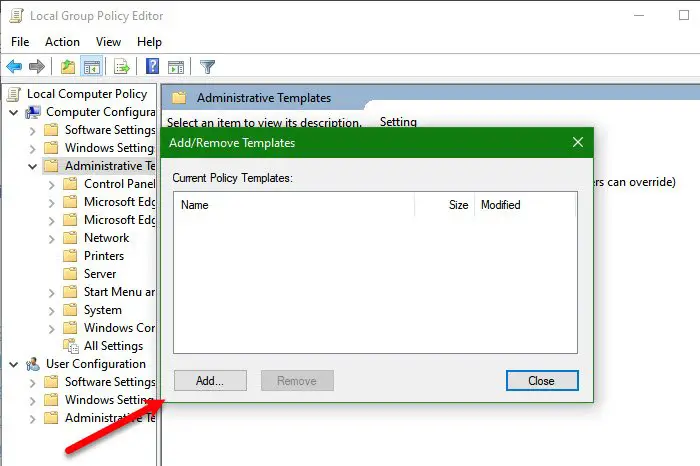
- Right-click on Administrative Templates, select Add/Remove Templates, click Add.
- Go to the location where you have stored the file, select the file, and click Open.
Read: Download Administrative Templates for Office 2019, Office 365 ProPlus.
This way, you will easily import GPO Administrative Template files.
That’s it!
TIP: This post will help you if GPEDIT does not show Administrative Templates.
Read Next: Managing Central Store for Group Policy Administrative Templates in Windows.
Leave a Reply