SQL Server Management Studio or SSMS allows you to connect to the SQL server and execute queries. In this tutorial, we will see how you can install and configure SQL Server Management Studio in Windows 11/10, we will also download a SQL Server and connect it to SSMS.
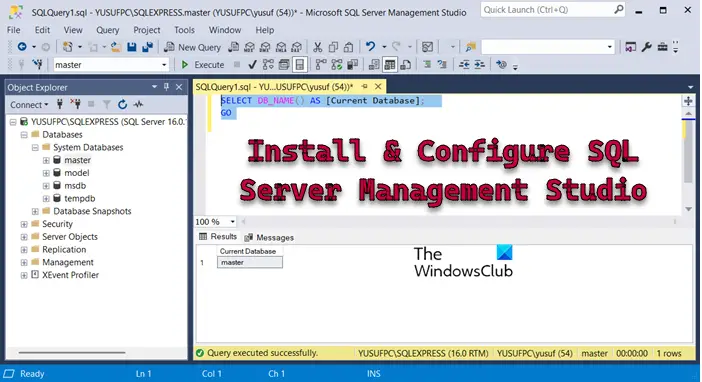
Install and configure SQL Server Management Studio in Windows 11
To install and configure SQL Server Management Studio, follow the steps below.
- Download SQL Server Management Studio
- Install SSMS
- Download and install SQL Server
- Connect to the SQL Server
- Fix Connection Error
Let us discuss them in detail.
1] Download SQL Server Management Studio
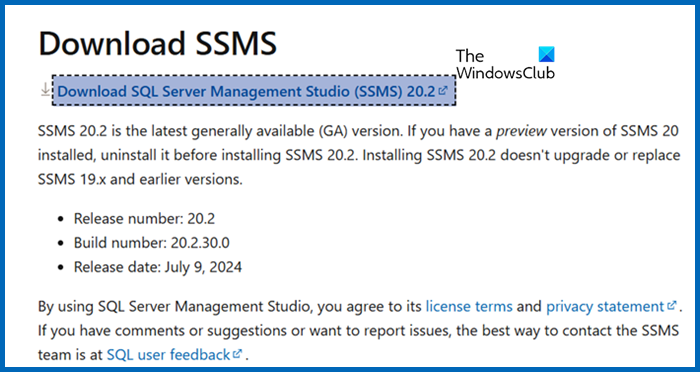
First of all, we need to download the SQL Server Management Studio for your computer. So head to learn.microsoft.com. Now scroll down and click on the Download SQL Server Management Studio link. This will trigger the download and you will have an executable file.
2] Install SSMS
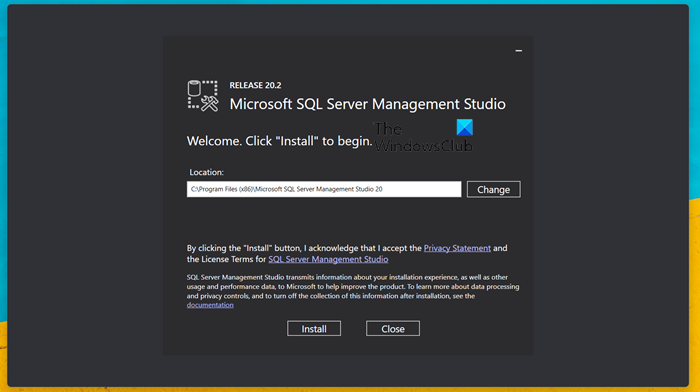
Now that we have downloaded the executable file for SSMS, we can trigger it to install the utility. So, run the executable file, if you want, you can check the installation path, otherwise, leave it to default and then click on Install. You will get a UAC prompt, click Yes to acknowledge, and wait for the installation to complete. Upon completion of the installation process, you must reboot your system once.
3] Download and install SQL Server
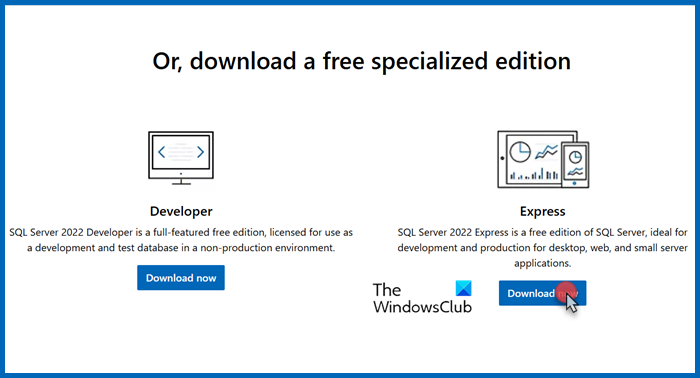
This is an optional step, but if you are working on a local project or you want an environment for testing, you should download and install the SQL Server from microsoft.com.
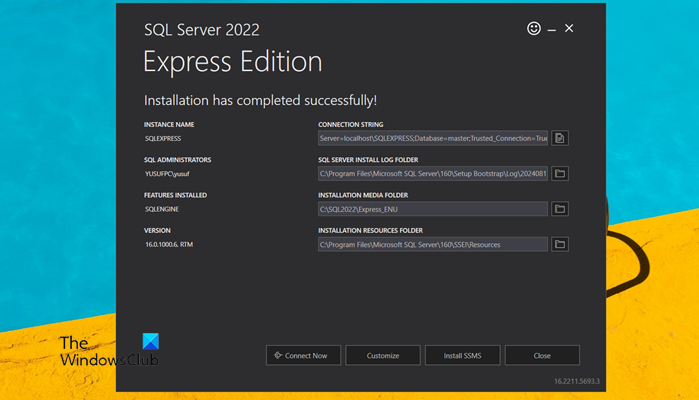
To do so, navigate to microsoft.com, scroll down, and click on Download now associated with Express (you can also choose the Developer option, but for the sake of this tutorial, we will choose the Express edition). This will start downloading the SQL Server utility. Once downloaded, follow the steps below to install it on your system.
- Launch the SQL Server installation media.
- Click Yes when the UAC prompt appears.
- Now, click on Basic (you can select other options as well if you know what you are doing).
- Accept the terms and conditions and proceed.
- Check and/or change the installation location if needed and click Install.
Once the utility is installed, you will be able to see the Instance Name, SQL Administration path that contains the logs, Features Installed pointing at the installation media location, and finally, Version pointing at the resource folder.
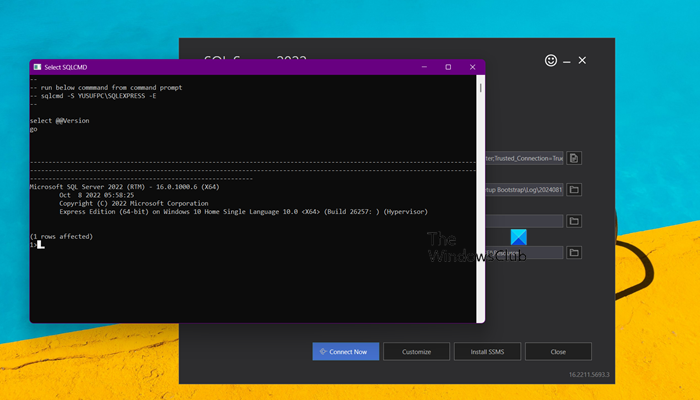
To test the connectivity, click on Connect Now. It will open a Command Prompt window showing the version information. If you see that screen, you can rest assured that the installation was successful.
4] Connect to the SQL Server
Finally, let us connect to the SQL Server. To do this, we need to open the SQL Server Management Studio from the Start Menu. You see a connection box where every field will be populated automatically, you have to click on Connect to continue.
You can then access all the pre-installed databases, create new ones, and do whatever you want on this local server.
Read: How to create SQL Stored Procedures via SQL Server?
5] Fix Connection Error
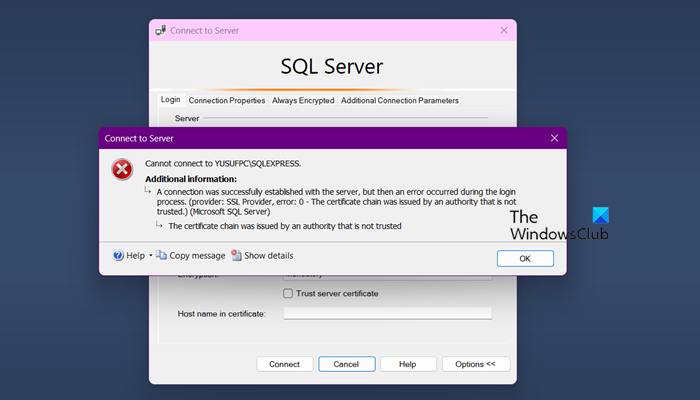
If when trying to connect to the server, you get an error that says that the certificate chain’s authority is not trusted, you have made it mandatory for every connection’s certificate to be tested. In that case, you can set the certificate requirement to optional
Additional information:
A connection was successfully established with the server, but then an error occurred during the login process. (provider: SSL Provider, error: 0 – The certificate chain was issued by an authority that is not trusted.) (Microsoft SQL Server)
The certificate chain was issued by an authority that is not trusted
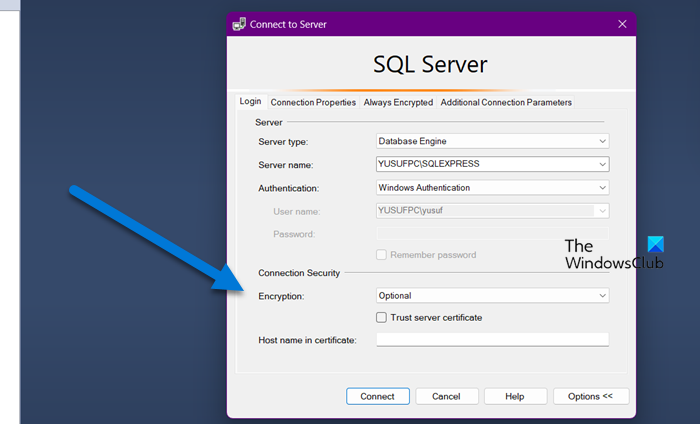
To do so, when setting up the connection, you need to set the Encryption option to Optional. Then, click on Connect. It will connect without checking your certificate.
Hopefully, this tutorial will help you download and install SQL Server Management Studio and connect to an SQL Server.
Read: Fix Unable to Install SQL Server on Windows 11
How do I get SQL Server Configuration Manager in Windows 11?
SQL Server Configuration Manager is installed along with installation of SQL Server which you can do by following the steps mentioned earlier. The default path of this utility is C:\Windows\SysWOW64\SQLServerManager16.msc. However, you don’t have to go to this location to access it; you can search for it and open it from the Start Menu.
Read: How to install SQL Developer in Windows 11?
Can SQL Server run on Windows 11?
Yes, you can run SQL Server on both Windows client (which includes Windows 11 and its predecessor) and Windows Server operating systems. However, SQL Server 2016 and older versions are not compatible with Windows 11 or Windows Server 2022 systems.
Also Read: Difference between SQL and MySQL: Comparision.
Leave a Reply