Without the requisite drivers installed, the hardware you try to connect to your PC will fail. Manufacturers develop Network drivers so that the OS running on your machine can work harmoniously with your devices and applications. Internet WiFi connections can fail if suitable drivers are not installed. In this post, we will see how to install the WiFi driver in Windows 11/10.
Install WiFi drivers for Windows 11/10
A driver is essentially a piece of software designed for a specific operating system like Windows 10, Linux, and others. The OS uses it to communicate with other hardware devices like a mouse or a printer. Most hardware manufacturers feature their own product support page where you can find the necessary drivers available for download.
You will find that the Windows OS has a set of drivers installed already and you do not have to do anything except plug in the device. If the driver is not available locally, it will pull it down from its web server and install it for you automatically once you connect the device.
But there may come a time when you face issues using your WiFi and at such times, you may have to reinstall your WiFi drivers.
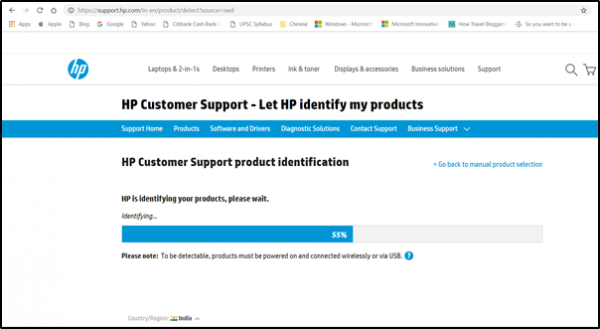
To download the WiFi driver, visit your device manufacturer’s website and search for the right driver you would like to install. I use an HP laptop so when I install their website and allow them to scan my laptop, it displays the drivers or updates available for my device.

Next, you need to download the right Wi-Fi driver, if available. You need to know the exact name and version of the driver so that you can download it. You can get this information from the Device Manager as explained below. Make sure that you have downloaded the right wireless adapter driver.

When done, launch the setup of the new driver that you downloaded earlier and run the file. Follow the on-screen directions to install the driver.
Read: How to check Wi-Fi Network Adapter settings.
To verify if the correct version of the driver is installed, open Device Manager. To open it, right-click on the Start button and then select Device Manager.
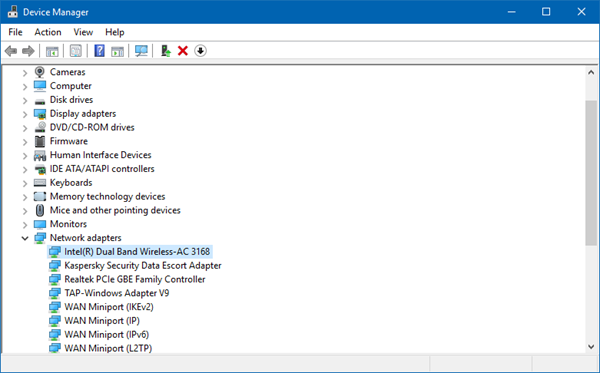
In the Device Manager, look for Network Adapters. When found expand its category to make visible all network adapters, including the wireless adapter.

Here, the Wi-Fi adapter can be spotted by looking for the “wireless” term in its entry.
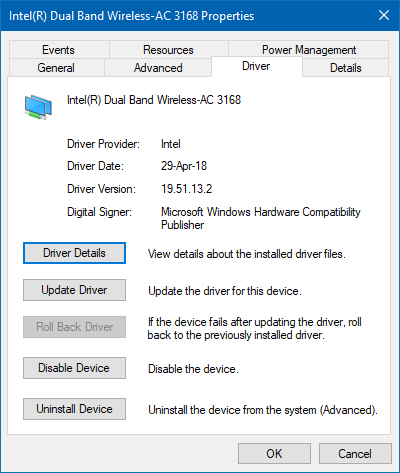
To check the version number of the driver, right-click on the wireless driver entry in Device Manager, choose ‘Network adapters’ and then click Properties.

Select the ‘Driver’ tab and view details. If all looks well, it means you have installed the correct version of the driver.
Read: How to check the Driver Version in Windows.
Finally, restart your Windows PC.
Installing the right version of a driver for your device is essential as it includes the latest fixes for your device.
How do I reset WiFi adapter on my computer?
To reset the Wi-Fi adapter, follow these steps:
- Open Windows 11 Settings
- Click open Network and internet settings
- On the right, scroll down till you see Advanced network settings and then click on it
- Again scroll down on the next screen till you see More settings
- Here click on Network reset.
Read next: Where to download drivers for Windows 11/10.
Leave a Reply