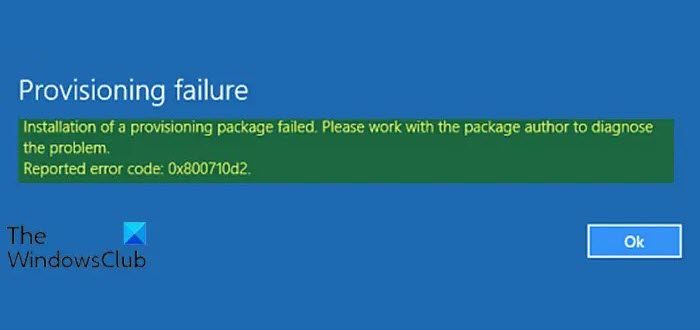
If after you use the ScanState command to create a provisioning package (PPKG) and you’re encountering Installation of a provisioning package failed on your Windows 11/10 computer with error code 0x80070057, 0x800710d2 or 0x800700b7, then this post is intended to help you. In this post, we will offer a few suggestions you can try to help you remediate this issue.

When you encounter this issue. you’ll receive the following full error message;
Provisioning failure
Installation of a provisioning package failed. Please work with the package author to diagnose the problem
Reported error code: 0x80070057, 0x800710d2 or 0x800700b7.
Bear in mind that this error message can be accompanied with different error codes. However, the solutions for any of the instance of the error is essentially the same.
Before we jump right into it, some keywords definition.
Provisioning Package (PPKG)
A provisioning package (.ppkg) is a container for a collection of configuration settings. With Windows 11/10, you can create provisioning packages that let you quickly and efficiently configure a device without having to install a new image.
Provisioning packages are simple enough that with a short set of written instructions, a student or non-technical employee can use them to configure their device. This can result in a significant reduction in the time required to configure multiple devices in your organization.
ScanState command
The ScanState command is used with the User State Migration Tool (USMT) 10.0 to scan the source computer, collect the files and settings, and create a store.
You can run the ScanState command in Windows Preinstallation Environment (WinPE). In addition, USMT supports migrations from previous installations of Windows contained in Windows.old directories. The offline directory can be a Windows directory when you run the ScanState command in WinPE or a Windows.old directory when you run the ScanState command in Windows.
Installation of a provisioning package failed, Code 0x80070057, 0x800710d2 or 0x800700b7
If you’re faced with this error code 0x80070057, 0x800710d2 or 0x800700b7, you can try the suggestions below to resolve the issue.
- Make sure your Windows OS is fully updated – and has KB5020044 installed too.
- Use ICD to include the provisioning package into an installer, which can then injected into a bootable USB and installed afresh.
- From a clean install, install the apps, use ScanState to capture the software to C:\recovery\customizations and then use Sysprep to get an image that you deploy with the more traditional route.
- Try copying the ppkg to C:\recovery\customizations and then run a Reset.
- Open Windows 11 Settings > Accounts > Access work or school > Add or Remove a provisioning package and select the provisioning package, and click on Remove. Now run the provisioning package again and see if it helps.
Hope this helps!
Read: Fix Windows Upgrade error 0x800700B7- 0x2000A.