After an upgrade to a newer version of Windows or after you update Windows to the latest build or after you have installed new software or hardware, you may get the INTERRUPT_EXCEPTION_NOT_HANDLED BSOD error when you boot your Windows 11 or Windows 10 system. For some, reportedly, the issue occurs multiple times on shutdown. This post offers solutions to help affected PC users resolve the issue.
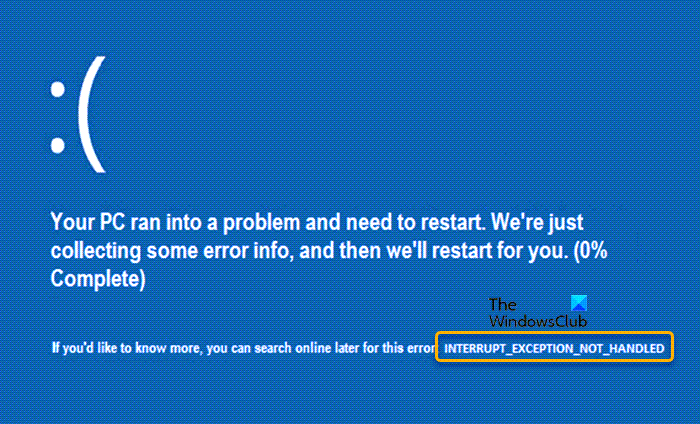
This bug check has a value of 0x0000003D. This error indicates that the exception handler for the kernel interrupt object interrupt management was not able to handle the generated exception.
Fix INTERRUPT EXCEPTION NOT HANDLED BSOD error
If you have encountered the INTERRUPT EXCEPTION NOT HANDLED Blue Screen error on your Windows 11/10 computer after you installed a new update, upgraded to a more recent version of Windows, or installed new hardware/software, then these fixes we have provided below can be applied to resolve the issue on your system.
- Delete specific files and obsolete registry entries (if applicable)
- Run the online Blue Screen Troubleshooter
- Run Windows native system repair utilities
- Run Driver Verifier
- Update drivers
- Cleanup leftovers of the last Windows build
- Perform System Restore, Uninstall the Update, Rollback the Upgrade
Let’s see these fixes in detail. Before you proceed, if this error occurs and Windows is not updated on your device, we suggest you check for updates and install any available bits including relevant Optional Updates and see if that solves your problem.
To carry out these tasks, if you can log in normally, good; else you will have to boot into Safe Mode, enter the Advanced Startup options screen, or use the Installation Media to boot your device.
1] Delete specific files and obsolete registry entries (if applicable)
For some affected PC users that encountered the INTERRUPT EXCEPTION NOT HANDLED BSOD error, reportedly, they were able to resolve the issue by deleting specific files relating to a ‘Creative Tech’ software residing on their computer and also deleting obsolete registry entries.
First, boot your computer in Safe Mode. In the system state, navigate to the directory below:
C:\Windows\System32\
At the location, find and delete the following files:
- APOIM32.EXE
- APOMNGR.DLL
- CMDRTR.DLL
Exit File Explorer when done. Now, navigate or jump to the registry key path below:
For 32-bit systems
HKEY_LOCAL_MACHINE\SOFTWARE\Creative Tech\Software Installed\APOIM
HKEY_LOCAL_MACHINE\SOFTWARE\Creative Tech\Installation\CTRedist\APOIM
For 64-bit systems
HKEY_LOCAL_MACHINE\SOFTWARE\Wow6432Node\Creative Tech\Software Installed\APOIM
HKEY_LOCAL_MACHINE\SOFTWARE\Wow6432Node\Creative Tech\Installation\CTRedist\APOIM
At the location delete the APOIM registry value. Once done, boot your computer normally and see if the issue is resolved. If not, continue with the next fix.
2] Run the online Blue Screen Troubleshooter
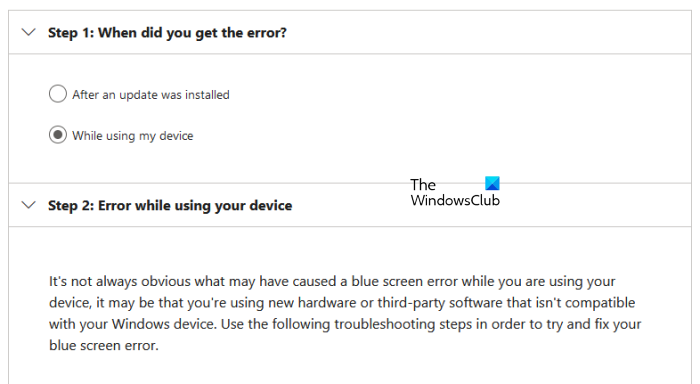
You can run the Blue Screen Troubleshooter from Microsoft and see if that helps. This automated tool is pretty handy and is primarily designed to help beginners & novice users troubleshoot their Blue Screens and fix the stop error automatically.
Read: KMODE EXCEPTION NOT HANDLED Blue Screen
3] Run Windows native system repair utilities
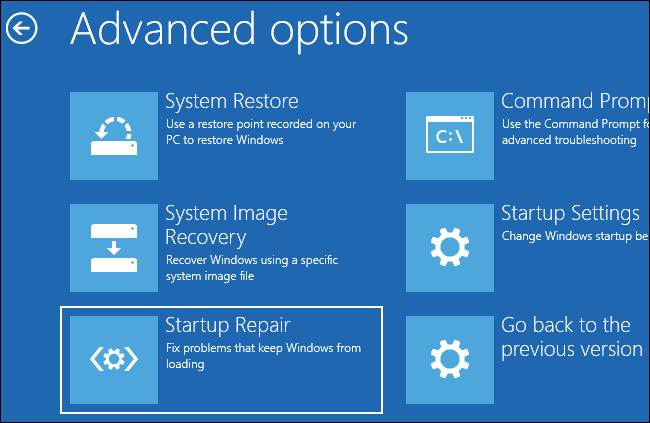
The Windows native system repair utilities that you will need to run in this case include the following:
- Startup Repair. As the name implies, this will quickly fix the most common issues that may be preventing your computer from booting into the operating system.
- SFC (System File Checker) scan. This will repair corrupt or damaged system files which can trigger this error.
- CHKDSK. This will repair bad sectors which could be triggering the error as well.
After you must complete each task, check to see if the issue is resolved or not. If none of the repair tools didn’t help, you can proceed with the next fix.
4] Run Driver Verifier Manager
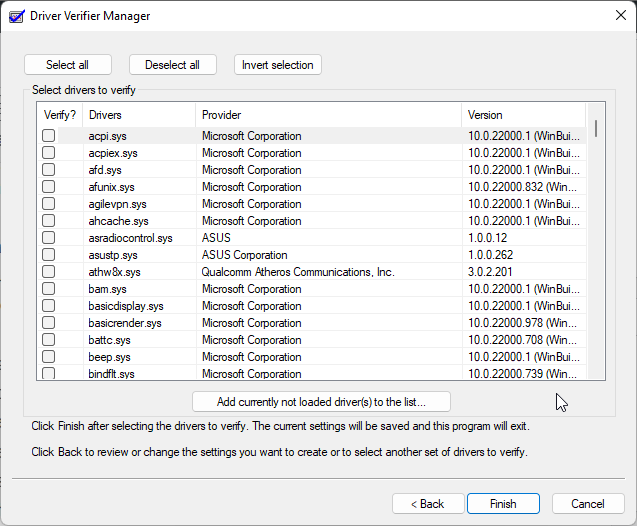
This solution requires you to run Driver Verifier Manager on your Windows 11/10 device. You will get a message about the status of each driver – follow the onscreen instructions to fix the problem.
Read: Fix SYSTEM THREAD EXCEPTION NOT HANDLED (PCI.sys) error
5] Update drivers
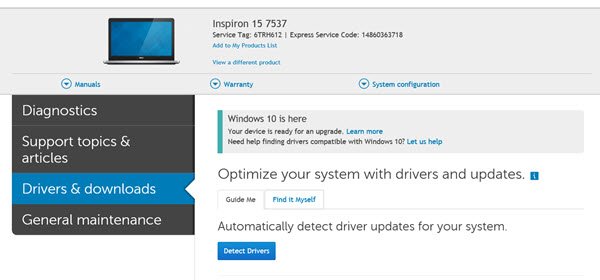
You can use DriverView to display a list of all device drivers on your system. For the drivers that need updating, you can:
Depending on your PC, update drivers and firmware using the proprietary software:
- Dell Update utility will help you download or update Dell Drivers
- Lenovo System Update helps you download Lenovo Drivers, Software, Firmware, and Update BIOS.
- AMD users may use AMD Driver Autodetect.
- Intel users may use Intel Driver & Support Assistant.
- HP users can use the bundled HP Support Assistant.
You may also consider the following:
- Using a third-party free Driver Update Software.
- Get the driver updates (if available) on the Optional Updates section under Windows Update.
- If you have already downloaded the .inf or .sys file for the driver, you can manually update drivers via Device Manager or Command Prompt.
6] Cleanup leftovers of the last Windows build
After a successful Windows version upgrade, you can manually run the batch file and Windows update cleanup to have your Windows installation in pristine condition. To do this, you need to create a batch file using the code below and then run the .bat file. Here’s how to:
- Press Windows key + R to invoke the Run dialog.
- In the Run dialog box, type notepad and hit Enter to open Notepad.
- Copy and paste the syntax below into the text editor.
fsutil resource setautoreset true c:\&fsutil usn deletejournal /d /n c:&Dism.exe /online /Cleanup-Image /StartComponentCleanup&sfc /scannow&Dism.exe /Online /Cleanup-Image /RestoreHealth&sfc /scannow&Dism.exe /Online /Cleanup-Image /StartComponentCleanup /ResetBase&winsat formal&pause
- Save the file with a name and append the .bat file extension – eg; AfterVersionUpgradeCleanup.bat on the Save as type box select All Files.
- Now, you can run the batch file with admin privilege (right-click the saved file and select Run as Administrator from the context menu).
This manual operation essentially cleans up the component store(WinSxS) of obsolete unneeded .dll, and .exe portions of API. It also checks your system for missing Windows files & folders and replaces them if possible. The WinSAT (Windows System Assessment Tool) portion of the syntax runs a test on your hardware, so Windows can make adjustments to its under-the-hood settings, which include checking your drives speed, determining if the drive(s) is HDD or SSD, and can then select defragmenting or retrim, test your CPU so Windows can set processor affinity and priorities, and so on.
Read: SYSTEM THREAD EXCEPTION NOT HANDLED (ldiagio.sys) BSOD
7] Perform System Restore, Uninstall the Update, Rollback the Upgrade

If at this point the issue is unresolved, then you will need to use the System Restore feature to return your system to an earlier point in time before the error started occurring on your computer. Alternatively, you can uninstall any recent update before the issue surfaced or roll back the Windows upgrade as the case may be.
Any of these solutions above should work for you! Otherwise, you may consider resetting your PC.
Also read: SYSTEM THREAD EXCEPTION NOT HANDLED (CMUSBDAC.sys) Blue Screen
What does stop code KMODE_EXCEPTION_NOT_HANDLED mean?
The KMODE_EXCEPTION_NOT_HANDLED bug check has a value of 0x0000001E. The bug check indicates that a kernel-mode program generated an exception that the error handler didn’t catch. If you encounter this error on your Windows 11/10 computer, then you can resolve the issue by following the suggestions we have provided in the linked guide above in this post.
What is SYSTEM_THREAD_EXCEPTION_NOT_HANDLED?
The SYSTEM_THREAD_EXCEPTION_NOT_HANDLED bug check has a value of 0x0000007E. This bug check indicates that a system thread generated an exception that the error handler didn’t catch. To resolve the issue on your PC, the recommended fixes provided in the linked guide(s) above in this post should help. Keep in mind that the instance of the error varies as a specific driver file is usually referenced.