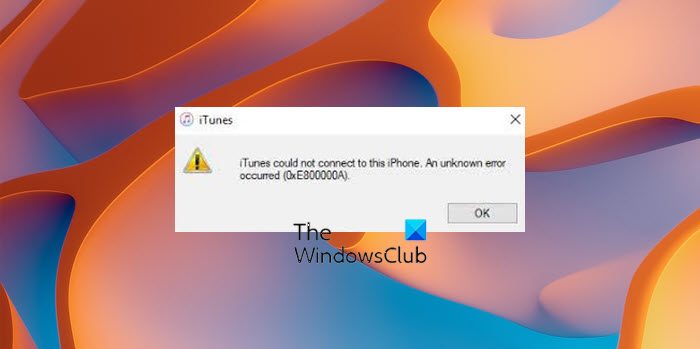
Users who are trying to connect their iPhone with Windows 11/10 PC are seeing iTunes could not connect to this iPhone. An unknown error occurred (0xE800000A) error. In this guide, we have a few solutions to fix iTunes Error 0xE800000A on Windows 11/10 PC.

iTunes Error 0xE800000A
The possible reasons for iTunes Error 0xE800000A on Windows are:
- Faulty cable
- Outdated iTunes program
- Interference by a third-party program like antivirus
iTunes could not connect to this iPhone, Error 0xE800000A on Windows PC
When you see iTunes Error 0xE800000A on Windows, the following solutions might help you fix it.
- Check the cable
- Update iTunes program
- Disable antivirus
- Set Apple Mobile Device Service Startup type to Automatic
- Rename the Lockdown folder
- Reset Location and Privacy settings
- Reset iTunes
Let’s get into the details of each method.
1] Check the cable
The USB or the lightning cable you are using to connect iPhone with your PC might be faulty. You need to verify that and try connecting again after restarting the PC. Make sure your iPhone is not locked while connecting.
2] Update iTunes program
The error might also occur if the files or iTunes are corrupted or missing. Even if there are bugs in the version you are having, the error might occur. Download the latest version of iTunes from the Apple website and install it manually to update iTunes.
3] Disable antivirus
The antivirus program on your PC might be interfering with the connection of the iPhone with your PC and iTunes. Disable antivirus in the antivirus program for some time and see if it has fixed the error.
4] Set Apple Mobile Device Service Startup type to Automatic
Apple Mobile Device Service on your PC might not have started when you have connected your iPhone and Windows PC. It can also trigger the issue. You need to set its startup type to Automatic to fix the issue.
To set Apple Mobile Device Service Startup type to Automatic,
- Open Run command
- Type Services.msc and press Enter
- Find AppleChargerSrv in the Service list and right-click on it
- Then, select Properties
- Set Startup type to Automatic in the General tab
- Click OK and restart your PC
Try connecting your iPhone with the PC now and see if it has fixed the error.
5] Rename the Lockdown folder
iTunes automatically creates a Lockdown folder on your PC. If there are some errors or corruptions that occur with it, you might see this error. You need to rename the lockdown folder and see if it has fixed the issue.
To do so,
- Open Run command
- Type %ProgramData% and press Enter
- Open Apple folder
- Find the Lockdown folder there and rename it to Lockdown.old
- Then, relaunch iTunes and connect your iPhone
- Tap on the Trust button if prompted on your phone.
6] Reset Location and Privacy settings
The other way to fix the issue is by resetting the Location and Privacy settings on your iPhone. The settings might be acting against the connection and causing the error.
To reset Location and Privacy settings on iPhone,
- Open Settings
- Go to General
- Then, tap on Reset
- Select Reset Location & Privacy
- Confirm it by tapping on the Reset Settings prompt
7] Reset iTunes
If none of the above solutions work, the final way to fix the issue is by resetting the iTunes program on your PC.
To reset the iTunes program,
- Open Settings app
- Select Apps on the sidebar
- Click on the Apps & features tab
- Find iTunes and click on the three-dot button and select Advanced options
- Click on Reset in the Reset section
How do I fix iTunes errors?
You can fix iTunes errors based on the error. The general fixes for any iTunes error are updating the iTunes app to the latest version, disabling third-party apps that interfere with it, resetting the iTunes app.
How do I download the latest version of iTunes for Windows?
You can download the latest version of iTunes on the official Apple website and even on the Microsoft Store. Those two are safe places to download and install iTunes on your Windows PC.
Read: Fix iTunes Error Code 5105, Your request cannot be processed.
Leave a Reply