Password Managers have become very important over the years, and it’s easy to understand why. The web is populated with millions of websites, and a lot of them require a login to get the most out of what they have to offer. Because of this, many of us are forced to have multiple passwords or a unique password for every website. This is done for security concerns, so what’s the best way to keep these passwords at our fingertips and in a safe space? Well, a password manager, of course.
A password manager makes it super easy for folks to gain access to their passwords for use in logging into any particular account online. Now, there are quite a few password managers out there; some are paid, while others are free to use.
Today, we will focus on one of the free Password Manager software known as KeeWeb – which is compatible with KeePass. We like what it offers, and as such, we’ll be discussing many of its features among things that don’t work so well.
KeeWeb Password Manager
1] Create a new file

The first thing users will need to do is create new files to get things started. Chances are, this is your first time using KeeWeb, and as such, you do not have passwords saved in the system just yet. Therefore, when KeeWeb is launched for the first time, simply click on the button that says New.
From there, the user will see several options along with the folder they’ve just created. It’ll be titled New, so select it, then click on the small plus button that says Add New to inject your first item.
This is where folks must add a password, the website URL it’s linked with, the username, and more if need be. Additionally, should a person have no idea of the password they’d like to add, then we suggest clicking on the lightning icon at the bottom to generate a unique and strong password.
2] Rename a folder
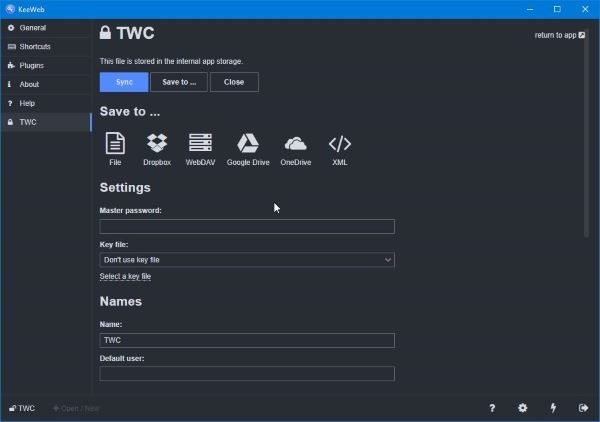
OK, so every folder is created, KeeWeb automatically names it New. For some reason, it’s not possible to create the name for a folder before its creation, and it’s a bit annoying. For those who want to change the name, just click on the name of the folder at the bottom-left corner, and from there, change the name to the desired one.
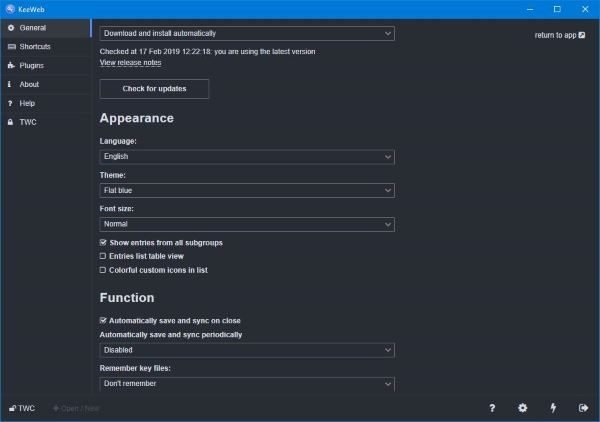
This section also allows for the setting of a master password, but that’s not all; folks can back up their saved password just in case something goes wrong in the near or distant future.
3] Save to the cloud

The cloud, we’re sure everyone has heard of this term at some point in their lives while scouring the web or even on the news. As it stands, if you have a DropBox, Google Drive, or OneDrive account, then you can save your password data on either one.
To save data to the cloud, select the name of your preferred folder at the bottom, then click on Save to. From here, the user should see the available cloud storage options, so choose the best one and follow the instructions.
4] Plugins

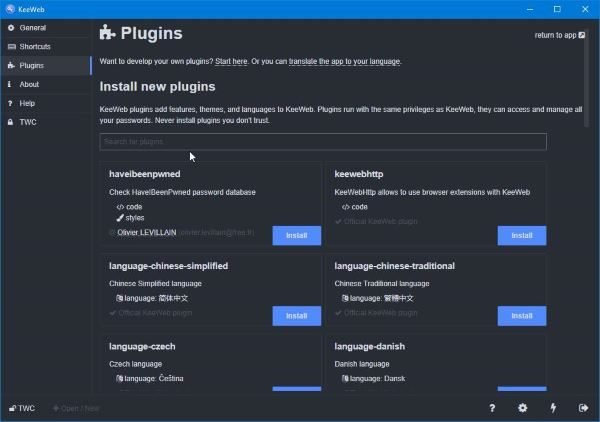
Like everything else, plugins will improve KeeWeb, but don’t expect a massive improvement over what the base product brings to the table. We say this because the majority of the plugins are merely language packs and themes. The only useful plugin is the one that adds a KeeWeb extension to the web browser, and that’s it.
To gain access to the plugin database, click on the name of the folder at the bottom, then look back to the left pane and choose Plugins. From there, browse through the list and install the one (s) you want to make using KeeWeb easier and more productive.
Overall, we like KeeWeb because it’s easy to use and easy on the eyes, so if you’ve yet to give your loyalty to a password manager app, then how about giving this tool a test drive to see if it works for you? Download KeeWeb right now from the official website.
Leave a Reply