If your Windows laptop shows BSOD when plugged in and charging, the solutions provided in this article will help you. According to the reports, the laptop crashes with a Blue Screen error whenever users connect it to the charger and turn on the switch. Both software and hardware issues can cause this problem.

Laptop BSOD when plugged in
If your Windows 11/10 laptop crashes with a Blue Screen when plugged in and is charging, use these fixes to resolve the issue:
- Use another charger
- Does your laptop overheat while charging?
- Disable and enable the Microsoft ACPI-Compliant Control Method Battery driver
- Reinstall the battery driver
- Switch your power plan to High Performance
- Update or reinstall your graphics card driver
- Update BIOS and chipset driver
- Uninstall your antivirus
- Your motherboard may need to be repaired
Below, we have explained all these fixes in detail.
1] Use another charger
The problem you are facing indicates that there may be some issue with the laptop charger. To check this, connect another compatible charger with your laptop (if available) and see if the issue persists. If the problem does not occur after connecting another charger, you need to replace your charger. However, the problem can also be with the power cord connected to your charger brick.
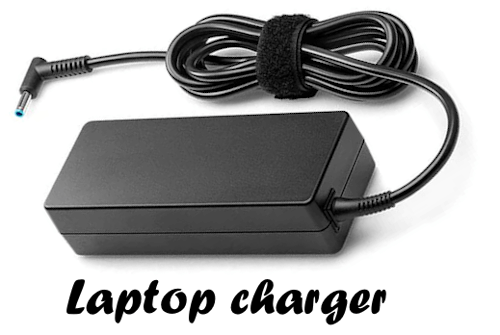
We also suggest you connect the charger to another wall socket. This will let you know whether the problem is with that particular wall socket. If this helps, you need to call an electrician to repair the wall socket because it can also damage other electronics in your home you connect to that wall socket.
2] Does your laptop overheat while charging?
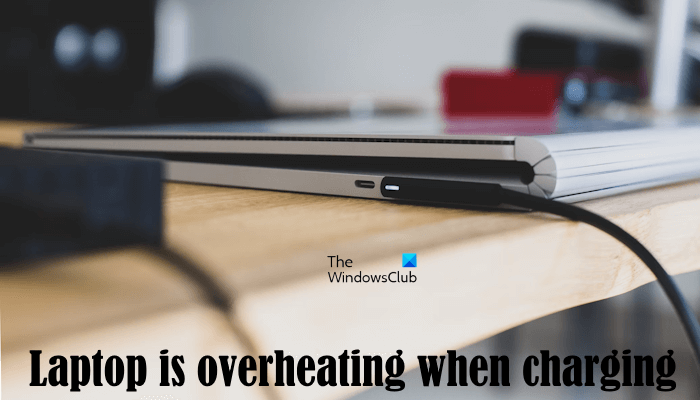
A BSOD occurs when a computer system reaches a state where Windows can no longer manage to operate it safely. If your laptop crashes after some time you start charging, there can be chances that its temperature rises when it is charging. If your laptop is overheating when charging, it can be the cause of this BSOD error. Hence, you need to fix this issue.
3] Disable and enable the Microsoft ACPI-Compliant Control Method Battery driver
Disabling and re-enabling the Microsoft ACPI-Compliant Control Method Battery driver can also help to fix this issue. The following steps will guide you on this:

- Open the Device Manager.
- Expand the Batteries branch.
- Right-click on the Microsoft ACPI-Compliant Control Method Battery driver.
- Select Disable device.
Restart your computer and then open the Device Manager. Now, right-click on the same driver and select Enable device. Now, connect the charger and see what happens.
4] Reinstall the battery driver
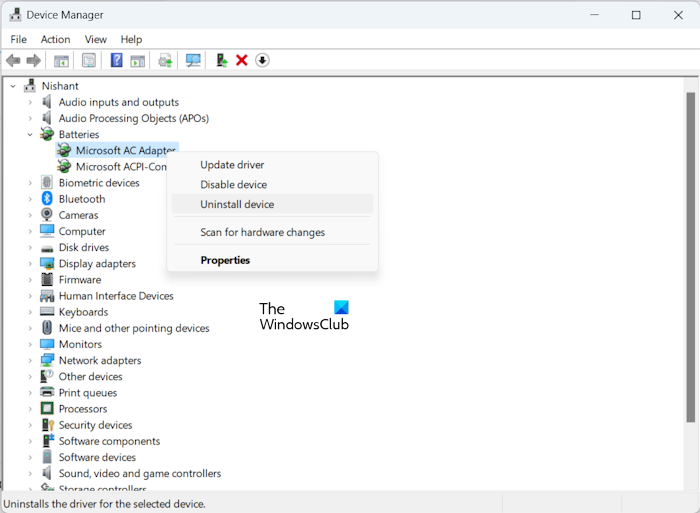
A corrupt battery driver can also cause this issue. Reinstalling the battery driver can help in such cases. Before proceeding, create a system restore point. Uninstall both the drivers under the Batteries branch in the Device Manager, then restart your computer. Windows will automatically install the missing or uninstalled drivers on restart.
This post will help you install the latest version of the battery driver.
5] Switch your power plan to High Performance
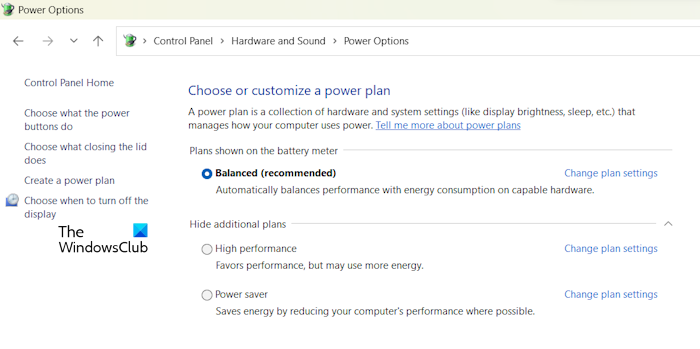
Switch your power plan to High Performance and see if it helps. If the High Performance power plan is not available in the Control panel, you can restore it and other missing power plans by executing the required commands in the elevated Command Prompt window.
The commands to restore the missing power plans will work only if the Modern Standby S0 Mode is not activated on your system.
6] Update or reinstall your graphics card driver
One possible cause of this issue is the corrupt graphics card driver. Suppose you have two graphics cards, integrated and dedicated, and your laptop switches automatically from the integrated to the dedicated graphics card when connecting to the charger. In that case, the problem might be with the dedicated graphics card driver.
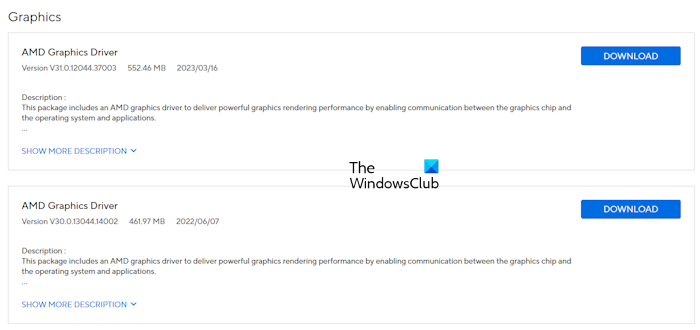
Update or reinstall the graphics card driver and see if it works. You can download the latest version of your graphics card driver from the official website of your computer manufacturer. Alternatively, you can also use the dedicated software for the same, like:
You can also proceed with the clean installation of the graphics card driver. For this, you can use the DDU utility.
7] Update BIOS and chipset driver
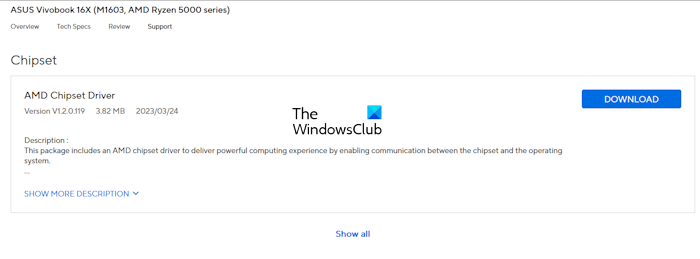
Download the latest version of the BIOS and chipset driver from the official website of your computer manufacturer and install it manually. While updating BIOS and chipset drivers, make sure that the power supply is not terminated because this can make your motherboard malfunction.
8] Uninstall your antivirus
When I used McAfee antivirus on my laptop, I encountered frequent crashes. After uninstalling it and switching to another antivirus the problem was gone. The issue can also occur due to your antivirus. To check this, uninstall it and then charge your laptop. Before uninstalling your antivirus, make sure that you have its product key, as it will be required to activate it again when you reinstall it.

If uninstalling the antivirus fixes the issue, you need to contact your antivirus support. If you are using a free antivirus, you can switch to another one.
9] Your motherboard may need to be repaired
If the problem persists, your motherboard might need to be repaired. Contact a professional laptop repair technician for further support.
That’s it. I hope this helps.
How to tell if PSU is failing?
If the Power Supply Unit (PSU) is failing, you will notice some symptoms, like booting issues, random shutdowns and restarts, the PSU fan stopping working, etc. In some cases, you will also get an electric shock while touching the computer case.
Can faulty PSU cause BSOD?
Yes, a faulty PSU can cause BSOD errors on a computer. A faulty PSU supplies incorrect voltage to the computer motherboard which can lead to overheating of some hardware components due to which a BSOD occurs.
Read next: Windows laptop keeps restarting when plugged in.
Leave a Reply