We came across a cool-looking software a while back called LazPaint, which is another image editor that is looking to compete with the likes of Paint.Net and other similar free programs on the market. We should point out that this is an open-source tool, and it uses the BGRABitmap library. Now, it’s not perfect by any means, but if you’re looking for an alternative to many of the free image editors out there on the web, then we believe LazPaint is a decent enough choice.
After downloading the tool to your Windows computer, if Microsoft Defender SmartScreen throws up a warning, you must allow the file to be downloaded. You see, the developer does not sign the software; therefore, SmartScreen will think it is harmful to your computer. Please click on the option that says Keep Anyway, and move on to complete the installation on your system.
Installing only takes a short while to complete, and from there, it’s time to see what LazPaint has to offer when compared to others.
LazPaint image editor for Windows PC
LazPaint is a free cross-platform image editor with layers and vector shapes, written in Lazarus (Free Pascal).
1] The user interface

When it comes down to the overall user interface, it can be quite daunting for those who are new to image editors. There is just so much on display, so we suggest taking the time out to understand every little thing before moving forward.
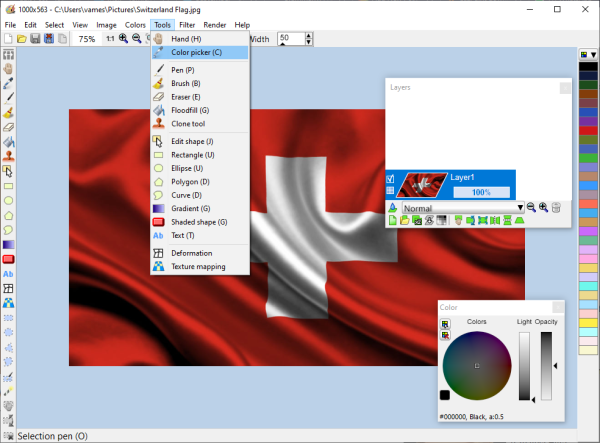
Still, we like the design, and if you are a painter, then you might love that the colors are all situated in one place on the right, while the tools are on the left.
2] Let’s edit an image

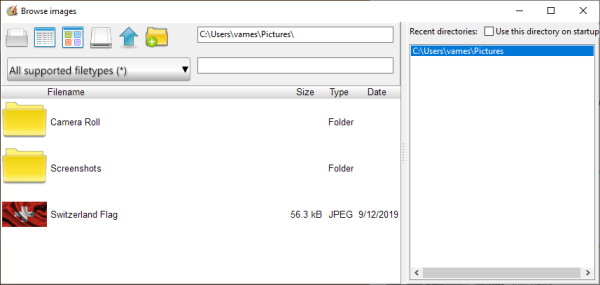
To add an image, simply use CTRL + O to open a folder, or click on File, then Open to get the job done. Now, once the picture file has been added, the user will then have several options to choose from to change the file to fit their needs.
This thing is filled with options, to be honest, but we are only going to focus on a few that we view as more important than most.
3] Colors
To make changes to the color of any given image, please select the image, then choose from the color pane at the right section of the tool. Furthermore, users can also click on the Colors tab at the top to add grayscale, brighten, or even negative to a picture.
If you want, the ability is there to shift colors, among other things. It’s quite powerful, we have to say, so go on ahead and have a blast.
4] How to resize an image?

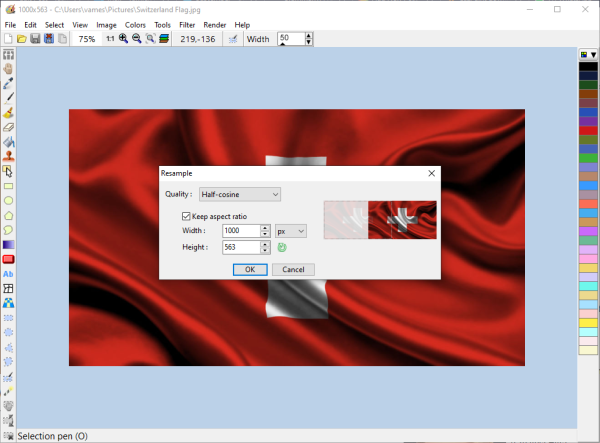
That is super easy, even more so since the hotkeys are the same as Paint.Net in many instances. OK, so to do this, hit CTRL + R to fire up the Resample window. Change the width or height, keep the aspect ratio if you want, then select the quality of the output.
After doing so, hit the Enter key and you’re good to tango. See that? It’s very easy and should take less than 30 seconds to get done.
5] Other tools

Chances are, you will be using the Tools quite often if you’re serious about editing. You can gain access to all of them by selecting the Tools tab, or by going to the left-side of LazPaint. Users can access the Color Picker, Eraser, Simple Pen, Paint Brush, and so much more.
Most of what you expect should be there, unless you are the type of person who tends to use PhotoShop. Download LazPaint from the official website.
Leave a Reply