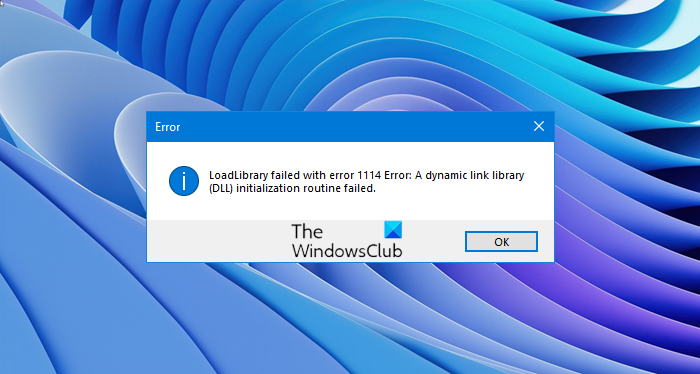
While working with some graphics intensive applications like video rendering software, or games like PUBG or Fortnite, something in the background can get messed up, and you might get an error saying, LoadLibrary failed with error 1114, A dynamic link library (DLL) initialization routine failed. This is usually resolved by twerking graphics settings, fixing and updating your drivers and allowing your computer to work by leveraging the maximum use of the resources that it has got.

In this post, we will be discussing more of these measures which will help us solve this interruption as soon as possible.
LoadLibrary failed with error 1114
If you installed new software or made any recent changes to any software component in your computer, I would recommend you to undo it and then check if that fixes your issue. Else, try the following fixes.
1. Modify Dynamic Graphics Settings

Open Control Panel > Power Options and then click on Change plan settings for your selected power plan.
Next, click on Change advanced power settings.
Look up for Switchable Dynamic Graphics and click on it to expand it. Now expand Global Settings setting and then select Maximize Performance for both the scenarios of On Battery and Plugged in.
Finally, click on Apply and then click on OK for the changes to take effect.
In case, this option of Switchable Dynamic Graphics is not available on your computer; you can always go for the next fix.
Related:
2. Switch your Graphics card to High-Performance mode
This can vary from computer to computer because some computers make use of Graphics card made by NVIDIA, some by AMD or some even use Graphics Cards from Intel dubbed as Intel HD Graphics. So, we will cover all three of them one by one.
For Intel HD Graphics
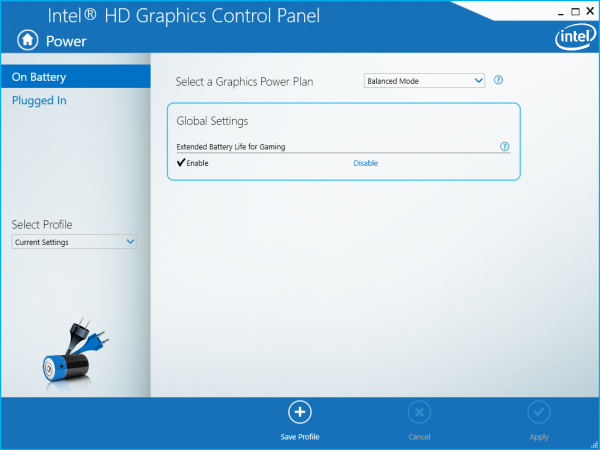
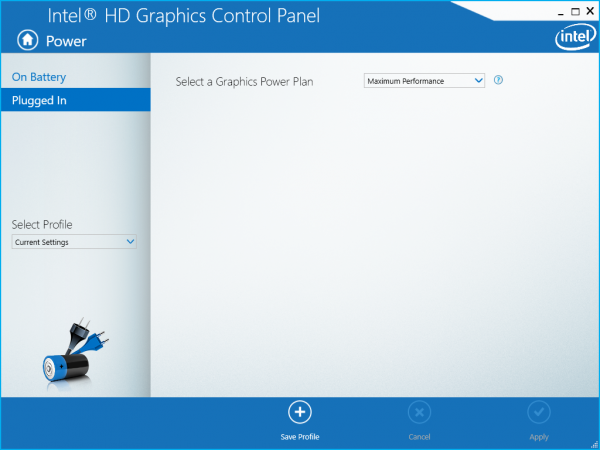
If you have a Graphics card made by Intel on your computer and have the drivers properly updated and installed, start by right-clicking anywhere on the desktop and then click on Intel Graphics Settings. Now click on the menu labeled as Power.

You can then select a Graphics Power Plan for both the scenarios of On Battery and Plugged in, to High Performance as shown in the screen snippet below.

Click on Apply for the changes to take effect.
For NVIDIA Graphics Drivers
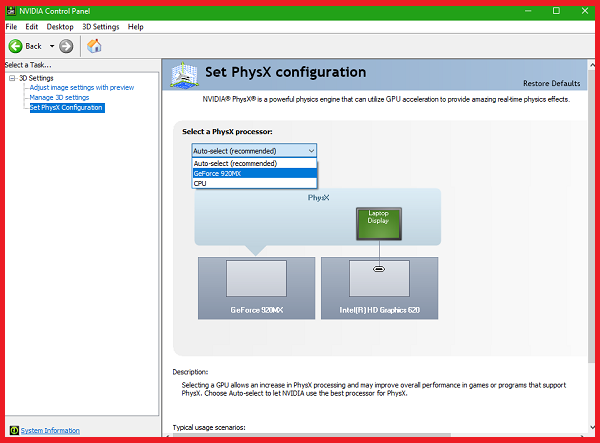
If you have a Graphics card made by NVIDIA on your computer and have the drivers properly updated and installed, start by right-clicking anywhere on the desktop and then click on NVIDIA Control Panel. Now, on the left-hand side tree-structured list, expand 3D Settings and then click on Manage 3D Settings.
On the right side panel now, select your preferred GPU to the High-Performance NVIDIA Card from the drop-down.

Alternatively, you can also navigate to the tab called Program Settings.
Select the program that you are trying to run from the drop down and click on Add. Next, set the graphics processor to High-performance processor.
Reboot your computer for the changes to take effect.
For AMD Graphics Cards
If you have a Graphics card made by AMD on your computer and have the drivers properly updated and installed, start by right-clicking anywhere on the desktop and then click on AMD Control Center or Configure Switchable Graphics.
Now, click on Browse and then select the application that gave you that error. And then, finally click on High Performance for that particular selected application.
Reboot your computer for the changes to take effect.
I hope something helps!
Leave a Reply