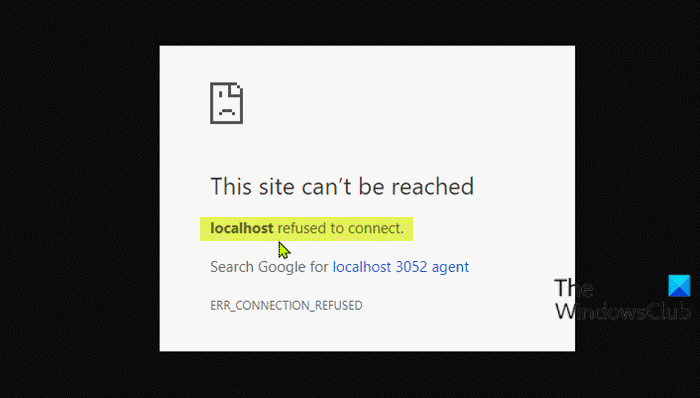
If you encounter the Localhost refused to connect error message when running any web server on your local Windows 11/10 computer, then this post is intended to help website owners and administrators fix the issue with the most adequate solutions.

What does it mean when localhost refused to connect?
If you have encountered the localhost refused to connect error message, it simply means you’re unable to access the webserver via localhost. There’s a chance that your firewall may be blocking the connection. You can often resolve this problem by modifying your firewall settings to allow incoming connections for the port that MAMP is trying to access.
The most likely culprits to this error include;
- Localhost isn’t corresponding to 127.0.0.1.
- Using WSL on Windows to run a web server.
- Port 80 is used by another application on your computer.
- Accessing your web server from a wrong port.
- Insufficient Permissions.
Fix Localhost refused to connect error
If the Localhost refused to connect error message appears on your Chrome browser in Windows 11/10 computer, you can try our recommended solutions below in no particular order and see if that helps to resolve the issue.
- Access Localhost via 127.0.0.1
- Access Localhost via Port Number
- Change Apache port in XAMPP
- Change Apache port in WAMP
- Delete application.config File (if applicable)
- Restart LxssManager Service (applies to Web Servers running on WSL)
Let’s take a look at the description of the process involved concerning each of the listed solutions.
1] Access Localhost via 127.0.0.1
This solution requires you to start the web server by launching XAMPP or WAMP and then go to your browser and type 127.0.0.1 and hit Enter on your keyboard. If this workaround solves the Localhost refused to connect error message, then it means the localhost isn’t pointing to this IP – so, to access any projects/files on your web server, you’ll need to type in 127.0.0.1/filename instead of localhost/filename.
2] Access Localhost via Port Number
If your web server isn’t running on the default port 80, you will encounter this error. In this case, to resolve the issue, you can access the local web server by specifying the port number – to do that, you have to type localhost:8080 in your browser.
3] Change Apache port in XAMPP
To change the Apache running port in XAMPP, do the following:
- Start XAMPP from the Start Menu.
- Double-click the XAMPP icon in the system tray on the taskbar to launch the XAMPP Control Panel.
- In the XAMPP Control Panel Window, you would see a list of services that are currently running i.e Apache, MySQL etc.
- Next to the service name, there would be a Stop button.
- Click on Stop in front of the apache service.
- Next, press Windows key + E to open File Explorer.
- Now, navigate to the directory below:
C:\xampp\apache\conf
- At the location, look for a file named httpd.conf.
- Next, open the file with a Text Editor.
- Inside the file, search for the following two lines:
Listen 80
ServerName localhost:80
Replace them with the following:
Listen 8080
ServerName localhost:8080
- Save the file by pressing CTRL + S.
- Now open the XAMPP Control Panel again, and start the Apache webserver.
The error should be fixed now if the issue was caused by a conflicting port number. Otherwise, try the next solution.
4] Change Apache’s port in WAMP
To change the Apache running port in WAMP, do the following:
- Kill all running instances of WAMP in Task Manager.
- Next, open File Explorer.
- Now, navigate to the directory below:
C:\wamp\apache2\conf
- At the location, look for a file named httpd.conf.
- Next, open the file with a Text Editor.
- Inside the file, search for the following two lines:
Listen 80
ServerName localhost:80
Replace them with the following:
Listen 8080
ServerName localhost:8080
- Save the file.
Now open WAMP and see if the issue is resolved or not. If the latter is the case, try the next solution.
5] Delete application.config File (if applicable)
To delete the application config file, do the following:
- Open your project folder in File Explorer.
- Next, open up the .vs folder. You may need to show hidden files/folders.
- Once inside the .vs folder, explore the config folder.
- Inside the config folder, delete the application.config file.
- Exit File Explorer.
If the issue is still unresolved, try the next solution.
6] Restart LxssManager Service (applies to Web Servers running on WSL)

Do the following:
- Press Windows key + R to invoke the Run dialog.
- In the Run dialog box, type services.msc and hit Enter to open Services.
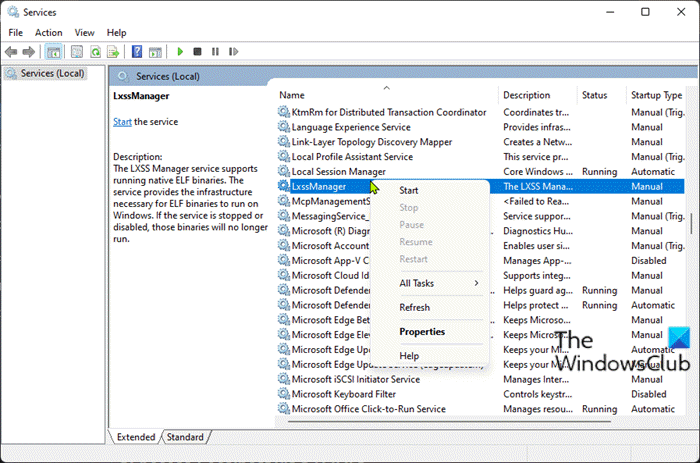
- In the Services window, scroll and locate the LxssManager service.
- Right-click the service and select Restart or Start.
- Exit Services console.
Check your webserver now and the issue should be resolved.
Hope any of these solutions work for you!
Why is 127.0 0.1 refused to connect?
This exception message says you’re trying to connect to the same host (127.0. 0.1), while you’re stating that your server is running on a different host. This 127.0. 0.1 represents a ‘loopback’. To resolve the 127.0 0.1 refused to connect, try adding port to the address; example http://127.0.0.1:8080 (Default for JIRA).
Related post: The proxy server is refusing connections error in Firefox or Chrome.
Leave a Reply